Opening Hook: The Rising Energy Costs
Have you ever opened your energy bill and been shocked by the amount you owe? You’re not alone. With energy costs on an upward trajectory and no sign of slowing down, many homeowners are feeling the pinch. This is especially true for those of us who live in areas with extreme temperatures, where heating or cooling our homes can be a significant expense.
Imagine a world where you don’t dread the arrival of your energy bill each month. A world where you have control over your energy consumption and costs. This might seem like a fantasy, but it’s not. This can be your reality with solar power. Installing solar panels on your home can drastically reduce your energy bills and even eliminate them altogether. The best part? You can do it yourself. Read on to learn how.
Why Solar Makes Sense
The benefits of solar power are numerous. First and foremost, solar power is a renewable energy source. It’s abundantly available and inexhaustible. Unlike fossil fuels, we won’t run out of solar power. It’s also clean energy. Solar panels produce energy without emitting harmful greenhouse gases into the atmosphere.
Beyond environmental benefits, solar power makes financial sense. The cost of solar panels has dropped significantly in recent years, making it an affordable option for many homeowners. Once installed, solar panels can drastically reduce or even eliminate your energy bills. Plus, any excess energy your panels produce can be sold back to the grid, earning you money. Depending on your energy consumption and the size of your solar system, the panels can pay for themselves in as little as seven to ten years.
Equipment You’ll Need
Before you get started on your DIY solar panel installation, you’ll need to gather some essential equipment. Here is a detailed shopping list with estimated costs:
– Solar panels ($100-$300 per panel)
– Inverter ($1000-$2000)
– Mounting hardware ($200-$500)
– Battery storage system (optional, $500-$1000)
– Wiring and electrical supplies ($100-$200)
– Safety equipment, such as gloves and safety glasses ($50-$100)
Keep in mind that these are just estimates. The actual costs will depend on the size of your solar system and the specific products you choose.
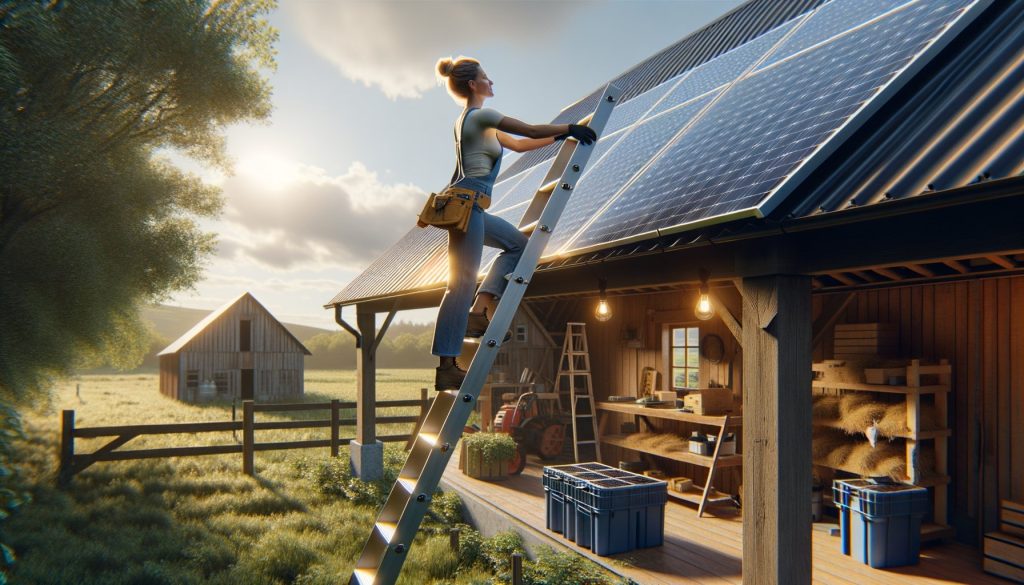
Step-by-Step Installation
Now, let’s get into the nitty-gritty of the installation process. Remember, safety first. Always wear your safety equipment and follow the manufacturer’s instructions for all products.
1. Choose the location: The first step is to choose the location for your solar panels. For maximum efficiency, they should be positioned where they will get the most sunlight.
2. Install the mounting hardware: Use the manufacturer’s instructions to install the mounting hardware on your roof or other chosen location.
3. Attach the solar panels: Once the mounting hardware is in place, you can attach the solar panels.
4. Connect the solar panels: The next step is to connect the solar panels to each other using the provided wiring.
5. Install the inverter: The inverter converts the DC power produced by the solar panels into AC power that your home can use.
6. Connect the system to your home: Now, you can connect your solar system to your home’s electrical system.
7. Install the battery storage system (optional): If you’ve chosen to include a battery storage system, this is when you would install it.
8. Test the system: Finally, you’ll want to test your solar system to make sure it’s working correctly.
Common Mistakes to Avoid
As with any DIY project, there are some common mistakes to avoid when installing solar panels. First, be sure to do your research and choose quality equipment. Cheap solar panels or inverters may seem like a good deal, but they could end up costing you more in the long run if they fail prematurely. Second, make sure to install the panels in a location that gets plenty of sunlight. If your panels are shaded, they won’t produce as much energy. Finally, be sure to follow all safety guidelines. Working with electricity can be dangerous if not done correctly.
Take Action: Your Next Steps
Are you ready to take control of your energy costs and make the switch to solar power? Here are five concrete steps to take:
1. Research solar power and decide if it’s right for you.
2. Make a plan for your solar system, including the size and location.
3. Gather all the necessary equipment.
4. Install your solar panels following the step-by-step guide above.
5. Test your system and start saving on your energy bills.
Remember, installing solar panels is an investment in your home and your future. With a bit of time and effort, you can drastically reduce your energy bills and make a positive impact on the environment. So why wait? Start your DIY solar panel installation today.