Introduction: Why This Matters for Homesteaders
Off-grid living calls for sustainable and self-reliant solutions, and installing a composting toilet system is a key step in that direction. A composting toilet not only reduces the need for traditional sewage systems, but also transforms waste into a valuable resource – compost. This nutrient-rich substance can improve the health of your homestead garden, contributing to a closed-loop ecosystem that promotes sustainability and self-sufficiency.
Learning how to install and maintain your composting toilet system may seem daunting, but with the right guidance, it’s a practical and rewarding DIY project. Let’s delve into the process.
Materials and Tools Needed
Preparing the right materials and tools in advance will streamline your project. Here’s what you’ll need:
- Composting toilet kit or DIY materials
- Hand saw or power saw
- Screwdriver or power drill
- Measuring tape
- PVC pipe (for ventilation)
- Flexible ducting (for ventilation)
- Compostable bag liners
- Compost starter
Step-by-Step Instructions
With your tools and materials ready, it’s time to begin installation. Follow these detailed steps:
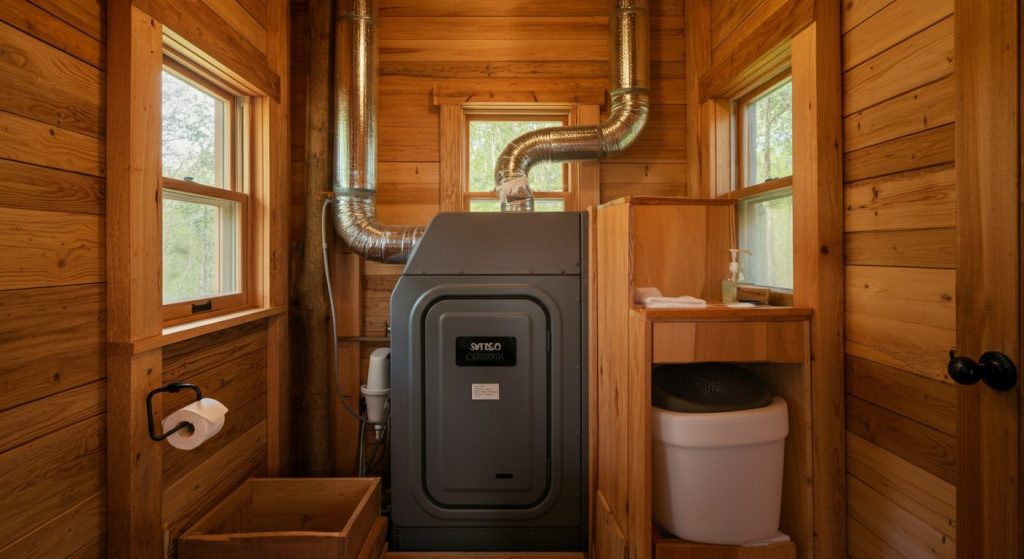
Step 1: Choose Your Location
Your composting toilet should be placed in a convenient and comfortable location. It should also be close to an exterior wall or roof for ventilation purposes.
Step 2: Assemble the Composting Toilet
Follow the manufacturer’s instructions if you’ve bought a kit. For a DIY build, construct a box with a removable lid for the toilet seat. Ensure it’s sturdy and comfortable to use.
Step 3: Install the Ventilation System
Drill a hole in the exterior wall or roof, then insert the PVC pipe. Connect this pipe to the composting chamber with flexible ducting. This is crucial for odor management.
Step 4: Line the Composting Chamber
Line the composting chamber with a compostable bag. This makes it easier to remove and replace the compost.
Step 5: Add Compost Starter
Introduce a compost starter to the chamber to kickstart the composting process. This can be purchased or made from existing compost.
Troubleshooting Common Issues
Here are some common issues you may encounter and solutions to address them:
Issue: Unpleasant Odors
If your composting toilet emits a foul smell, this may indicate an issue with the ventilation system. Ensure it’s properly installed and not obstructed. Also, balance the compost by adding more carbon-rich materials (like sawdust) if it’s too wet, or more nitrogen-rich waste if it’s too dry.
Issue: Slow Composting Process
If the composting process is slower than expected, it could be due to low temperatures. Ensure your composting toilet is located in a warm area, as heat accelerates composting. Also, regularly turning the compost can help speed up the process.
Tips for Success
For a successful composting toilet system, keep these tips in mind:
- Regularly check and maintain your composting toilet to ensure it’s working properly.
- Balance the compost by adding the right amounts of carbon and nitrogen-rich materials.
- Use a compost thermometer to monitor the compost’s temperature.
- Consider separating urine from solids to reduce moisture and speed up composting.
Take Action: Your Next Steps
Ready to get started? Here are your next steps:
- Gather your materials and tools.
- Choose a suitable location for your composting toilet.
- Plan your ventilation system.
- Build or assemble your composting toilet.
- Check the system regularly for any issues.
- Start using your compost in your garden after the first batch is ready.
- Embrace your new sustainable lifestyle!
Installing and maintaining a composting toilet is a significant project, but it’s an invaluable part of off-grid living. With patience and diligence, you’ll reap the benefits of this sustainable system, nurturing your homestead and the environment.