Fire pits are great for summer or fall nights when you want to be outside but want or need some extra warmth. It’s a great thing to have on a homestead not just for outdoor evenings, however, but also for burning small bits of waste or even cooking (with the right set-up, but that’s another article for another day).
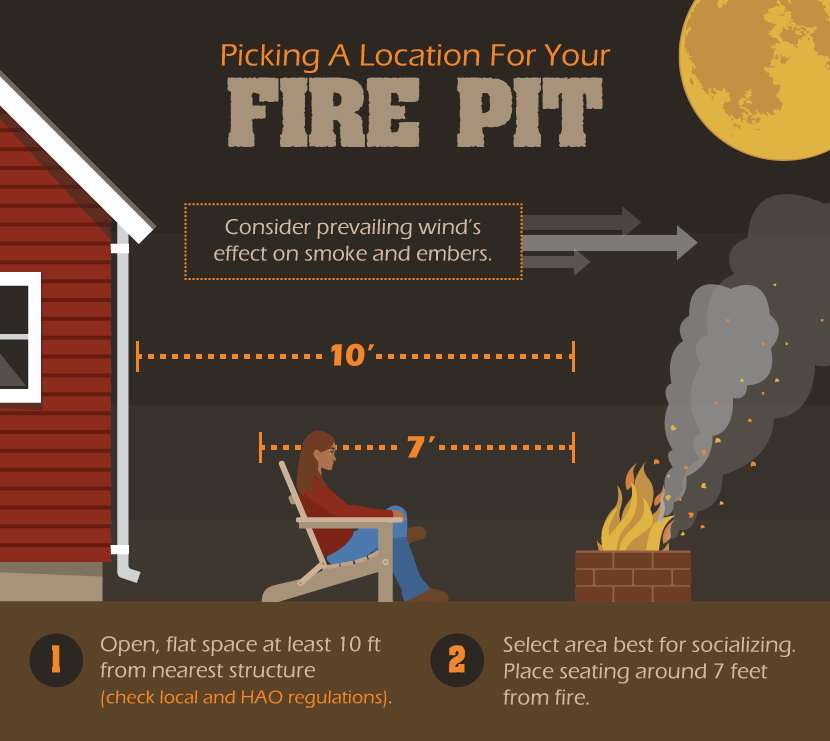
This handy fire pit infographic from fix.com breaks down the process of building a firepit and makes it easy-to-understand and manageable.
To start, it’s important to think about what you’d like to use your fire pit for, and where to place it. If you’d like to use it to burn garden waste or heat up water for butchering chickens, you might want to put it closer to where you keep your garden tools or butchering area. If you’d like to add a spit and cook, maybe closer to the house.
Whatever you do, make sure to check your local fire ordinances so that it will meet regulations. You don’t want to put all this work into a fire pit just to have the fire department called when you light it up for the first time!
According to the original article, the materials you will need are:
- Shovel
- Measuring tape
- Spray paint to outline the shape/size
- Wood stake
- Concrete blocks, fire bricks, landscaping stones
- Sand
- Level
- Rubber mallet
- Masonry adhesive
- Gravel
The infographic is about both above ground or in-ground pits, and you can read the original article to read a more detailed discussion of how to pick which one you might like.
Here’s the infographic, enjoy!
If you liked this, you might also enjoy…


