Page 16 of 20
1 14 15 16 17 18 20
Health – Page 16 – Homesteader Depot

Category: Health

  • The Best Homesteading Herb (Video)

    The Best Homesteading Herb (Video)

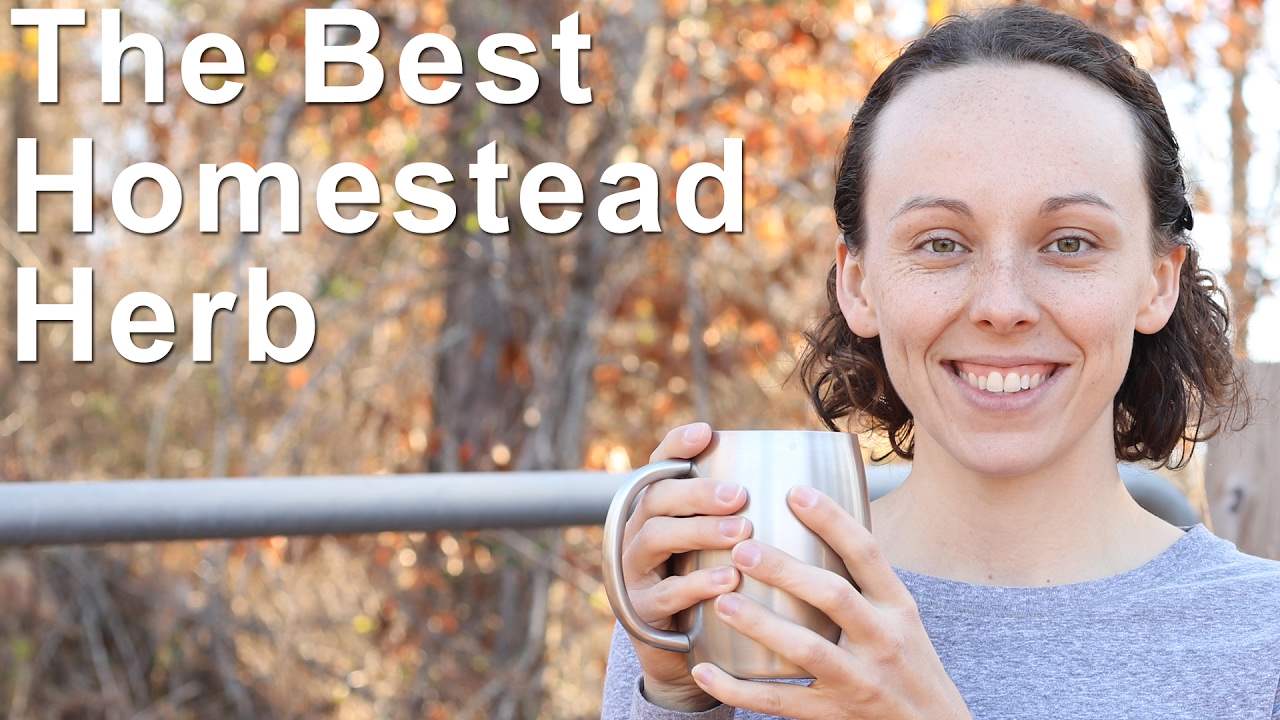
    I normally follow this YouTube channel for survival-related stuff, but I loved this video on lemon balm, a great homestead herb.

    Lemon balm is very easy to grow and has a multitude of medicinal and culinary uses.

    In this video, she explains it’s medicinal uses, and a few different methods for using it in cooking or as an herbal remedy, as well as how to make delicious lemon balm tea! Enjoy:

    https://www.youtube.com/watch?v=aBFyqAr6sZ4

    If you enjoyed this, you might also like….

    Do You Have What You Need to Hold Down the Fort?

    Natural Healing Secrets You Need to Know…

    Effective Primal Diet Hacks…

  • The Easiest Way to Consume More Liver

    The Easiest Way to Consume More Liver

    We have been covering the health benefits of liver recently, including a very delicious way to prepare it that makes it quite enjoyable to incorporate into  your diet. This way to prepare it is liver pate, which is made out of mostly liver and butter. While I certainly find this recipe to be quite delicious and enjoyable, it’s also pretty caloric and rich, and not necessarily what you want to eat on a regular basis.

    There are also many who simply do not find liver pate to be enjoyable, in fact, they find it to be just about as repulsive as plain old liver and onions.

    This is definitely understandable! Liver certainly has a bit of an odd, acquired taste, that is sort of earthy and strong. And sometimes, no amount of butter, bourbon, or seasonings is going to mask this if you already have an aversion to liver itself.

    So, if you really want the amazing health benefits of liver, but don’t feel like having to eat it, there is one simple solution that might be more palatable to you or at least, might make the process of consuming liver a little less unpleasant.

    This is to make your own liver pills. That’s right, you can literally make pills out of liver that you can swallow, which helps you to literally hold your nose and quickly toss some awesome nutrients down the hatch without having to think too long about what you’re actually consuming.

    Here’s how:

    Ingredients

    1 package high-quality, organic, grass-fed chicken or beef liver (and thawed if bought frozen)

    Directions

    1. Read through all the directions first, so you’re sure you have room in your freezer for the liver “pills” and a sharp enough knife to make them.
    2. Rinse your liver in cold water and pat dry.
    3. With a sharp paring knife, slice up your liver into pill-sized pieces. This might take awhile.
    4. Place the liver pieces on a cookie sheet lined with parchment.
    5. Leave in the freezer until frozen solid.
    6. Transfer the frozen “pills” into an airtight container and leave in the freezer for at least 14 days.

    These two weeks of additional freezing will ensure that any pathogens in the liver have been killed, making it safe to consume the “pills” raw. After two weeks, simply swallow one or two with every meal.

    If you enjoyed this, you might also like….

    Can You Defend Your Family When SHTF?

    Natural Healing Secrets You Need to Know…

    Effective Primal Diet Hacks…

  • DIY Dry Shampoo

    DIY Dry Shampoo

    Last week I wrote an extensive post about how to wash your hair using the “no-poo” method, and one method I mentioned was using homemade dry shampoo.

    This is a method of freshening up your hair that can go in conjunction with regular washing, or the no-poo method. You probably won’t want to use it as your only mode of washing, but just as a way to absorb oil and grease in between washing, and adding texture to hair to help with styling.

    Dry shampoo is essentially what it sounds like; a dry rub you can use to clean your hair. There are many popular brands on the market, both that you can spray and dry powders that you can sprinkle in your hair. But, you can also easily make it at home! Here are two very simple recipes, one for light hair, one for dark hair.

    Dry Shampoo for Light Hair

    1/4 Cup cornstarch or arrowroot powder

    5 drops essential oil of choice


    Dry Shampoo for Dark Hair

    2 tbs cocoa powder

    2 tbs cornstarch or arrowroot powder

    5 drops essential oil of choice (bear in mind it will already smell like chocolate

    Directions

    Blend all your dry ingredients together in a bowl. If you’re using essential oil, drop in your desired amount, and make sure to blend throughly throughout the starch and cocoa powder. It might take a bit of pressing the droplets with a fork and gently whisking around. Make sure to wash that for well!

    Once well-blended, store in an airtight jar and keep in your medicine cabinet or wherever else you store your hair products.

    To use, take a makeup brush and lightly dip in your jar. Brush the dry shampoo throughout your hair, on your scalp, then “scrunch” your fingers all around to try to disperse it throughout your hair. Wait about five minutes, or leave in overnight for more oil absorption. Finish by combing or brushing it out, and style as usual.

    If you enjoyed this, you might also like….

    Do You Have What You Need to Hold Down the Fort?

    Natural Healing Secrets You Need to Know…

    Effective Primal Diet Hacks…


  • Soaking and Sprouting Times for Seeds (Infographic)

    Soaking and Sprouting Times for Seeds (Infographic)

    I shared an article last week on sprouting alfalfa, and I did mention that you can use many other kinds of seeds and beans as well, using this method.

    It is definitely true that the basic principle of soaking, draining, and sprouting applies to many seeds and beans, they vary, sometimes quite drastically, in ideal soaking time and the amount of days it takes for them to sprout.

    Here is a great resource from nourishsystem.com for any aspiring sprouters out there. This is a chart that lists many of the popular sprouting seeds, grains, nuts, and beans, and all the information you’ll need to sprout them.

    What is particularly helpful about this chart, that I haven’t seen in other similar infographics, is that it includes the dry amount of seeds you’ll need, and what that will yield in sprouted greens. This is a great resource, so you can measure out exactly what you’d like to use and anticipate how long it will last you once sprouted. I’m definitely keeping this up on my fridge for future sprouting.

    If you enjoyed this, you might also like….

    Can You Defend Your Family When SHTF?

    Natural Healing Secrets You Need to Know…

    Effective Primal Diet Hacks…

  • Delicious Beef Liver Pate Recipe

    Delicious Beef Liver Pate Recipe

    I recently shared a post on the health benefits of liver, and I did promise I’d post a liver pate recipe.

    Liver pate is a great way to eat liver, it’s super delicious and actually very good for you, at least in moderation, as while it includes lots of healthy fats, it’s still pretty caloric.

    It is a classic example of fattening-but-healthy French food, and liver pate from France has gained a worldwide reputation for its decadent flavor.

    And it’s really not too hard to make at home! I chose a very basic recipe that calls for ingredients you already have, nothing too fancy. It calls for beef liver, but you can use chicken if you like, just skip soaking it in meat. While many recipes you may come across call for cognac, this calls for a simple American bourbon, which I figured most people probably already have at home, but you can of course use the classic cognac as well.

    So, get your wine and crackers ready, and let’s get started!

    Ingredients: 

    • 2 lbs beef liver
    • 3 cups whole milk
    • 2 tablespoons olive oil
    • 3/4 cup butter
    • 1 onion, minced
    • 1 tbs thyme
    • 1/2 cup bourbon
    • 1/2 cup heavy cream
    • 1/2 cup coconut oil
    • salt & pepper

    Directions: 

    1. The night before you’d like to prepare the pate, (which should be two nights before you’d like to eat the pate, as after initial preparation it will have to set overnight in the fridge) soak the beef liver in the milk in the fridge, covered in milk.
    2. In the morning, drain the milk and discard.
    3. Rinse the liver with cool liver, and gently dry with paper towels.
    4. Preheat a skillet or grill, and then rub the liver with oil and sprinkle with salt and pepper.
    5. Place the liver on the grill or in the hot skillet, and cook for about five minutes or so on each side, until it is nice and charred but still slightly pink on the inside.
    6. In a saucepan, melt the butter over low heat.
    7. When melted, add the onions and thyme, and cook until softened.
    8. When softened, add the bourbon carefully. It might ignite for a moment, so proceed onto this step at your own risk! It will most likely die down in a moment.
    9. Cook for a few minutes after reducing the heat slightly.
    10. Roughly chop the cooked liver, then add to a food processor with the butter mixture, as well as the rest of the ingredients.
    11. Puree until smooth.
    12. Pack the pate into jars and cover. Let sit in the fridge overnight.

    The pate will keep for up to four days in the fridge, so I usually just put most of it in the freezer in small ramekins and take one out at a time to enjoy in small portions.

    If you enjoyed this, you might also like….

    Do You Have What You Need to Hold Down the Fort?

    Natural Healing Secrets You Need to Know…

    Effective Primal Diet Hacks…

  • Simplest Bulletproof Coffee Recipe

    Simplest Bulletproof Coffee Recipe

    You may have heard of bulletproof coffee, which is gaining massive popularity among foodies everywhere. It is an aspect of the bulletproof diet, a book and diet plan designed by a man named Dave Asprey, that focuses on lots of good fat, moderate protein, and low carbohydrates.

    Healthy fats are making a huge comeback, after decades of “low-fat”  being considered healthy, nutritionists have changed their tune on saturated fats, which they now say make up an important part of a healthy diet.

    And bulletproof coffee is a great way to make sure you’re getting healthy fats, and make your morning coffee smooth and delicious without unhealthy creamers.

    It’s very simple to make, and you’re sure to get hooked!

    The purist version requires a special kind of coffee, and a special kind of oil called MCT oil, but any coconut oil will do, as they count as MCT oil. Organic coffee is always much better for you than non-organic, since conventional coffee crops are usually heavily sprayed with pesticides. Organic coconut oil is preferable as well. And, you will definitely want to use butter from grass fed cows. Pasteurized dairy is a much healthier source of fat, as grass is what cows are meant to eat. It also ensures they are much healthier, meaning higher-quality butter.

    And now, without further ado, here’s the recipe:

    Ingredients: 

    • Organic coffee of choice
    • Grass-fed butter
    • Coconut oil or other MCT oil

    Directions: 

    1. Brew your coffee as you normally would.
    2. When you have a fresh cup of coffee, when it is still very hot, add 1/2 tbs each of coconut oil and butter.
    3. Put the coffee with oil and butter in your blender, and blend on high for a few minutes, until it is nicely frothy.
    4. Pour back into your mug, and enjoy!

    Now, keep in mind, this will have about 400 calories in a single cup, which is a lot, so if you’re counting calories, make sure to keep track of that. I usually find that with a few hard boiled eggs, this makes a very satisfying breakfast that gives me energy throughout the day!

    If you enjoyed this, you might also like….

    Do You Have What You Need to Hold Down the Fort?

    Natural Healing Secrets You Need to Know…

    Effective Primal Diet Hacks…

  • How to Grow Alfalfa Sprouts

    How to Grow Alfalfa Sprouts

    Spring will soon be upon us, and you might be eager to get your garden started. If you’re impatient to have fresh greens again, you might want to try sprouting as you wait for the seeds in your garden to germinate.

    Sprouting seeds is a great way to get quick, delicious nutrients you can throw in sandwiches and salads, and they only take a few days to grow right on your countertop. This is also a great option for folks who don’t have room to garden!

    Fresh sprouts are not only delicious and easy, they’re actually really good for you too. They contain a bunch of wonderful nutrients, vitamins, and minerals, including:

    protein and dietary fiber, as well as vitamin K, folate, pantothenic acid, niacin, thiamin, vitamin C, vitamin A, and riboflavin. In terms of minerals, sprouts contain manganese, copper, zinc, magnesium, iron, and calcium.

    • protein
    • dietary fiber
    • vitamin K, C, and A
    • folate
    • pantothenic acid
    • niacin
    • thiamin
    • riboflavin
    • manganese
    • copper
    • zinc
    • magnesium
    • iron
    • calcium

    These are a great way to get fresh, live, essential nutrients that’s both affordable, fresh, and fun to do. Here’s how:

    What you need: 

    1. Organic alfalfa seeds, meant for sprouting
    2. Mason jar
    3. Clean, plastic or wire mesh
    4. Mason jar lid
    5. Sturdy bowl

    Directions: 

    1. First, rinse 2 tbs of your seeds thoroughly under clean, cold water. (Save the rest of them for the next time you want to sprout seeds!)
    2. Put the seeds in your mason jar, and cover with a few cups of water.
    3. Leave overnight.
    4. Drain the seeds in the morning, cover with the mesh and lid, shake the jar thoroughly, and tip over into your bowl, so that excess moisture can drain out.
    5. Do this daily until you have sprouts that are your desired size. This will typically be a few days. There’s no exact size that is perfect, although if they get too big they will start to mold or rot, but you can “harvest” and eat them pretty much from when they sprout little green shoots on.
    6. Once they are sprouted to your liking, cover with the mason jar lid, and keep in the refrigerator.

    Pictured above is seeds that have been sprouted three days; this is a pretty good example of a desirable “length” of the sprouts.

    Once they’re in the fridge, eat them within 3-5 days, and enjoy!

    If you enjoyed this, you might also like….

    Do You Have What You Need to Hold Down the Fort?

    Natural Healing Secrets You Need to Know…

    Effective Primal Diet Hacks…

  • 12 Amazing Uses for Lavender Essential Oil (Infographic)

    12 Amazing Uses for Lavender Essential Oil (Infographic)


    I’ve written before about how awesome lavender essential oil is, and how many uses it has. Apparently, the folks over at Leonsbeautytipsandsecrets.com agree with me, and have this great infographic to show for it!

    As I’ve said before, if you’re going to buy only one essential oil, lavender is a really great choice. It is both versatile, safe to use around babies and small children, smells amazing, and is incredibly effective. Lavender has been used for centuries for many cleaning and medicinal uses, and essential oil is such a concentrated form of it, it’s super efficient, as one or two drops will usually get the job done (and who really has constant access to fresh bunches of rosemary?)

    Enjoy this handy and detailed infographic of all the wonderful uses for lavender essential oil.

    If you enjoyed this, you might also like….

    Can You Defend Your Family When SHTF?

    Natural Healing Secrets You Need to Know…

    Effective Primal Diet Hacks…