Page 28 of 89
1 26 27 28 29 30 89
Homesteading – Page 28 – Homesteader Depot

Category: Homesteading

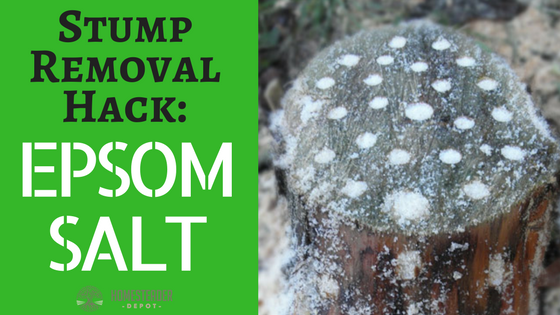
  • Stump Removal Hack: Epsom Salt

    Stump Removal Hack: Epsom Salt

    If you have any experience with removing a stump, you know what a headache it can be. It will either cost you hours, possibly days, of backbreaking, arduous labor, or way too much money to pay someone to do it for you.

    No matter how successful you are at cutting down a tree, the truck is a whole different story. Part of what makes stump removal so difficult is that a well-established root network will keep that stump alive, and, if not dealt with, will continue to grow and even sprout off new shoots. There are chemicals that can kill a stump and make the removal easier, but there are many disadvantages to these.

    For instance, rock salt or caustic lye are often used to dry out the wood, making it easier to remove. But these will leave high levels of sodium in the soil, which might make the soil impossible to plant in after you’ve removed the stump. Potassium nitrate, on the other hand, which is another common stump removal chemical, can help speed along decomposition, but often fail to fully kill the stump.

    Enter Epsom salt. Epsom salt is a wonderful tool for the organic gardener and homesteader, and it can aid tremendously in the removal of a stubborn stump. Otherwise known as magnesium sulfate, Epsom salt will draw moisture out of the wood, which will slowly kill the tree and root system.

    Not only will this successfully kill a living stump, it will also actually improve the soil it’s being removed from, as opposed to the other chemicals you might consider using. It adds magnesium and sulfur to the soil, which are great for plants.

    What You Need

    • 100% Epsom salt
    • electric drill with 1″ spade bit
    • mattock or grub hoe
    • water

    How To Use 

    It’s very simple to apply the Epsom salt to a stump to aid with removal.

    1.  Drill holes all over the top of the stump. Begin drilling 3″ from the perimeter of the stump, and space each hole around 3-4″ apart from each other. Drill as deeply as you can, you’ll want them to be at least 8″ deep.
    2. Pour the Epsom salt in all the holes.
    3. Add enough water to each hole to moisten the Epsom salt. The water will then disperse the salt throughout the cells of the tree, drying them out and, subsequently killing them.
    4. Use your mattock or grub hoe to uncover as much of the root structure as you can.
    5. Pour Epsom salt all over these roots, to prevent nutrients and moisture from being carried to the base of the tree.

    Now, you wait. Depending on the size of the stump, it could take up to a few months to die, in this case, you’ll want to re-apply Epsom salt every three weeks.

    Look for the signs that the stump is dead: dark, brittle wood is a good sign, soft, light wood will need more Epsom salt.

    Hope this is helpful for the removal of any stubborn, well-established stumps on your property.

    If you enjoyed this, you might also like….

    Do You Have What You Need to Hold Down the Fort?

    Natural Healing Secrets You Need to Know…

    Effective Primal Diet Hacks…


  • 5 Mistakes First-Time Chicken Farmers Make

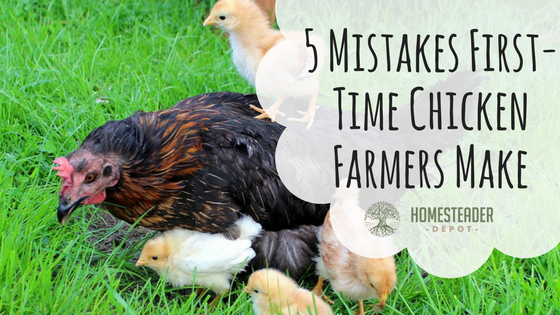
    5 Mistakes First-Time Chicken Farmers Make

    When it comes to homesteading of all kinds, trial and error is a great way to learn. However, when you’re raising animals like chickens, you probably want to reduce the possible mistakes you can make.

    If you’re considering starting your own chicken flock, you’ll want to do it right. We’ve got a list of five common mistakes people make when they first start keeping chickens to help you avoid making them yourself.

    1. Not protecting against predators

    Like a fox in a hen house, many predators out there, depending on your region, will see your chickens as a delicious, juicy, jackpot. When you set yourself up with a coop or enclosure, make sure you know which animals in your area would like to get their hands (or paws, or claws…you know what I mean) on your chickens, and research which kind of barricade will keep them out the best.

    And be prepared by a threat from land, sky, even underground, in some cases. Hawks, foxes, coyotes, skunks, raccoons, weasels, bobcats, hawks, and even rats and domesticated dogs and cats, will have their eyes on your chickens, so secure accordingly. Having a guard dog that is trained not to harm the chickens themselves can greatly reduce the threat to your chickens, but you’ll also have to be realistic about a bit of trial and error here, as sad as it is. You might have to learn the hard way at some point that a predator might still be able to penetrate your barriers, so when you first start a flock, mentally prepare yourself for the possibility of this. It might cost you a few chickens, but learning the hard way is still learning.

    2. Failing to check local laws 

    Predators aren’t the only creatures that pose a threat to your chicken-raising operation; bureaucrats do too! Before you even begin to think about planning to raise chickens, check your local ordinances first. Not just zoning laws, but local homeowner’s associations as well. This will mostly apply to urban and suburban homesteaders, particularly if you live in some kind of gated community or apartment or condo complex. But even if you own your own home and have a decent-sized yard, there still might be strict regulations regarding the raising of poultry. If you are a homesteader on your own property, this is unlikely to affect you much, but you should check anyway, just to be safe, particularly if you plan on selling your eggs, meat, chicks, or chickens at any point.

    NEVER Buy Laundry Detergent Again>>>

    3. Not preparing for injury or sickness 

    Chickens are creatures like any other and are subject to injury or illness. There are a number of conditions that can affect birds, such as skin conditions on their feet, mites or pocks, thrush, botulism, cholera, and one you’ve probably heard of quite a bit in the news: bird flu.

    Familiarize yourself with common bird conditions, join local forums for chicken farmers so you know what’s in your area, and get yourself a good chicken first aid kit. There are a lot of great natural remedies for less severe conditions, as well as more conventional remedies you can stock up on beforehand to be prepared. You’ll also have to prepare yourself, at least mentally, for the possibility of having to separate a sick or injured bird from the flock; a simple dog or rodent kennel can work great for this but keep in mind that chickens can sometimes attack a sick or injured bird, so you’ll have to read up on re-introducing them to the flock.

    4. Taking on too many chickens

    Just because you have an established flock and a good coop doesn’t necessarily mean you’re equipped to take on new hens a neighbor or friend might be giving away. The size of your coop absolutely has to be appropriate for the number of chickens you have, and two or three extra can create cramped, unpleasant living conditions for all the chickens.

    When you set up a coop, make sure you’ve got enough space for each chicken. 5 sq feet per bird is a standard recommendation, not to mention enough a roost and nesting box for each hen (they only sleep in their nesting boxes when they’re sitting on eggs, otherwise they like to perch). If you want to be equipped for extra hens further down the road, and this is quite prudent if you plan on raising more chickens, set yourself up with a coop that can easily be added to and expanded on.

    5. Starting with chicks

    It’s quite standard to start with chicks when you’re beginning a flock, and many farm supply stores sell freshly hatched chicks, along with feeders, water bottles, and heat lamps to keep them warm. While certainly millions of chickens have been raised just fine like this, if you want to go an easier, cheaper, and more sustainable route, just get hens and a rooster. This might cost more money up front than a few chicks, but you’ll need fewer supplies, and, well, if you get a rooster, your chickens will be making their own chicks, for free, in no times.

    The thing is, hens take care of baby chicks infinitely more efficiently than humans do. All the gadgets people buy to raise up chicks are just meant to imitate what a mama hen will do for them instinctively. For the price of some chicken feed, you’ll get something much better than a heat lamp that’s totally sustainable: a hen to sit on the chicks when they’re cold, and direct them to food and water, not to mention keep track of them all day while you tend to all your other homestead tasks.

    If you let your hens raise up their own chicks, keep in mind you’ll still need to make sure there’s feed small enough for the baby chicks, and a water container they’re able to access, but otherwise, the mama will do the work for you.

    Hope this helps you prepare for chickens and avoid some common mistakes!

    Power Efficiency…This Simple Device Will Change the World Forever>>>


  • North American Butterflies and the Flowers They Love (Infographic)

    North American Butterflies and the Flowers They Love (Infographic)

    When you think of pollination, you probably think of bees, and we’ve posted infographics in the past about how to attract bees to your garden by planting the flowers they love.

    Well, bees aren’t the only insects that help with pollination in the garden, butterflies do too! If you have a garden, small children, or simply enjoy seeing butterflies around your home, you’ll love this infographic.

    It has all 23 North American butterflies, their indicated regions, and the flowers they love. There are some great ideas for flowers to plant here, as well as the sorts of flowers or sap they gravitate towards, which can help one look for them. Pick out some blossoms for the butterflies in your region and see if you can attract them this year!

    Enjoy:

    If you enjoyed this, you might also like….

    Do You Have What You Need to Hold Down the Fort?

    Natural Healing Secrets You Need to Know…

    Effective Primal Diet Hacks…

  • Making Chicken Feed: Pros and Cons (Video)

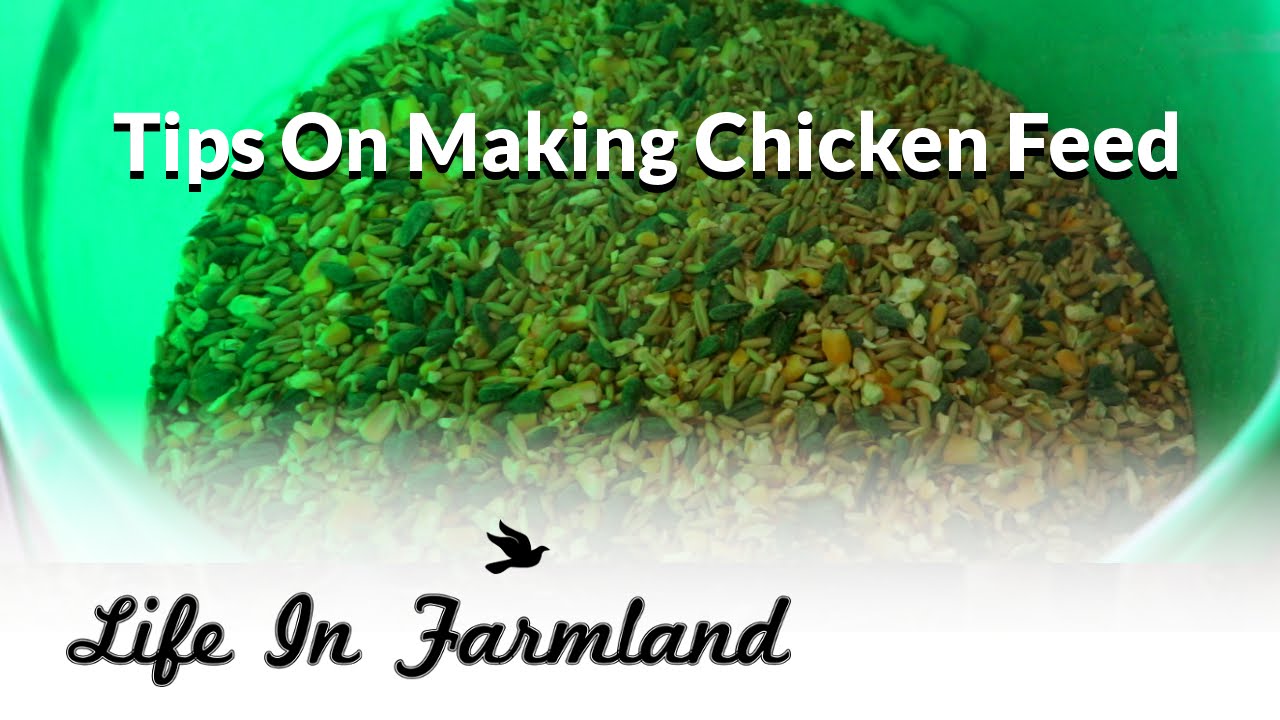
    Making Chicken Feed: Pros and Cons (Video)

    As with all things DIY, I’ve always assumed that making your own chicken feed would be healthier, and more affordable. However, I’ve been reading that while that can be true, it’s not always the case.

    These homesteaders and YouTubers have been making their own chicken feed, and received a lot of questions about how to do it and how it’s been working out, so they made this video in response. They break down the pros and cons of the method they’re using, how they store it, how they’re chickens like it, and the ingredients of their feed.

    It seems to me these ingredients could end up being more affordable in the long run than store-bought chicken feed, if you can buy the ingredients in bulk at a good price, but I think whether or not you could find the ingredients in bulk. Food and grain prices vary from region to region, so you’re most likely going to have to improvise and see what works for you, your region, and your chickens and needs for them.

    At any rate, I always really enjoy hearing directly from other homesteaders about projects like this, so this was a very informative and useful video overall. Check it out:

    If you enjoyed this, you might also like….

    Do You Have What You Need to Hold Down the Fort?

    Natural Healing Secrets You Need to Know…

    Effective Primal Diet Hacks…

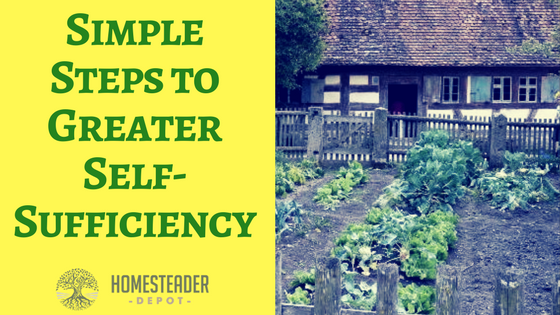
  • Simple Steps to Greater Self-Sufficiency

    Simple Steps to Greater Self-Sufficiency

    The goal of everyone who is interested in homesteading is to become more independent and less reliant on the “machine” that seems to run the lives of most people. Many today have no real idea of where their food comes from or what would happen if they no longer had easy access to electricity. They need the modern conveniences of the world to live. You do not want to be like those people, and you do not have to. The following are some easy things that you can start doing now, and expanding upon later, to help increase your level of self-sufficiency.

    Step #1 – Learn to Grow and Preserve Food

    You can do this whether you have a large plot of land for your homestead or you are still living in the suburbs and waiting to make the change. Start a garden and learn how to grow different types of vegetables and fruit that your family likes to eat. You can start out with a small garden and then expand when you start to learn more. Once it is time to harvest, make sure you are preserving and canning items that you will not be eating right away. Dehydrate some of the food or freeze it, as well. With a large enough garden, you will find that you can have the food you need through much of the year.

    In addition, it is a good idea to start researching the wild plants that grow in your area so you will have a better idea of how to forage if the need should arise.

    Step #2 – Start Collecting Water

    If you are sick and tired of having high water bills, or you worry about your well running dry, it is time that you started to collect water. You can get rain barrels and collect the rain that comes down from the gutters of your home. You could even set up tarps that can funnel the water down into barrels if you would like to collect even more. There are plenty of things you can do with the water that you collect, such as water your plants or wash things down.

    Step #3 – Learn to Reuse and Repurpose Items

    Many people are far too willing to throw away the items that they own when they feel they are no longer useful. However, you will want to start looking at them with a different eye and find ways that you might be able to use them in other capacities. In some cases, you might want to cannibalize parts from an item that you can use in other projects or repair different items.

    Step #4 – Learn to Make Your Own

    Another thing to do is to start learning how to make things on your own. Even if you are not a skilled woodworker, for example, you can start to learn the basics of woodworking now and create much of the furniture that you use in the homestead. You can learn to make your own candles, soap, and much more.

    Starting with these simple steps, you can start to reduce your reliance on others for some of the basic things that our ancestors were doing for themselves. You will feel more confidence, and you will find that many of these things will help you to save some money.

    If you enjoyed this, you might also like….

    Do You Have What You Need to Hold Down the Fort?

    Natural Healing Secrets You Need to Know…

    Effective Primal Diet Hacks…


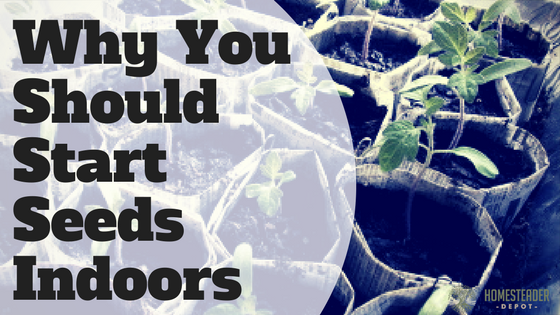
  • Why Start Seeds Indoors?

    Why Start Seeds Indoors?

    We’ve posted a bit about tips for starting seeds indoors as spring has been approaching, but I wanted to talk a bit today about why to start seeds indoors. 

    You want to have a beautiful garden, and you want it to provide you and your family with plenty of food when it comes time to harvest. This means you need to start the seeds at the right time. You want to make sure they are strong enough to survive and thrive in the garden, and one of the best things you can do is start your seeds indoors, getting ready to plant after the last freeze of the season. There are some great benefits to starting your own seeds and doing this indoors.

    Save Money

    When you start your own seeds, you do not have to buy plants that are already started, which naturally cost more. Buying seeds when you are starting, and then saving and processing seeds from the food that you grow is a fantastic way to save some money. In addition, you do not have to worry about starting seeds outdoors only to find that they die before they can grow. When you start them indoors, you have much more control.

    Control the Pesticides

    You do not want your family to be subjected to pesticides, but much of the food bought through the grocery stores is laced with this stuff. When you start your seedlings right, and in a safe environment where they can thrive, you will not need to use chemical pesticides. You can also find organic options that will help to keep your plants safe from pests, as well as safe for you.

    More Self-Sufficiency

    By learning to start your seeds indoors, you are learning more about the homesteading life and you are learning to become more self-sufficient. It is a fantastic skill to have, and one that will serve you well for the rest of your life. Start your seeds in the garage or basement now to get ready for the planting season.

    If you enjoyed this, you might also like….

    How to Lock Down Your Homestead…

    The Ultimate Guide to Natural Health…

    Effective Primal Diet Hacks…

  • Opening Day-Georgia Spring Turkey Hunting (Video)

    Opening Day-Georgia Spring Turkey Hunting (Video)

    Think all the good hunting is in the fall and winter? No way! Spring is prime turkey season, and they’re a great animal to go for. Big and juicy, as well as fun to hunt, you’re sure to get hooked in no time.

    In this video, YouTube “Turkeyologists” walk you through their opening day of turkey season in Georgia, with some excellent, high-def footage of the hunt. I thoroughly enjoyed this video and can’t wait to give turkey hunting a try this season. Enjoy!

    If you enjoyed this, you might also like….

    Do You Have What You Need to Hold Down the Fort?

    Natural Healing Secrets You Need to Know…

    Effective Primal Diet Hacks…

  • Entertaining Yourself on the Homestead

    Entertaining Yourself on the Homestead

    When you have a homestead, you and the family tend to spend quite a bit of time there. That’s not to say you don’t get out and have fun off the property, but there will certainly be quite a bit of time on the property. Naturally, you want to have some things available that can keep you happy and entertained, especially on those rainy days or when the snow comes and you can’t spend as much time outdoors.

    First, get some board games, as well as a deck of cards. Make sure that you get different types of board games, so that you will have choices that will appeal to different members of the family. You should also get some books to have on hand to read from your favorite authors or about subjects that interest you.

    Consider learning some musical instruments, as well. Some of the good options that you might want to consider include the acoustic guitar, harmonica, and ukulele. Whether you are brand new to music or you have played for ages, it is always nice to have instruments on hand. It’s great indoors, and to take with you while you are out by the fire pit or even when you are camping.

    You can also start to look for some new hobbies that might interest you. For example, perhaps you have always wanted to learn photography that goes beyond just taking pictures of your cats or your food. You will find plenty of interesting subjects on the homestead. Learning photography techniques is fun and enjoyable. Just think about the type of hobbies that you’ve always wanted to learn, and then pursue those. Learn to tie flies, learn to reload ammo, learn to paint… the possibilities are endless.

    The homestead never has to be a boring place, so make sure it is plenty of fun!

    If you enjoyed this, you might also like….

    Do You Have What You Need to Hold Down the Fort?

    Natural Healing Secrets You Need to Know…

    Effective Primal Diet Hacks…