Spring Equinoxes Explained (Video)
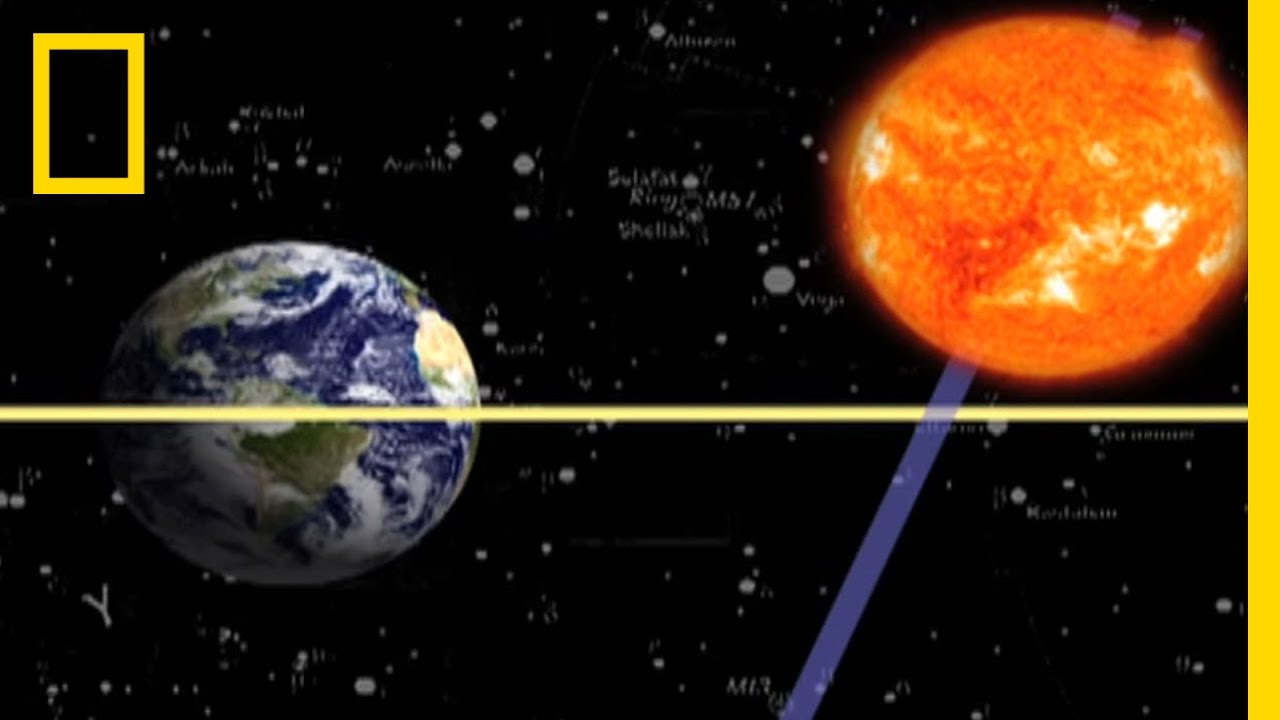
Today is the first day of spring! Hopefully, you’ve got lots of warm weather and sunlight in your area so you can get your spring garden started. Spring equinox is a great day to start planting, because there’s only going to be more daylight from this day forward. But what is an equinox, exactly? I … Read more