How to Test Your Soil Using Only a Mason Jar
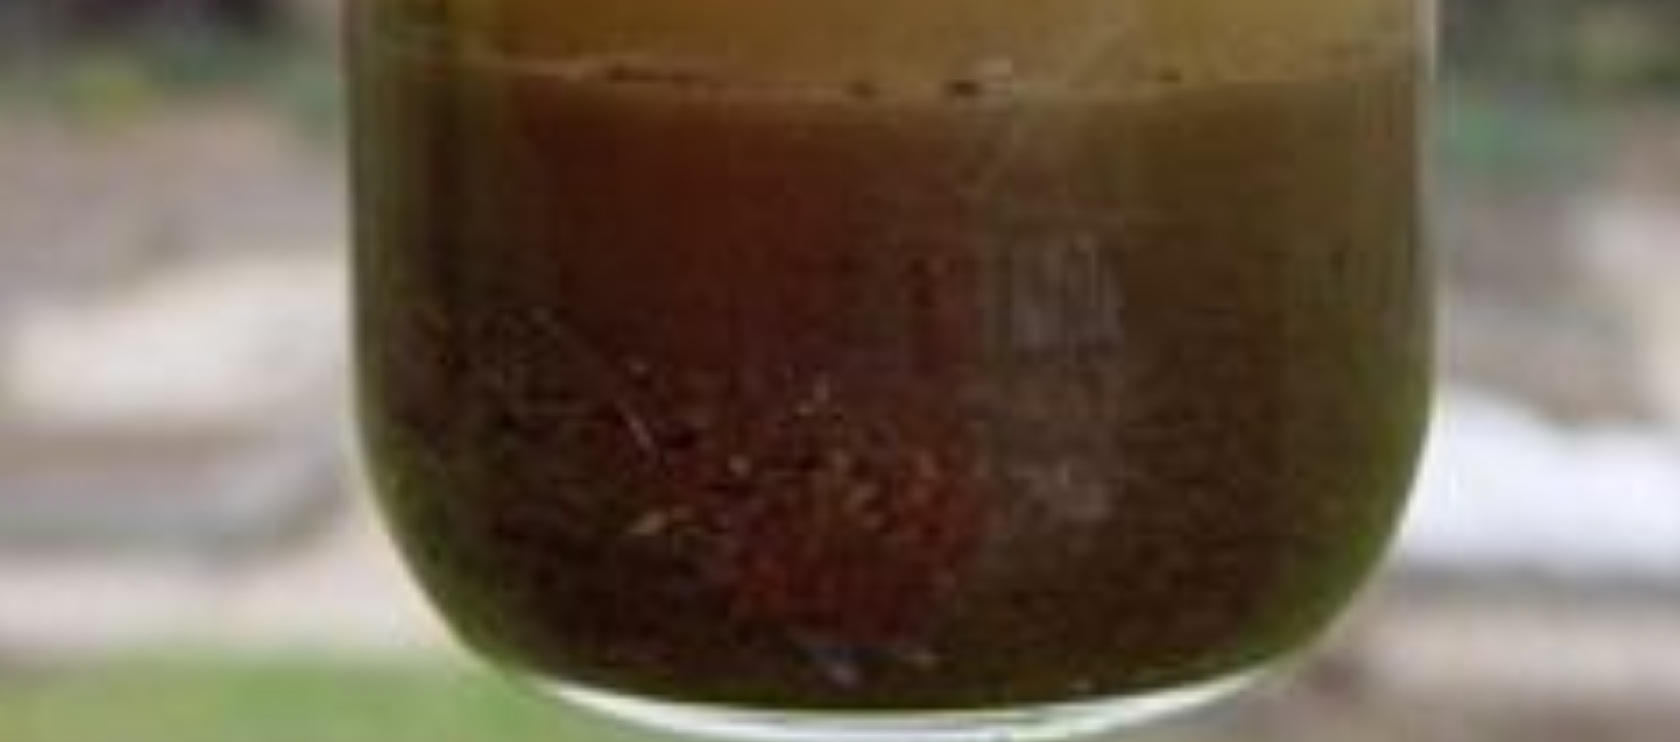
When starting a garden, it’s crucial to know what kind of soil you’re working with. It will help you determine what to plant and how to amend your soil. All soil is comprised of three basic components: sand, silt, and clay, and varying combinations of these three components determine what type of soil you … Read more