Questions About Woodchips
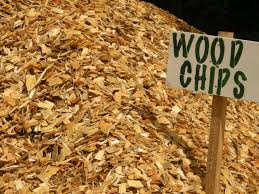
After writing several articles in which I proclaimed the various, near-miraculous benefits of wood chips a handful of people commented with questions. These questions are common judging by online comments and video or article titles that are about wood chips. I’ll try to answer those questions here with what I have found in my research … Read more