Extending Your Growing Season
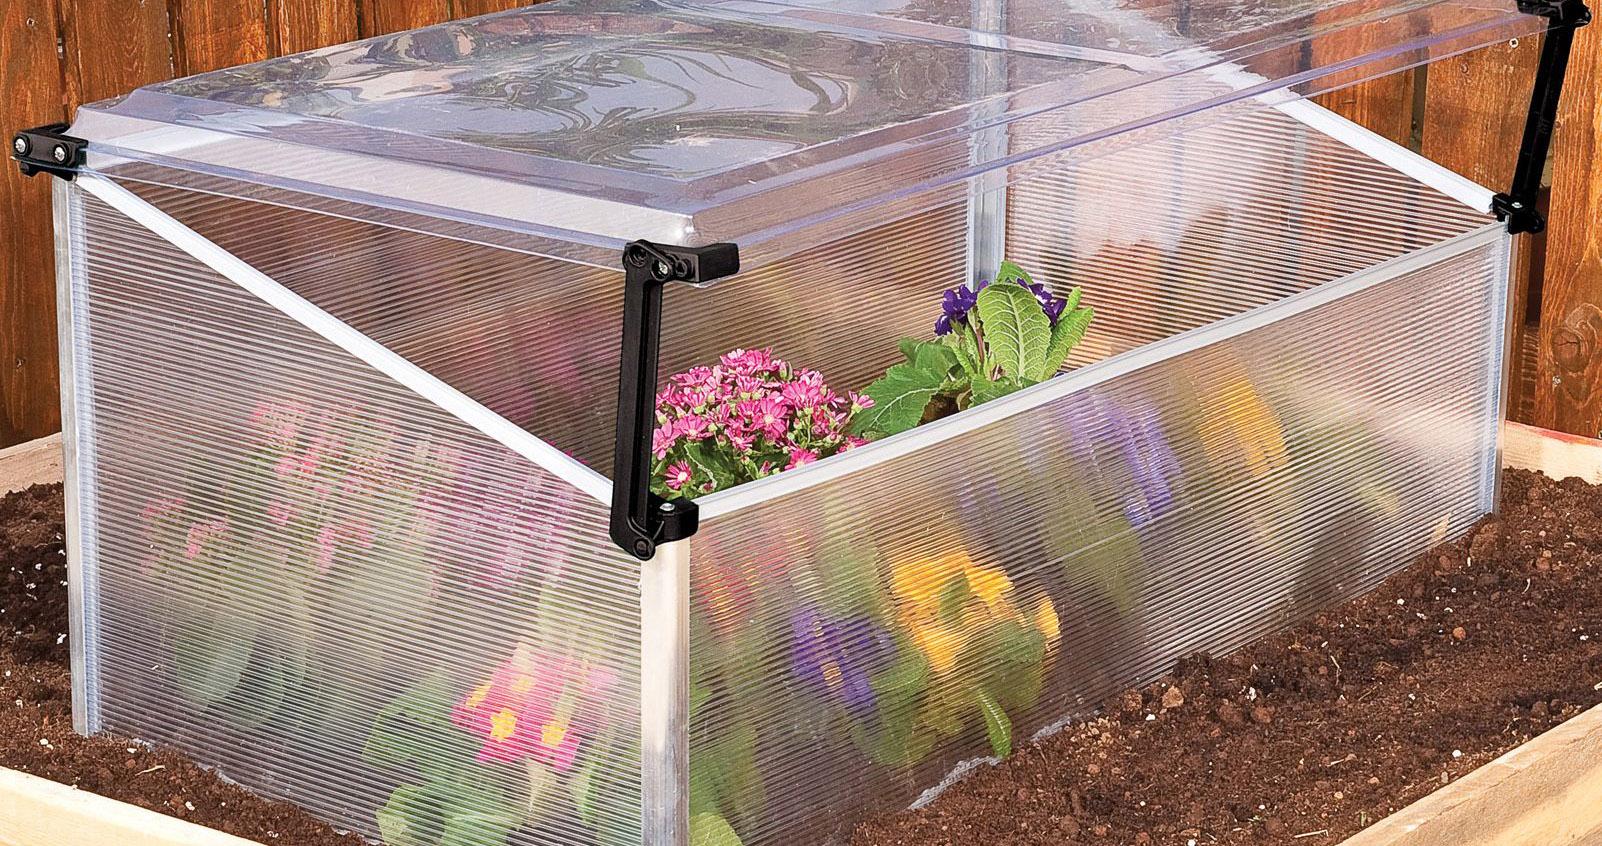
Recently I posted a video demonstrating how to build a PVC hoop house that will help extend your growing season. In this article, I’ll give a few more tips about extending your season and maximizing the benefits to your hoop house. Seasonal Crops While your hoop house will protect your crops from extreme temperature … Read more