Page 71 of 89
1 69 70 71 72 73 89
Homesteading – Page 71 – Homesteader Depot

Category: Homesteading

  • 5 Space Saving Tips for Your Garden

    5 Space Saving Tips for Your Garden

    For most of us, space is an issue in the garden.  Whether your yard is small or you just haven’t converted as much lawn into growing space as you want to so far, space can be the number one determining factor for productivity in your garden.  Here is a list of 5 ways that you can help make the most of the space you do have to grow more food.


    Raised Beds

    Growing in raised beds instead of rows helps make the most of space you have.  With tightly defined borders you can plant right up to edge of your beds.  And if your beds are around 4 feet wide, they are large enough to hold plenty of food and still narrow enough to easily reach across to weed or harvest.  If you were to make paths between each row you would drastically reduce your growing space.

    Sun Tracking

    Taking note of the angel and amount of sunlight in your garden as the day goes on will allow to plant your crops in a way that maximized the sun available to each plant, making it possible to grow more crops in the same space.  Making sure to plant the shortest crop on the side that the sun is on will still allow the taller crop to get light.

    Trellis

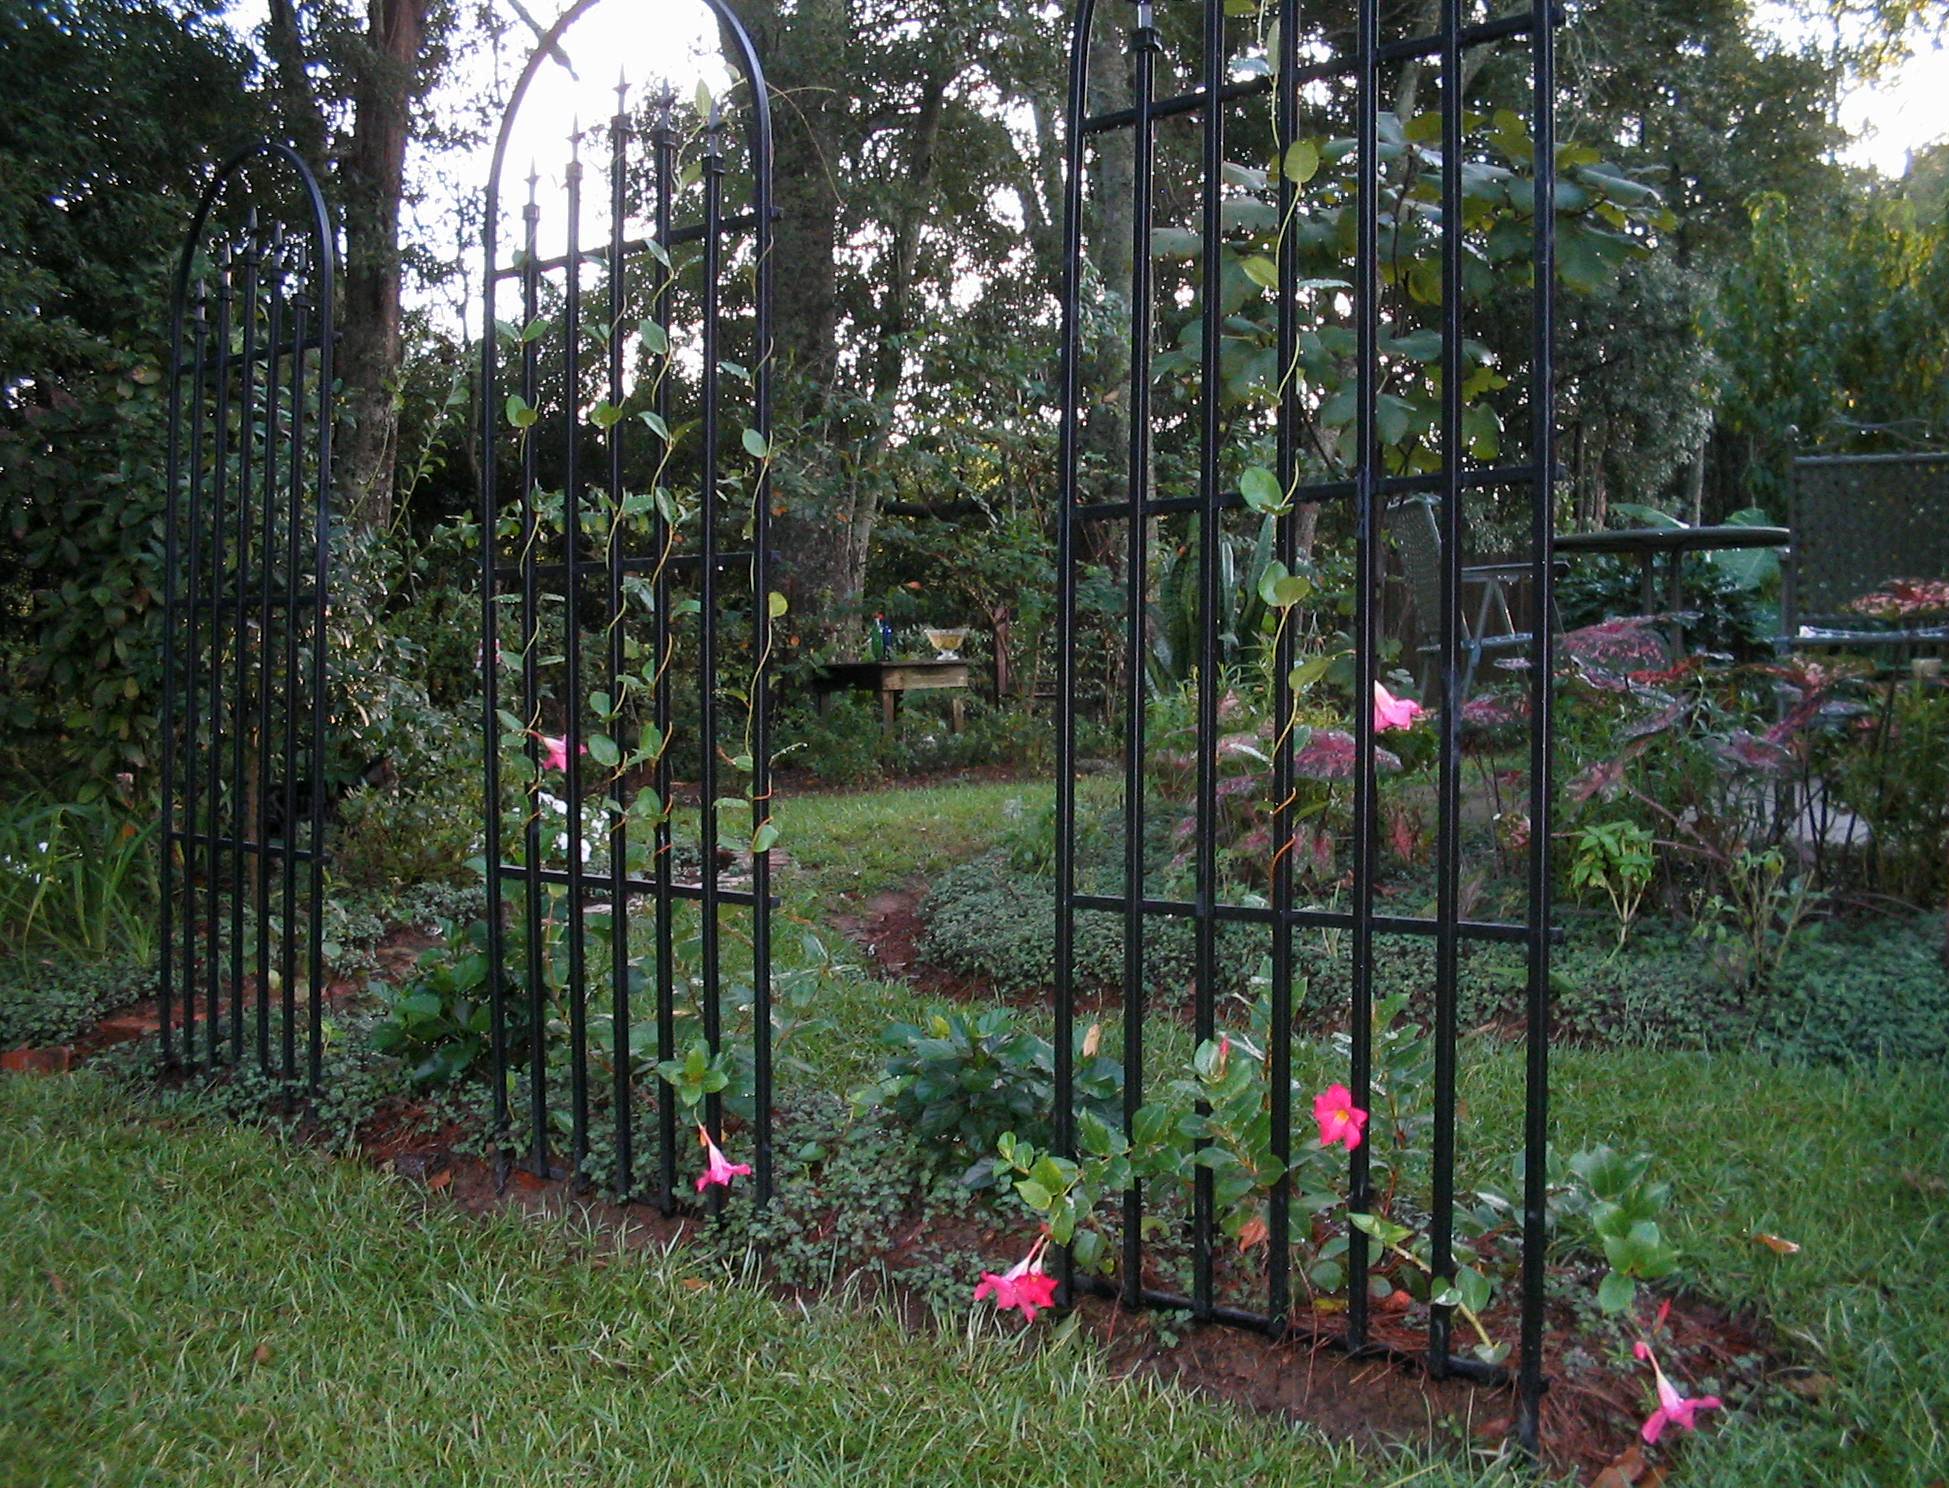
    Tomatoes and pole beans are not the only plants that can be grown on trellises.  Even larger crops like pumpkins can be grown vertically if the fruit is supported as it grows.  An old worn out t-shirt around the fruit and tied to the trellis works great.

    Perennials

    Not only does growing more perennials help reduce your work load, but it also means that the soil they are grown in will always be productive instead of having months of waiting in between harvests.

    Interplanting

    Interplanting your bed with slow growing crops like brussel sprouts and fast growing crops like radishes can double your yield without increasing the space necessary.   The radishes will mature before the brussel sprouts and be ready for harvest without interfering with them.


    This list is just a few of the ways that you can save room in your garden and increase production.  Don’t let the size of your garden keep you from growing more, just make the most of it.

    If you liked this, you might also enjoy…

    Learn to Heal and Treat Illnesses Naturally…

    An Ancient Secret to Slimmer Waists…

    Learn to be a Master Carpenter at Home...

  • Chickens Do More than Just Produce Eggs

    Chickens Do More than Just Produce Eggs

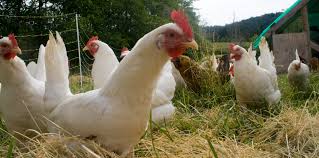
    If you are new to homesteading, you will find that many who practice this way of living will tell you that you should get some chickens. What is it about chickens that make them so great? Well, in addition to producing eggs, not to mention meat, they have some other benefits as well, and they could be just what your homestead needs.

    Chicken waste is full of nitrogen, which is very good for the soil. In fact, chickens can help to produce some of the best manure you can find for your garden. All you need to do is keep your chickens in the area you want fertilized for a couple of days. In addition, chickens are able to remove a wide variety of pests from your garden. They will gleefully eat all of the bugs and pests that would otherwise ruin the plants in your garden.

    Chickens can also help to spread out mulch. As they go through the mulch looking for food, they will naturally spread out. Even a small flock of chickens is able to spread out and reduce the mulch pile in no time.

    Of course, raising chickens is a bit more complicated than just going out, buying some chickens, and putting them in your yard. You need to do some research so you will have a better understanding of how to raise the chickens properly, what type of housing you need to build, what to feed them, the best breed of chicken, and more. As long as you take the time to understand what it takes to raise them, you can experience all of these benefits.

    Now that you know just how beneficial chickens can be, it’s time that you added a few to your home.


    If you liked this, you might also enjoy…

    Natural Healing Techniques Doctors Don’t Want You to Know…

    The Weight-Reducing Magic of Yoga…

    The Ultimate Woodworking Course..

  • DIY Vapor Rub Recipe

    DIY Vapor Rub Recipe

    Cold and flu season are no fun, especially if you are experiencing bad congestion that makes it difficult to sleep, breathe and go about your daily business. Vick’s is the classic remedy for terrible congestion, but it’s actually petrolium-based, which is pretty much as bad as it sounds. Who wants to add carcongens to an over-the-counter cold remedy?

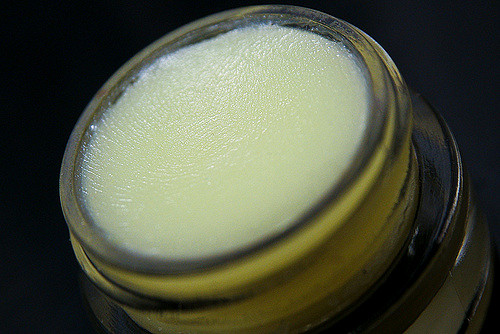
    This natrual and homemade alternative is not only much safer and healtier, it also smells even better and is more effecive. Also, if you make the initial purchase of these basic ingredients, the essential oils will probably last for years of many recipes. A little bit of this healing rub goes a long way, too!

    Here’s how you make it:

    Ingredients: 

    1/2 cup olive, coconut or almond oil

    2 tablespoons beeswax (pellets are easiest to measure and use)

    20 drops eucalyptus essential oil

    20 drops peppermint essential oil

    30 drops camphor essential oil

    Small jar with lid (an old baby food container or something similar works really well)


    How to Make It: 

    1. Fill a shallow, small skillet with about half an inch of water and place on the stove.
    2. Measure out your oil and beeswax into your jar. Put the lid aside for now
    3. Place the jar in the skillet and put your stove to low
    4. Keep an eye on it as the water heats up; the beeswax will begin to melt
    5. Once the oil-beeswax mixture is totally melted, carefully remove the jar from the skillet
    6. Add all of your essential oils to the jar and blend, using a popsickle stick or some other disposable utensile, as beeswax can be very hard to clean off regular metal spoons or forks
    7. Place the lid on the container and set the jar aside to cool
    8. Once it has cooled, it’s ready to use!

    How to Use:

    You can keep your jar of vapor rub in the cabinet just as you would any other balm or ointment. It will last virtually indefinitately. When you are sick, apply a modest amount to chest, back and feet. It can cause a bit of a hot/cold sensation though, so you might want to try just a little bit at first to see how much you can handle and then apply more accordingly.

    If you liked this, you might also enjoy…

    Natural Healing Techniques Doctors Don’t Want You to Know…

    The Weight-Reducing Magic of Yoga…

    The Ultimate Woodworking Course..

  • How to Make a Double-Sided Draft Stop

    As winter rolls in and temperatures drop, you don’t need to freeze in your own home to keep your heating bill from climbing.  Drafts can be a major source of heat loss, even inside your home from unheated portions that are not in use.  Here is a great instructional video with simple to follow instructions on how to make a double-sided draft stop for doors.

    This is only a basic demonstration, you can substitute materials to fit what you have available, like using dried pop-corn instead of the pool noodle, or an old pair of jeans instead of new fabric.  You can even make a one-side, version with custom dimensions for a drafty widow.  Hope this helps keep you warm this winter.


    If you liked this, you might also enjoy…

    Natural Healing Techniques Doctors Don’t Want You to Know…

    The Weight-Reducing Magic of Yoga…

    The Ultimate Woodworking Course..

  • Benefits to Cooking with Cast Iron

    Benefits to Cooking with Cast Iron

    Cast Iron pans may seem like a relic of the past, but they are still in use today in modern kitchens across the world because these pans have stood the test of time.  So with more options than ever, why should you choose cast iron over alternatives like aluminum, stainless steel, or non-stick cookware?  Here are just a few of the benefits to be had from cooking on cast iron.


    Avoid The “Teflon Flu”

    Non-stick cookware is coated with a synthetic polymer called polytetrafluorethylene, or PTFE.  This coating can degrade in high temperatures (something kinda common in cooking) and release toxic gases.  These gasses can kill pet birds that are in the kitchen while you are cooking, like the canary in the coal mine.  They also cause flu-like symptoms sometimes referred to as the “Teflon flu”, long-term exposure can lead to further health problems.  If the surfaces are scratched they can flake off particles of PTFE into your food that you will eat.  It is said that these particles are inert and won’t harm you, but I’d error on the side of safety on this one.

    Iron Intake

    While aluminum isn’t as toxic as Teflon and stainless steel doesn’t release any harmful fumes, cooking with cast iron could actually improve your health.  Cooking with cast iron can increase your iron intake.  Healthy iron levels can boost your immune system and your energy level.

    The Price is Right

    Cast iron pans of similar size and quality to their stainless steel counterparts save you as much as 60% on initial costs and they wear well over time.

    Versatility

    Cast iron cookware can be used in the oven, and in an emergency can be used over any heat source including an open wood fire.


    Cast iron cookware isn’t still in use today because of a lack of options, but because it is better than other options.  If you haven’t cooked on cast iron yet then you don’t know what you are missing, and you might be making yourself sick while you’re at it.


    If you enjoyed this, you might also like….

    Last Resort Home Defense and More…

    Natural Healing Secrets You Need to Know…

    The Healthy Primal Diet Everyone Should Try…

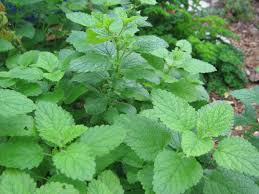
  • All About Lemon Balm

    All About Lemon Balm

    Lemon balm is a perennial herb in the mint family.  It gets its name from the strong “lemony” smell of the leaves, which also have a tangy taste to them.  If you aren’t currently growing some, here are a few reasons why you should start.


    1. Ease: Lemon balm is easy to start from seed and once established it needs little care.  It can be grown in full sun in areas with mild weather, or in partial shade in hotter climates.
    2. Anti-viral: Lemon balm can help fight off viral infections.
    3. Sleep aid: Lemon balm has shown in tests to provide a natural and healthy deeper sleep.
    4. Antioxidant: Lemon balm contains eugenol, rosmarinic, ferulic, caffeic acids, and quercetin.  All of which can help protect your cells against damage by free radicals.
    5. Brain health: Lemon balm has been linked to improved memory and in animal studies compounds in lemon balm have shown promise in protecting the brain from damage after a stroke.
    6. Child safe: Don’t go crazy with a child safe sleep aid, but lemon balm has not been shown to be dangerous for children or pregnant women.  Though of course if you were to buy a product made from lemon balm it would tell you to consult a doctor so I’ll say the same so I don’t get sued.
    7. Attracts bees: Bees aren’t doing so good these day.  Lemon balm is a favorite food for bees.  By planting it in your garden you are not only attracting pollinators that will help your fruiting plants, but you will be helping to strengthen a vital species that is in danger.


    So, from detoxifying your system, putting your kids to bed when they don’t feel good, and helping to save the world’s bees, lemon balm can do it all.  It’s not a plant that you want to go without in your garden or your medicine cabinet.  Start growing some, you won’t regret it.

  • Tips to Keep Rodents OUT This Winter

    Tips to Keep Rodents OUT This Winter

    As the temperature drops and food sources diminish, rodents are likely to want to relocate, and your home is going to be high on their list.  They might start out in your garage, attic, or crawl space, but with the reproductive rate of rodents, they will soon be spreading out from there.  Allowing these furry freeloaders to share your space isn’t only likely to lead to property damage, but it will also put you and your family in proximity to diseases like the hantavirus and the bubonic plague.  Here are a few steps you can take to keep rodents where they belong this winter.

    Restrict Access

    The first step should be to make it harder to gain access to your home.  Trim back tree branches that would give them easy access to your roof, use metal wire mesh to cover attic vents, and seal cracks around doors and crawl spaces.  Hopefully,  they will move on if it’s hard to get it.

    Protect Food

    If they do make it inside, they are less likely to stay, or worse, breed, if there isn’t access to food.  Keep your home clean, what is a small amount of food for a human can be a feast for a mouse.  Store your food, and feed for your animals in containers that are sealed.  All animal feed that you keep outside or in areas that are easily accessible should be kept in containers that rodents cannot chew through.

    New POWERFUL Laundry Magnets — NEVER BUY Detergent Again!  Learn More Here>>>

    Fight Back

    There are a number of ways to kill your rodent intruders on the market these days, but they all fall into one of two categories.  Poison or traps.  Poison has its conveniences, but your animals might ingest it, predators like owls might eat exposed rodents and die (which would lead to greater numbers of pests in the long run), or they could die in your walls where you can’t get to their rotting carcass.  Traps, especially electronic traps are probably a better option in most cases.  They also make live traps for mice and squirrels, but then you have to figure out what to do with them without getting bit.

    Related Article:  4 Completely Natural Ways to Rid Your Property of Mice

    Clean Up

    If you see signs of a rodent, clean up after them.  Especially after you have eliminated them.  Cleaning up the area will not only make your home healthier by removing their waste, but it will also decrease the chances of further invasion.  Mice and rats leave urine trails where they walk, a urine trail will tell other mice and rats that there is a home with potential food here.

    Rodents can damage your home and spread serious illness.  Take the proper steps to keep your home and your family safe this winter.

    If you liked this, you might also enjoy…

    Natural Healing Techniques Doctors Don’t Want You to Know about…

    Ultimate Woodworking Course — Build Anything You Can DREAM of>>>

  • Homemade Root Cellar

    Freezing your food is a great way to preserve it.  But if your freezer breaks, there’s no reason to take it to the dump.  You can still use it to preserve your food by converting it to a mini-root-cellar.  You will be able to store potatoes, carrots, onions, and other crops through winter and into spring without the need for electricity.  Here’s how…

    The first step is to remove the mechanical components.  This could include Freon, which involves using more care and disposing of it properly so you don’t contaminate your area.

    After you have stripped the freezer you are going to cut two circular holes in the sides.  The holes will be used to install PVC pipes for ventilation, so cut them to the size of the pipes that you will be using.  Ventilation is important to prevent spoiling so don’t go too small, the larger the freezer the more ventilation you will need.  The holes should be directly above each other, one neat the top of the freezer, the other near the bottom.

    Next, assemble your PVC pipes.  Place short pieces in the holes in the freezer, then hold a longer piece (it needs to extend at least 1 inch below the bottom hole, and about 12 inches about the top of the freezer (more in places with harsh winters).  Mark on the longer vertical pipe where you will need to cut it to attach it to both shorter pieces that enter the holes on your freezer.

    Once you have assembled the PVC pipes, they should look like upside-down “F”s.  Next, carefully drill some holes near the end of the vertical pipe.  These will be your root cellars only ventilation so you want to drill plenty of holes.  Then cap the top and bottom of the vertical pipe.

    Next, attach the assembled PVC “F”s to your freezer, caulk them in place to secure them, seal the gap, and insulate.  Next, wrap some wire mesh over the ends of the pipes and attach this to the pipes with hose clamps.  This is to keep out bugs and rodents.

    At this point, your freezer is ready to be buried.  If you live in a place with a harsh winter you will want to bury your freezer so that the top is at least 12 inches from the ground level, this is why you needed to make your vertical pipes longer than those with mild winters.  If you live in a place with a mild winter you can make the top of your freezer nearly flush with ground and cover it with plywood and a tarp or whatever you have available, you are done.  If you have your freezer deeper to avoid freezing, you will need to fill in the gap with something light enough to remove when you want to access your root cellar, but that will insulate well enough to prevent freezing.

    Don’t waste time and energy growing crops that end up spoiling because you don’t have room to properly store them.  Make yourself a root cellar this year so you can enjoy all the fruits of your labor.

    If you liked this, you might also enjoy…

    Learn to Heal and Treat Illnesses Naturally…

    An Ancient Secret to Slimmer Waists…

    Learn to be a Master Carpenter at Home...