Get Healthy with the Right Spices
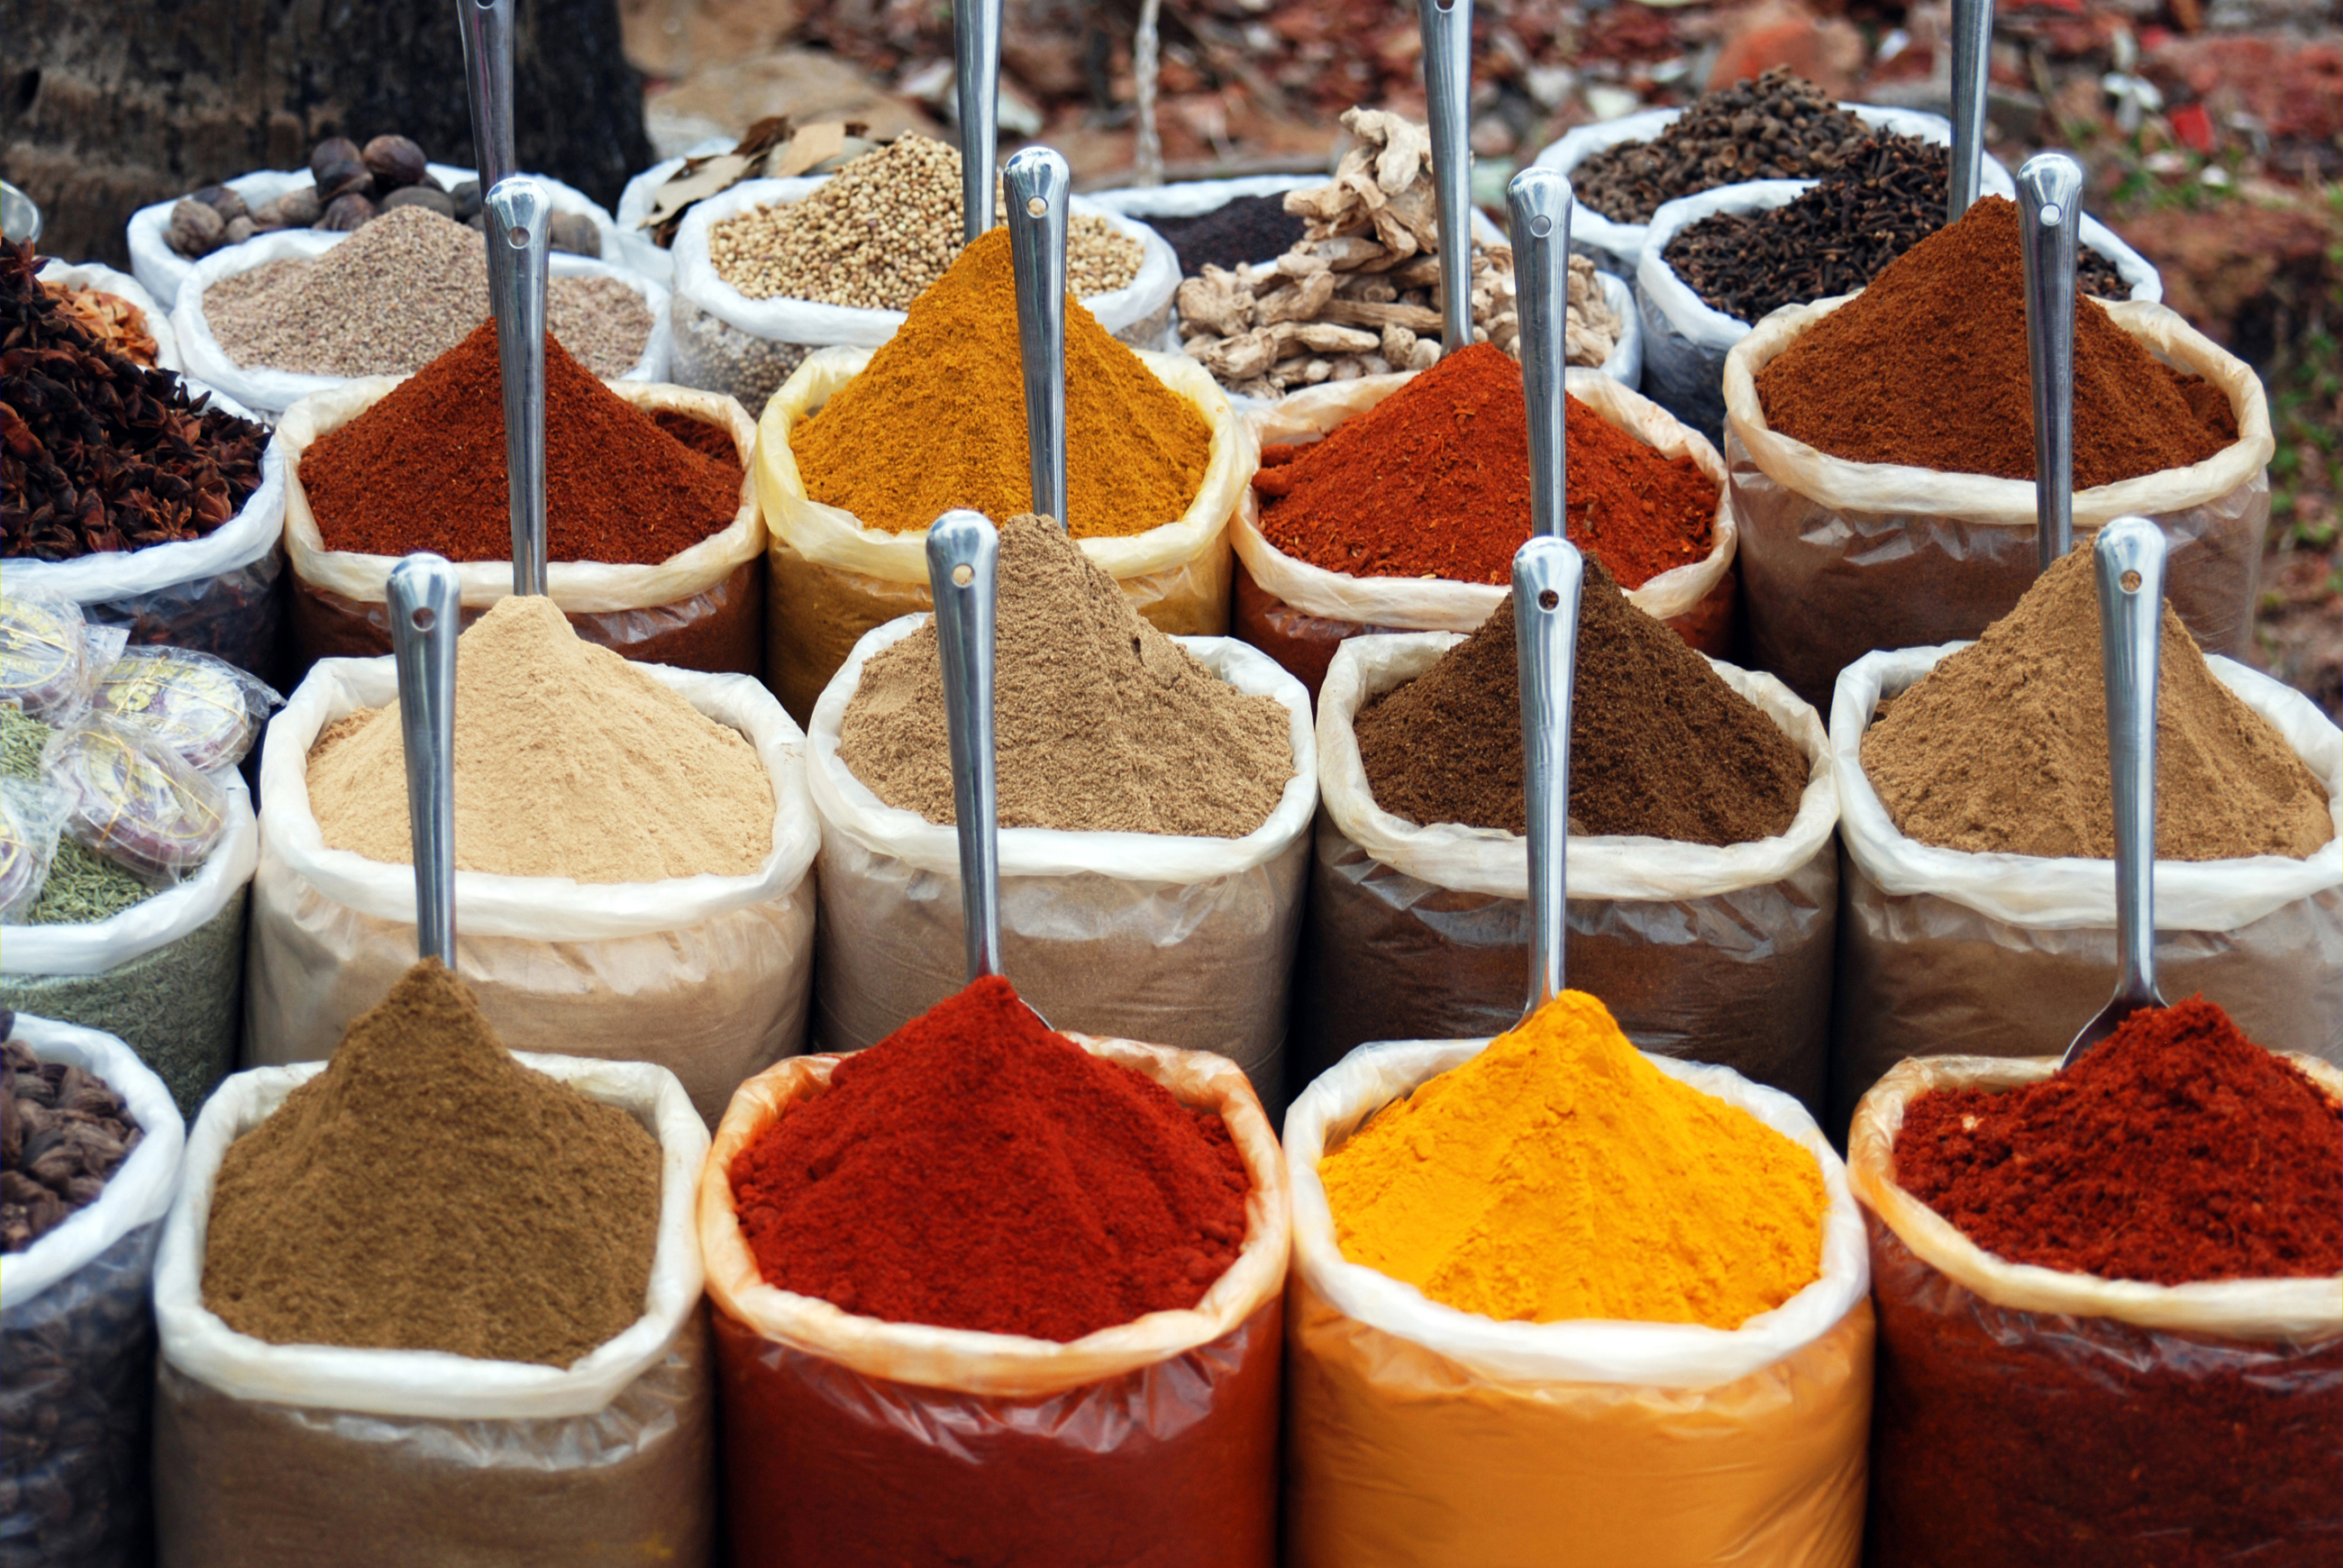
Part of homesteading has to be about living a healthy lifestyle. You know the importance of having fresh and healthy food, so you can stave off common avoidable illnesses that are plaguing so many people in the country today. However, you might not have thought about all of the benefits that can come from using … Read more