Are Snakes Good for the Garden?
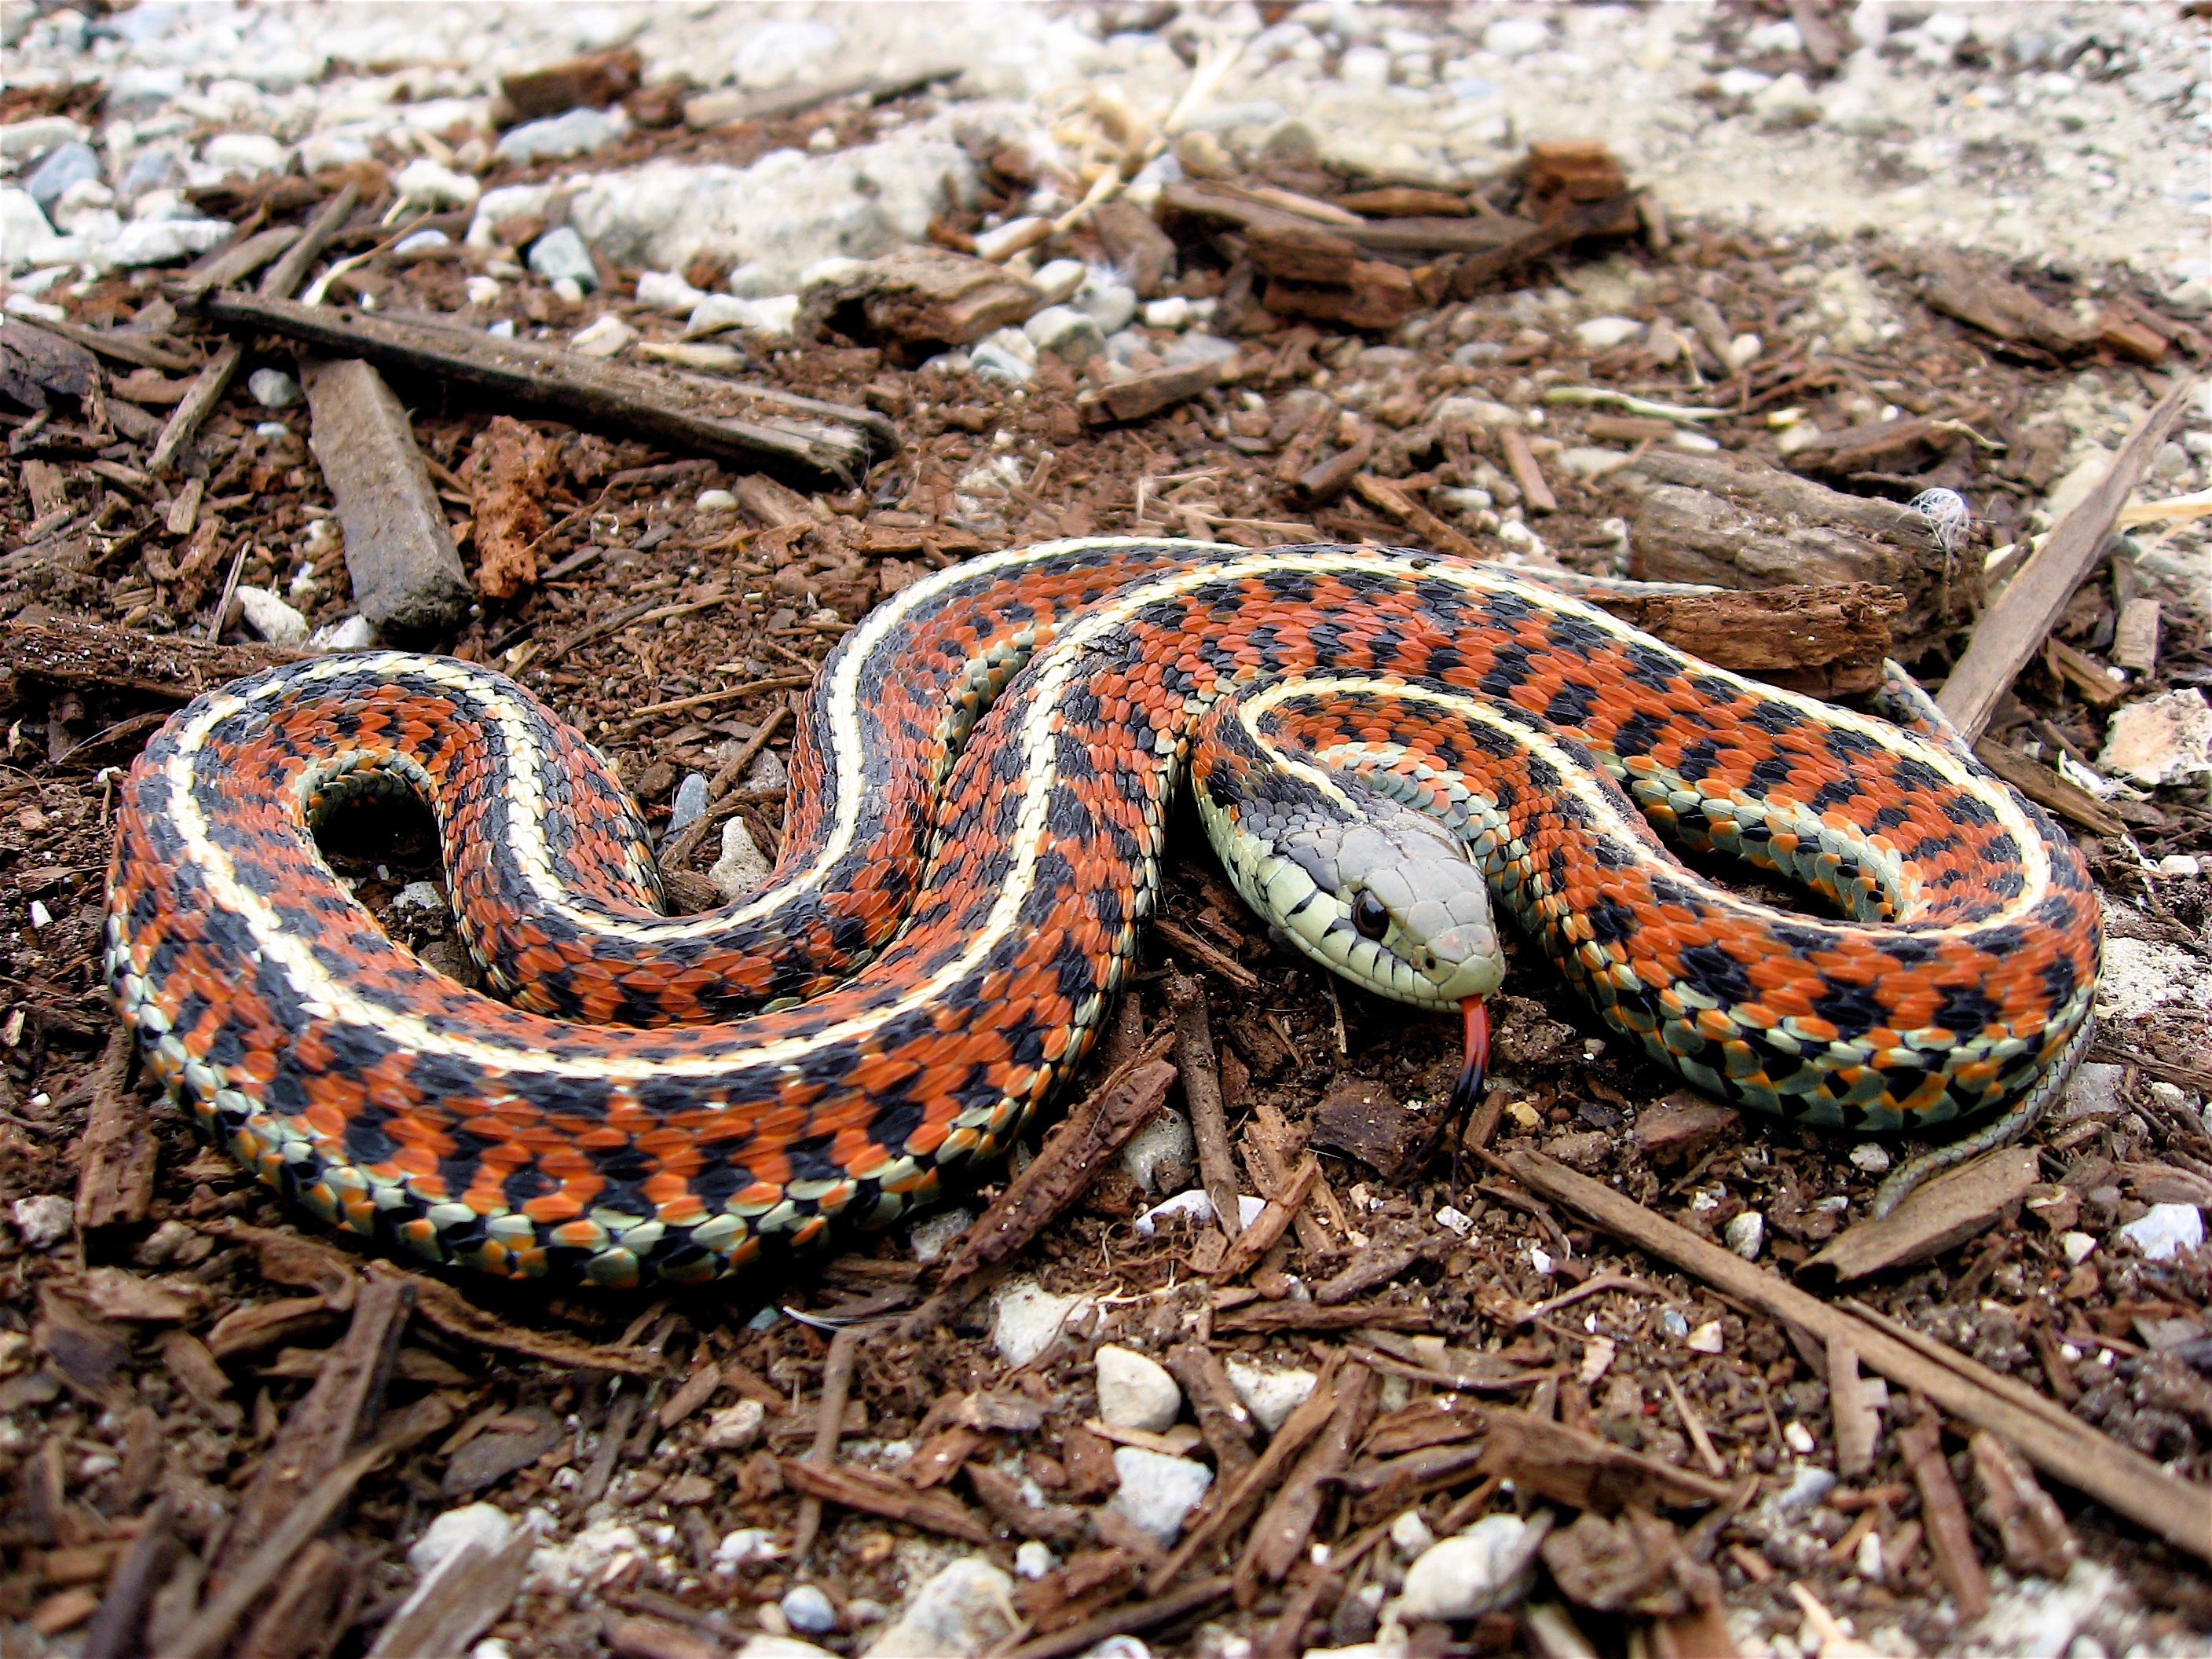
Snakes get a bad reputation, and that’s unfortunate. Too often, people kill them as soon as they see them. Many types of snakes are entirely harmless to humans, but they can be very good for your garden. In fact, garter snakes, rat snakes, and a number of species can be very beneficial. Let’s look at … Read more