A Simple Guide to Alternative Flours
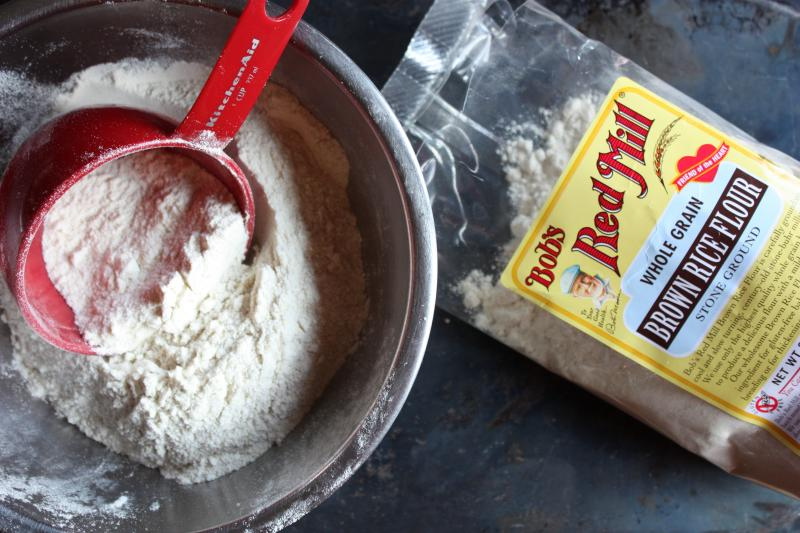
There are many reasons people are flocking to alternative flours today. Gluten intolerance is becoming very common, but there are also many diets that eliminate wheat or grains, such as the whole 30, primal or paleo diets. There are a few reasons gluten-free and grain-free diets can be beneficial for your health, but that’s another … Read more