Page 15 of 16
1 13 14 15 16
Outdoors – Page 15 – Homesteader Depot

Category: Outdoors

  • How to Make a Fly Trap

    How to Make a Fly Trap

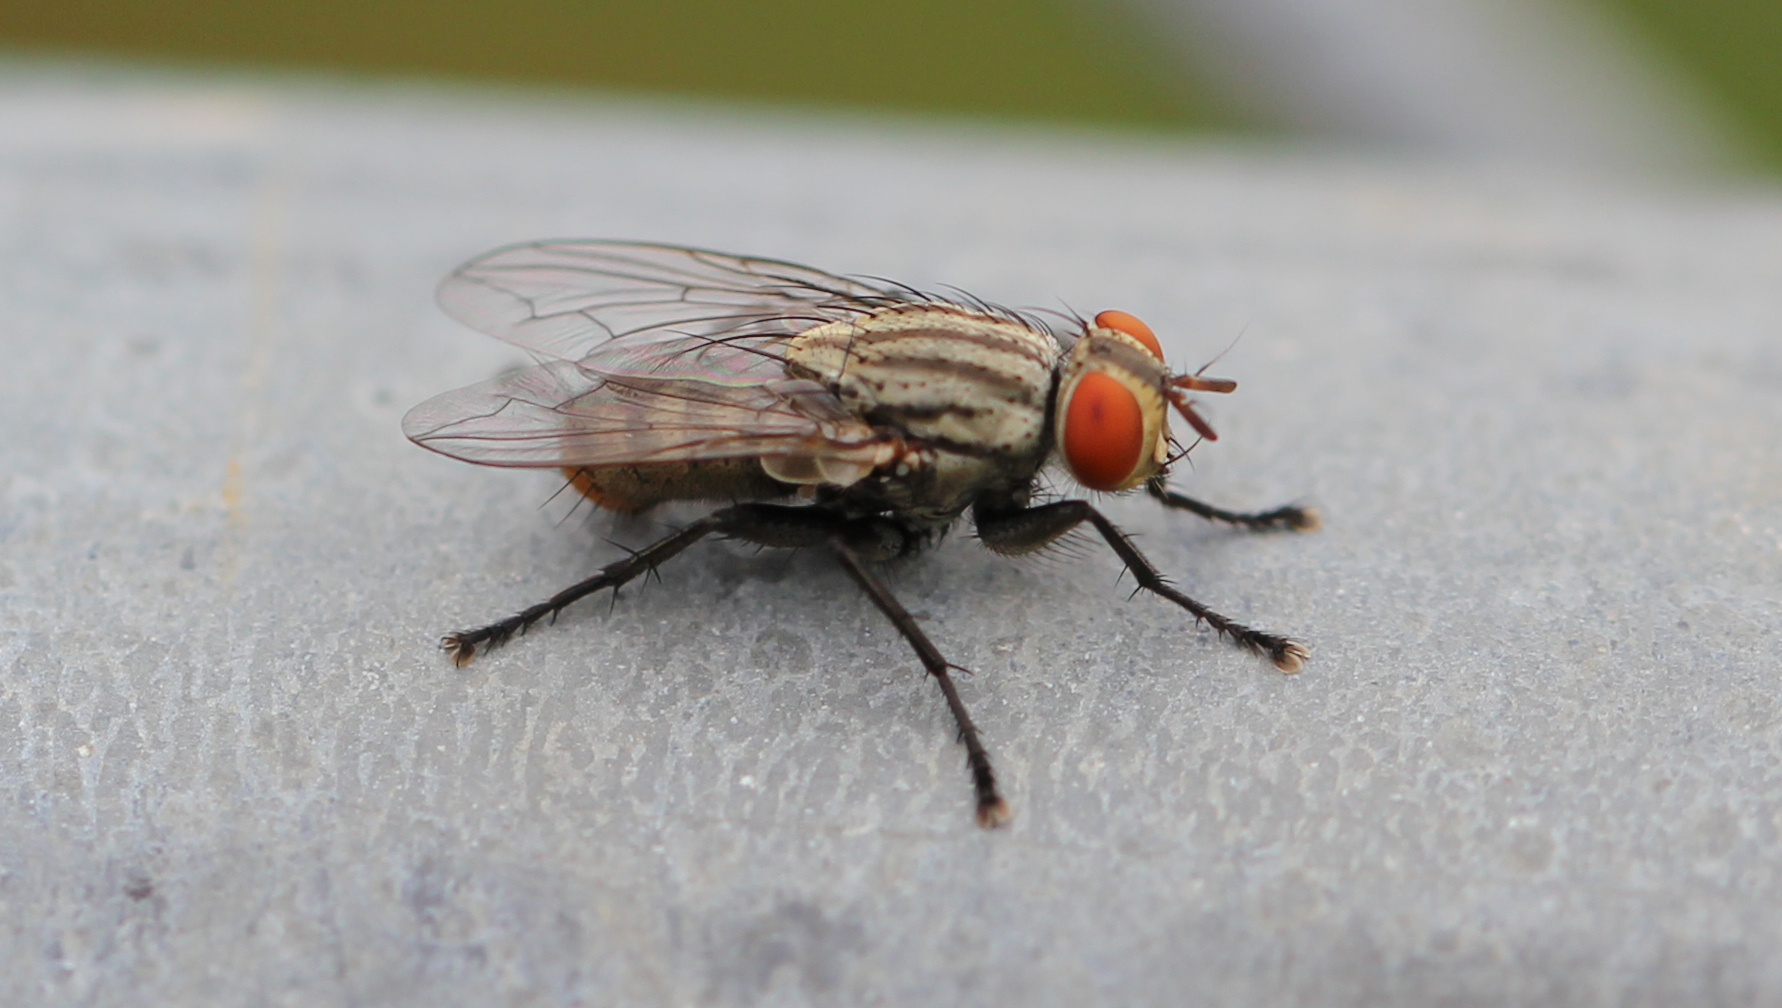
    Not only are flies annoying, but they are disgusting too.  They can spread diseases just by landing on your food, without your even noticing.  They can ruin the time you spend outside trying to relax, and they can sneak inside every time you open the door.  And while raising animals and having a compost pile may increase their numbers, even if you have no animals and a near sterile yard, they can fly on over from your neighbor’s.  What can you do about it?  Trap them with a few things you probably already have laying around the house, and here’s how.

    How to make a fly trap:

    1. First gather up some materials, a symmetrical smooth plastic bottle (it can’t be a milk bottle or any type of bottle with a handle or ridges), some string or wire, some sugar, and some yeast or bread crumbs.
    2. Next, cut the bottle in two about 1/3 of the way down.  Remove the lid.
    3. Turn the upper portion of the bottle upside down and slide it into the lower portion until the two cut ends meet.
    4. This should leave the bottle top a few inches from the bottle of the bottle.
    5. Now, make a couple of holes through both pieces on opposite sides of the bottle just below the cut line that is now the top.  Thread the string or wire through the holes in whatever manner you like so as to allow you to use the string to hang the bottle by later.
    6. Finally, put a few spoons full of sugar and yeast or bread crumbs into the bottle, then carefully add water so that it comes about ½ inches or so from touching the upside down bottle top.  The trap will not work if the water line is too far below, or if it touches the bottle top.

    The trap functions by attracting the flies in, they have to land on the narrow opening and crawl in, but they will tend want to fly away instead of crawl around searching for an exit.  This will have them either up in the corners where they can’t get out, or drowning in the yeasty water that attracted them.

    Once your bottle trap is ready, hang it up in a tree or on a fence near your place.  Since it’s pretty easy and inexpensive to make, you might want to put one at each corner of your yard and one near your garbage can.  If you don’t see flies in your trap, adjust the water line or change your bait.  When the trap is full of dead flies you can wash it out if you like, but since it’s made out of trash anyway you can just throw it away and save yourself from a nasty task. Happy fly hunting!

    If you liked this, you might also enjoy…

    Learn to Heal and Treat Illnesses Naturally…

    An Ancient Secret to Slimmer Waists…

    Learn to be a Master Carpenter at Home...


  • How to Build a Fire Pit (Infographic)

    How to Build a Fire Pit (Infographic)

    Fire pits are great for summer or fall nights when you want to be outside but want or need some extra warmth. It’s a great thing to have on a homestead not just for outdoor evenings, however, but also for burning small bits of waste or even cooking (with the right set-up, but that’s another article for another day).

    This handy fire pit infographic from fix.com breaks down the process of building a firepit and makes it easy-to-understand and manageable.

    To start, it’s important to think about what you’d like to use your fire pit for, and where to place it. If you’d like to use it to burn garden waste or heat up water for butchering chickens, you might want to put it closer to where you keep your garden tools or butchering area. If you’d like to add a spit and cook, maybe closer to the house.

    Whatever you do, make sure to check your local fire ordinances so that it will meet regulations. You don’t want to put all this work into a fire pit just to have the fire department called when you light it up for the first time!

    According to the original article, the materials you will need are:

    • Shovel
    • Measuring tape
    • Spray paint to outline the shape/size
    • Wood stake
    • Concrete blocks, fire bricks, landscaping stones
    • Sand
    • Level
    • Rubber mallet
    • Masonry adhesive
    • Gravel

    The infographic is about both above ground or in-ground pits, and you can read the original article to read a more detailed discussion of how to pick which one you might like.

    Here’s the infographic, enjoy!

    fire-pit-embed-small

    If you liked this, you might also enjoy…

    Natural Healing Techniques Doctors Don’t Want You to Know…

    The Weight-Reducing Magic of Yoga…

    The Ultimate Woodworking Course..

  • Tips for Repelling Ticks

    Tips for Repelling Ticks

    If you have to live in the woods, you’re probably very familiar with ticks. They are not a fun creature deal with, and they can cause Lyme disease. Whether you’re trying to protect yourself, your children, or pets, you need to have some tips for making sure you can keep ticks at bay.

    Garlic is said to work quite well at repelling ticks. However, you probably don’t want rub garlic all over yourself. Eating garlic or garlic pills can provide the same results though. Something to remember is that garlic is not good for pets such as dogs and cats. So do not give it to them.

    Utilizing insect repellent that contains DEET can help as well. You can spray your clothing, as well as your shoes and socks. This works very well to keep the ticks away. If you’re going to be in an area where you know ticks are present, keep your pant legs tucked into your socks. It might look silly, but you can be sure the ticks are not going to get inside and onto your skin. You can also look for products that you can give to your pets that will help to repel or kill the ticks.

    Always take some time to check yourself, your loved ones, and your pets after you’ve come back from an area where there are ticks. If you find any ticks, use tweezers with a fine tip to grab the tick. You want to grab as close to the surface of the skin is possible. Then, pull upward with a steady pressure. Never twist or yank the tick. This could cause the head or parts of the mouth to break off inside the skin. Then, clean the area.

    To dispose of a tick, you can drown in alcohol. It can also be flushed down the toilet. You do not want to crush it with your finger.

    Be aware of the ticks that might be in your area, and start taking precautions if you haven’t already.

    If you liked this, you might also enjoy…

    Natural Healing Techniques Doctors Don’t Want You to Know…

    The Weight-Reducing Magic of Yoga…

    The Ultimate Woodworking Course..


  • 3 Reasons Why Ducks Are Better Than Chickens

    3 Reasons Why Ducks Are Better Than Chickens

    When most people think of animals for their back yard they quickly think of chickens.  And while there is good reason so many people think to raise chickens, there are also reasons why ducks may be the preferable livestock for your backyard farm.

    Ducks don’t crow

    Not everyone starting their homestead has 15 acres in the country.  Some may have less than an acre with neighbors right next to them that don’t share their passion for raising animals and growing food.  Keeping this in mind, it is not hard to think of how a rooster could degrade the relationship one has with the neighbors.  Ducks, on the other hand, don’t crow, and don’t cackle loudly after laying an egg, or when in preparation to lay an egg.

    >>>What the Heck CBD?

    Ducks don’t destroy everything

    It’s true that ducks will eat all the grass available if they are confined, just as chickens will.  But they can be allowed into an established garden without causing total devastation.  Ducks do not kick and scratch the way chickens do which will destroy the roots of plants and ruin mulch.  Plants will recover from losing some leaves a lot faster than they will if they are uprooted and kicked into the path.

    Ducks are better at egg laying

    Ducks do not decrease egg production in the winter the way chickens do.  The eggs they do lay are more nutritious and have a taste that is often preferred over chicken eggs.  With a thicker shell and membrane, they also last longer than chicken eggs do.

    You may already have a flock of chickens in your yard now and may be skeptical of replacing birds that you have come to appreciate.  But as your chickens become chicken dinner you might want to make some room in your flock for some different birds and give ducks a try too, if it doesn’t work out you can always have roast duck instead of fried chicken.

    If you liked this, you’d also like…

    The Ultimate Natural Medicine Course…

  • Homemade Bird Feeders

    Homemade Bird Feeders

    During the fall and winter, as trees die and snow eventually covers the ground, many birds have a harder time finding their food than during the spring and summer months. But unlike their hibernating woodland counterparts, birds still look for sustenance in the coldest months!

    A very nice way to help them out a bit, and attract beautiful birds into your yard is to make your own bird feeder. It’s very easy to make and doesn’t require much at all.

    This is a great indoor, snow day craft for little ones. You can make the bird feeders with them, then hang them on a tree within view of the house, and then watch the birds come and feed from it! So much better than TV.

    Another great thing about this craft is it uses pinecones, which can often be found on the ground in abundance during the winter. So if you have several on your property or in a park or along hiking trail you like to visit, this is a great way to use them up. It’d make a great activity for a children’s birthday party, or a homeschool or church group craft as well.

    What You Need:

    • Pinecones
    • Peanut butter
    • Cornmeal
    • Birdseed
    • Ribbon, twine or wire
    • Large bowls, pans or wide plates

    What You Do:

    1. Spoon some peanut butter into a bowl. It’s impossible to say how much you need as that will be based on the size of the pinecone and the consistency of the brand of peanut butter you have, but to give a rough idea, 1/2 a cup for 2 or 3 pinecones is probably a good place to start.
    2. Mix in a bit of cornstarch, about 2 tsp per 1/2 of the peanut butter, and stir to combine. You might need more; the idea is to make the peanut butter more gritty so that the birds can eat it easier.
    3. Pour your birdseed, about 2 or 3 cups to start, into your bowl, pan or wide plate. You just need a big enough area to be able to roll the pinecone around in the birdseed.
    4. Secure your ribbon, string or wire to the pinecone. You will probably want to tie it around the middle and train some up the side so that it can be hung. It doesn’t have to be perfectly symmetrical, it just has to be secure and able to be hung from a tree.
    5. Using a spoon or wide popsicle stick, spread the peanut butter mixture over the pinecone. Try to fill as much of the gaps as you can with peanut butter.
    6. Roll the pinecone in the birdseed, pressing the seeds into the peanut butter and the gaps in the pinecone.
    7. Shake the pinecone off over the container that the birdseed is in, just so you don’t make a mess on your way to hang them!
    8. Once you’re done putting the peanut butter and seed on the pinecones, hang them in a tree and enjoy the sight of happy birds with lots of free food!

    If you enjoyed this you might also like:

    How to get started with Aquaponics.

    Grow your own food, better, faster, stronger….

    DIY Home Energy System…

    Click Here To Get The Best Survival Medical Course…

  • Coffee Grounds For Your Garden

    Coffee Grounds For Your Garden

    Coffee grounds are a common cheap and easy form of organic material to add to your compost pile or garden. Here are a few tips for how, and why, to use them in your garden.

    Coffee and pH

    Despite what you might have heard, coffee grounds in your garden will have little to no effect of your soil pH and will not harm plants even when applied directly as a top dressing in generous amounts.  The acid that is in the coffee you drink is there because it is water-soluble, meaning that is has been removed from the coffee grounds by the water that was used to brew your coffee.  The spent grounds themselves will have a near-neutral pH of 6.5 to 6.8.

    This Backyard Miracle Farm Will Change Our World Forever>>>

    Nutrients in Coffee

    That being said, there is quite a bit in coffee grounds that will have an effect on the soil in your garden.  Coffee grounds have an average NPK of 2.1, 0.3, 0.3.  And the Phosphorus and Potassium are plants available right away, while the Nitrogen will not be available until broken down by micro-organisms and worms that will be attracted to the garden by the grounds.  There is also Magnesium, Copper, Calcium, Manganese, Iron, and Zinc in coffee grounds.  All of which provide food for your plants and for soil life that contributes to the health of your garden. For those that still can’t get over the fear of applying coffee grounds directly to your garden soil, there is always the compost pile.

    Compost

    Coffee grounds will heat up a compost pile quickly which can help keep the necessary organisms alive as we head into the fall and winter months.  And worms love coffee grounds.  Like chickens, worms have gizzards and have no teeth to break down their food.  The coarse texture of the grounds and their small size are great for this.

    Availability

    But perhaps the best thing about coffee grounds is that they are available in most places, and in bulk, for free.  Coffee shops are just going to throw them away, and often times they have separate trash cans that only contain coffee grounds and coffee filters (which are also great in the garden or compost pile).  So even if you don’t drink coffee yourself, stop by a coffee shop today and get your garden a boost.

    Advanced Gardening Course To Accelerate Your Food Production…


  • Tips for Keeping Chickens Warm This Winter

    Tips for Keeping Chickens Warm This Winter

    We recently covered how to care for chickens in hot weather, but as fall seems to be whizzing around the corner, we thought it would be a good idea to cover how to care for them in cold weather, because it’s important to plan ahead. It’s simpler than you think really-chickens can, with the right conditions, keep themselves warm surprisingly well.

    1. Let them breathe

    It seems like you’d want to make their coop completely insulated and airtight to protect them from harsh winter weather right? Wrong. While insulation is very important, and you should start fixing leaks in the roof and putting up fiberglass or foam insulation where you can, it’s also important to ensure proper ventilation in your coop. Chickens produce a lot of moisture that needs to be able to escape, and as they also produce a pretty decent amount of heat on their own, this will breed harmful mold that is more likely to kill them than the cold, so make sure there’s still some airflow through the coop.

    2. Keep them hydrated

    It’s very important that chickens have regular access to clean, fresh water throughout the winter months. Make sure to check it and refill it every day, especially as it might be in danger of freezing! This will help them keep themselves warm and keep their poop clean (eh, cleaner).

    3. Try the deep litter method

    A similar method is done for cows in winter barns with hay, this super cool natural way of trapping in heat harnesses the nitrogen in the chicken’s droppings and helps keep them warm. Line the coop with a thick layer, about six inches, of litter and/or hay, straw, wood chips, leaves, etc., then turn once or twice a week, removing wet portions, paying special attention to areas under roosts, and replenishing if necessary. (Hint: this will make some awesome compost in the spring!) You can even toss in some feed to encourage them to scratch it up and turn it too!

    4. Allow for ample roost space

    Chickens need proper roosts to be able to keep warm. If they sleep on the ground, they will loose too much heat. They need ample room to perch, and for their claws to wrap all around the roost to be able to keep them protected from frost bite. If you see your chickens sleeping on the ground or in nesting boxes, they need more roosting space.

    5. Give them room

    In the coop, if you have a larger space, you might want to section off a smaller space by hanging plastic sheeting to give them an area where they can roost and share body heat, because a smaller space will be easier to heat up. Wherever they are, make sure they also have room to scratch-because that’s almost all chickens do all day, you don’t want the poor things to get bored! If you do section off part of the coop for roosting, consider leaving another part for scratching, or make them a covered run for the daytime.

    Sources: 
    http://premeditatedleftovers.com/gardening/how-to-care-for-chickens-in-the-winter/
    http://www.backyardchickenproject.com/keeping-chickens-warm/

    If you like this, you might also like:

    Advanced Gardening Course To Accelerate Your Food Production…

    Survival Medicine & Wilderness Survival…

    Survival Techniques From Long Ago, Re-purposed For The Modern Era…

  • Benefits of Compost Tea

    Benefits of Compost Tea

    When it comes to a thriving, healthy garden, one of the quintessential components is a good fertilizer, and homemade compost is one the best things you can make. Using kitchen scraps, garden cuttings and locally sourced organic waste like grass clippings, manure, coffee grounds, egg shells, etc., you can-and should-make your own compost pile for a consistent supply of amazing plant superfood.

    There are many different options for how to build a compost pile and what to build it with, so if you’re not already composting, you’ll want to start there.

    But if you do already have a successful compost pile, compost tea is a fantastic way to use it to give your plants optimum nutrition, minerals, and beneficial microbes.

    Compost tea is exactly what it sounds like-except it’s for plants to drink up, not humans! There are many different methods of brewing it, but it is essentially soaking some finished compost in water for a period of time, and then using the mixture to water your plants.

    Advanced Gardening Course To Accelerate Your Food Production…

    Obviously, you can just dig your compost into the soil, so why go to the extra effort of brewing a tea? Well, the way plants drink in nutrients is through water, the nutrients bond to water molecules and are absorbed into the roots of the plants, so it just makes it more readily available to them. Also, for certain issues like fungus or blight on the leaves of the plant, there might be benefit in certain cases to being able to spray the compost mixture right onto the plant directly (although you’ll only want to do this if you know it is specifically recommended, compost tea can burn the foliage of some plants).

    To make compost tea, there are a lot of different options. Some people prefer to aerate it, with a water tank like the kind used in fish tanks, and others choose to simply let the tea mixture sit and stir once a day. But the basic principle is the same: you take a bucket or large drum, depending on your needs, and place some ready compost in it. You can make a sort-of tea bag, with something like a pillowcase, or just put it in there loose. After about a week or whenever you’d like to use it, you can either strain out the loose compost or simply pour over your plants.

    Compost tea is an excellent way to get amazing nutrients and minerals to your plants, and way cheaper than Miracle Gro! Believe me, your plants will thank you-try some today!

    [More]  Organic Gardening Secrets – Grows Up To 10 Times The Plants. Learn More Here

    Enjoy a quick video from Steve about Compost Teas and their amazing benefits for your garden…