Page 4 of 16
1 2 3 4 5 6 16
Outdoors – Page 4 – Homesteader Depot

Category: Outdoors

  • 5 Simple (Yet Crucial) Guidelines of Winter Survival

    5 Simple (Yet Crucial) Guidelines of Winter Survival

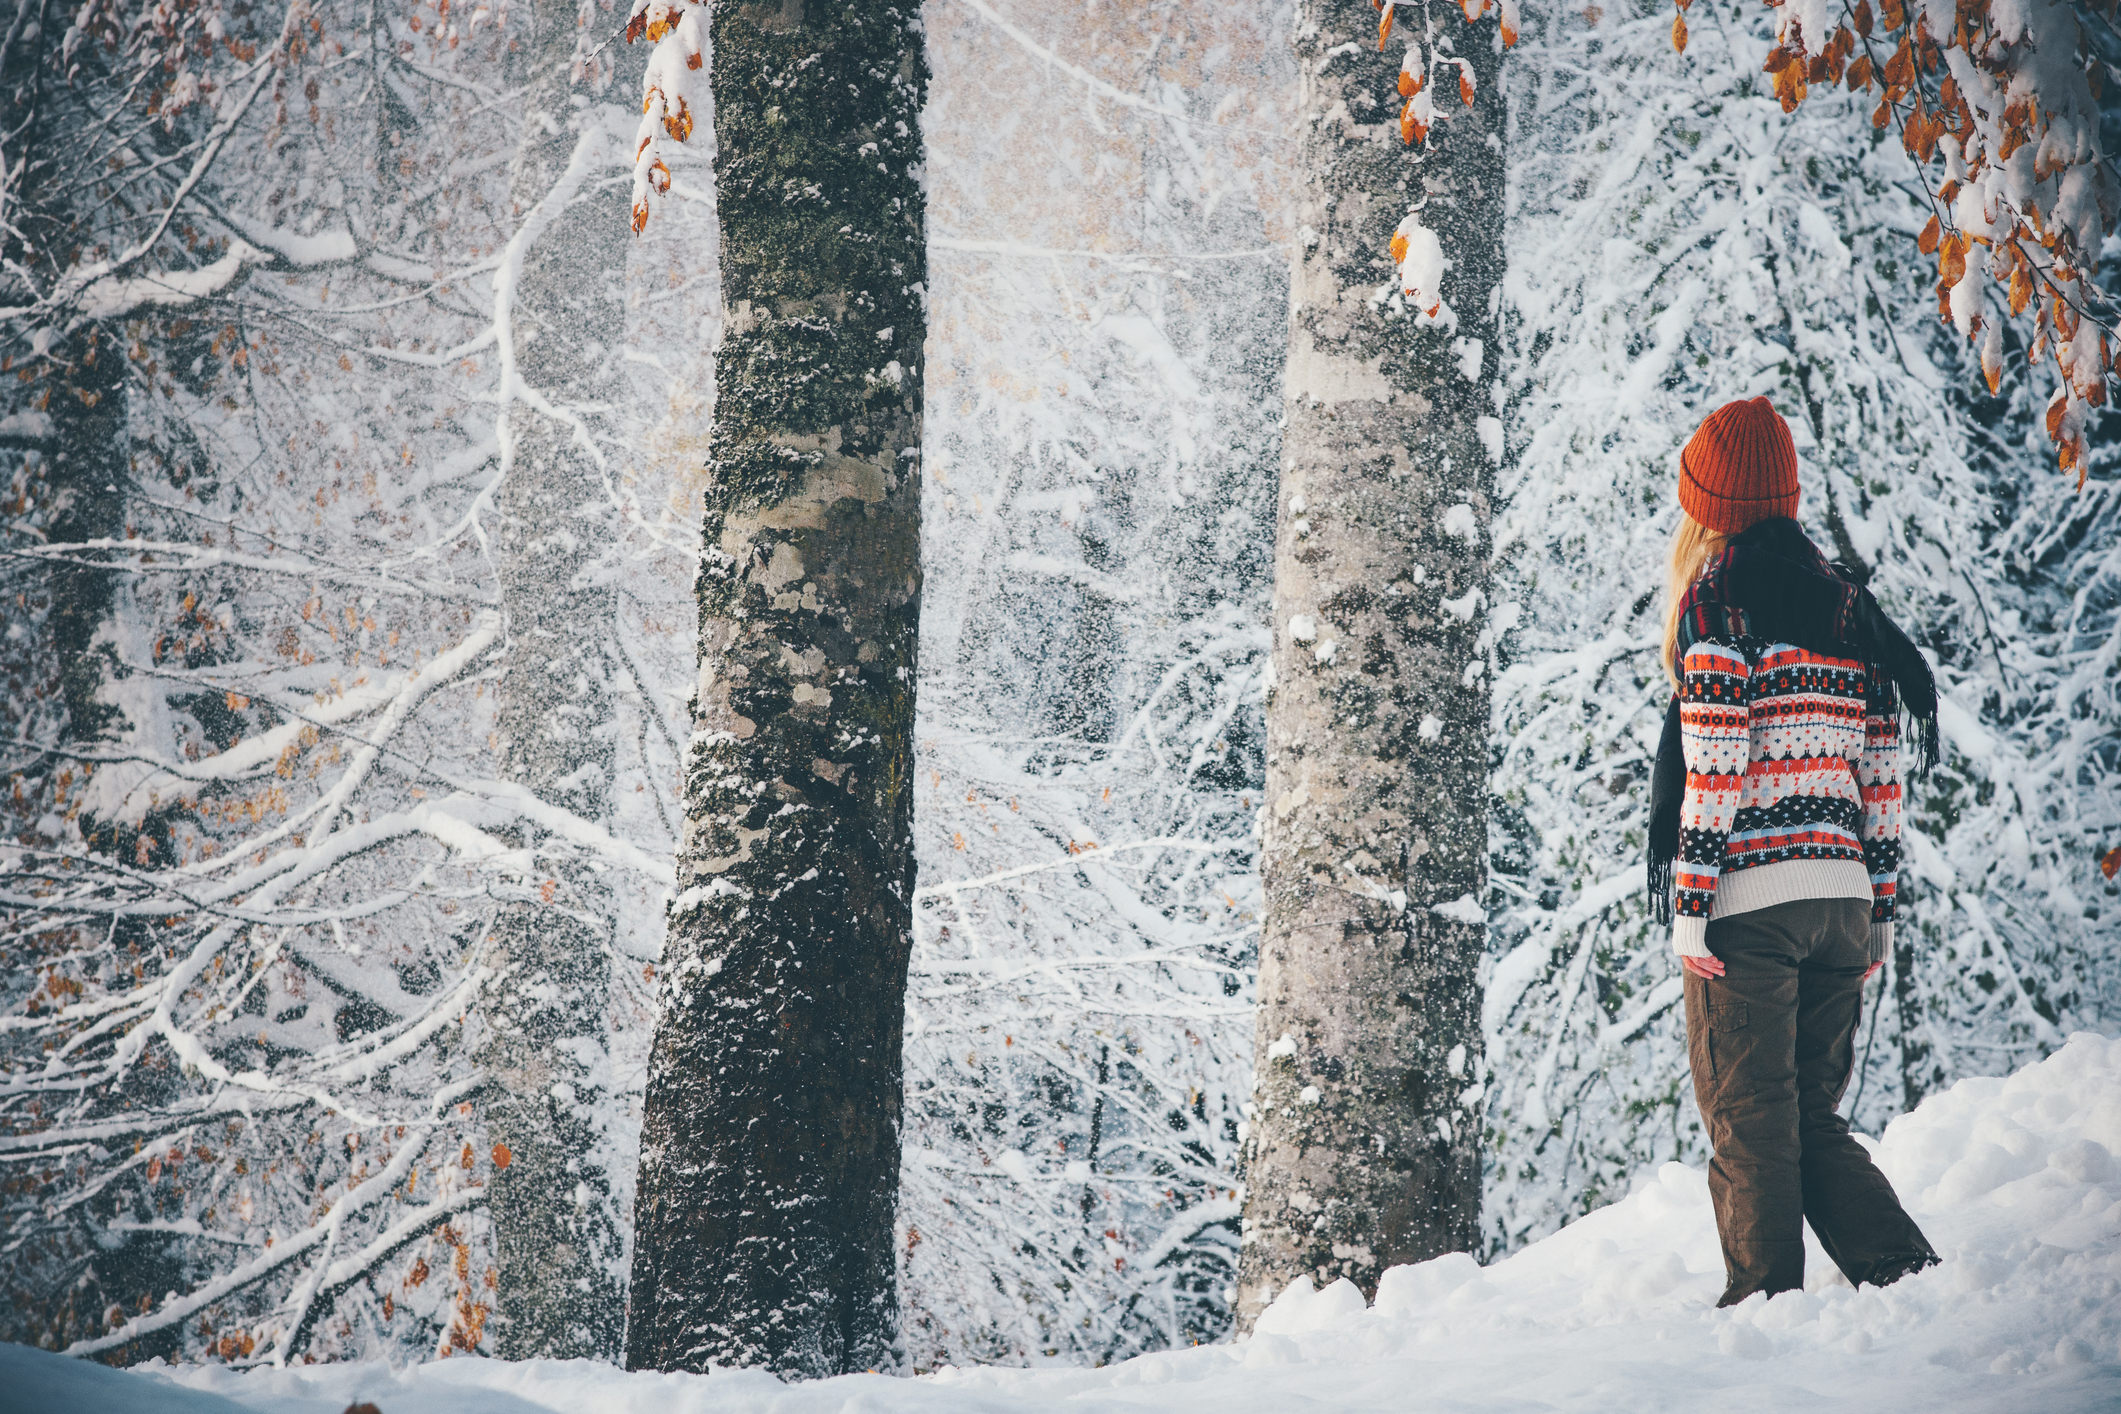
    Spending some time in the woods in the wintertime, either voluntarily or because you wound up getting stuck out there, is no joke. You need to be able to take care of yourself, which means meeting all of your basic needs, lest you end up starving or freezing to death. Before the cold weather sets in for good, take the time to review these five guidelines of winter survival. Are you prepared?

    1) Stay in One Place

    If you’re waiting for a rescue after being stranded out in the cold for days, then you need to stay in one place. The temptation to go out to see if you can find your own way home may be tempting. You probably also think that the more you move around, the less likely you are to freeze to death. However, this just makes it tougher for any searchers to find you. Your footsteps will vanish as the snow continues to fall, leaving you unable to see where you’ve been, and for anyone to track you. Instead, stay put and set up a proper (or as proper as you can get, depending on your supplies) camp. This will give you the protection that you need, and allow others to find you.

    Suggested Article: How to Find Your Way When Lost in the Wilderness

    2) Be Prepared to Stay Warm without a Fire

    Ideally, you’ll have a fire to keep you warm when you’re out in the snow. This isn’t always possible, however. It might be snowing too hard for the fire to stay lit, finding dry wood to use as kindling may be tricky, and so on. Instead of relying on that fire, you need to be prepared to survive without one. Make sure that you’re dressed warmly, carry some extra blankets, and find whatever shelter that you can. It’s all about mind over matter at that point.

    How US Special Forces Start a Fire With LIQUID>>>

    3) Remain Confident

    Speaking of “mind over matter” – confidence goes a long way towards surviving the winter in the woods. You need to be as mentally prepared as you are physically. What do we mean by this? Well, you can pack all of the possible provisions that you can and be in great physical shape, but those will only take you so far, especially if you’re not mentally prepared to survive. Even if you have to repeat the words “I can do this” over and over again in your head as a kind of mantra, you need to remember that you can do this.

    4) Trap Prey In Order to Feed Yourself

    Getting trapped in the woods in the middle of a snowstorm is bad, but this situation is made even worse when you don’t have any food. You’ll need to trap prey and understand how to properly prepare it. Otherwise, you’ll end up starving to death out there if your rescuers are days or weeks away. Plus, solid food gives you the energy that you need in order to keep your body functioning and warm. Remember that you’ll need to cook your game properly, lest you end up with food poisoning. This can make a bad situation even more dangerous.

    Related Article: What’s Edible in Your Area?

    5) Be Able To Start a Fire without Matches

    It’s very easy to start a fire when you have matches and dry wood. But what happens if you don’t have these things? You’ll end up in trouble. You need to know how to start a fire without matches. This could involve using a bullet, or anything else that you have on hand. All that matters is that you can get that fire started. This is definitely something that you should practice, just in case.

    Related Article: 4 Ways to Start a Fire You’ve Never Heard of

  • Mold is Growing in Your Home RIGHT NOW…But Where?

    Mold is Growing in Your Home RIGHT NOW…But Where?

    If you’re sitting in your house sneezing, coughing, and dealing with skin, eye, and throat irritations, there is most likely mold present somewhere. People that are suffering from asthma or allergies know precisely how damaging mold can be to their health. Those with a healthy system aren’t going to notice mold growing somewhere quite as quickly. While you can’t control the mold you come in contact with outside of your home, it is possible to contain and eliminate it from your house. Start by checking some of the most common places where it gets found.

    What is Mold and Why Do You Have It?

    Your home offers the perfect growing conditions for mold. There is darkness, oxygen, warmth, and a place for it to reproduce. As soon as humidity levels rise or stagnant water is present from a water leak, the growth of mold is almost impossible to stop.

    It’s a fungus by definition. Microscopic spores float through the air, and when small clusters start to form, you can see them growing. The spores can cause attacks and other health issues with those that have existing breathing conditions. Without a health issue, you might not be able to tell there is even mold in your home. You should still be checking these common areas regularly to be sure.

    Basement

    The basement is most likely the darkest and dampest section of your home. When you walk down there, if you smell a musty odor, there’s a good chance it is mold. Some of the areas to look at while you’re in the basement inspecting for mold are:

    • Around ducts and pipes
    • Around the sump pump area
    • Anywhere the foundation is leaking
    • Windows or vents

    Prevent mold growth by using a dehumidifier and fixing any leaks.

    Suggested Article: 15 Things That Will Help Conserve Your home Energy

    Bathroom

    The bathroom is another damp area that is ideal for mold growth. You have to be sure that there is proper ventilation through the use of fans and windows to prevent it. While the mold on the tile is apparent because you can see it, there are other places to check like:

    • On the floors and wall
    • Sink and toilet
    • In the shower or tub

    This guy shows us clear as day how anyone can power with ZERO cost>>>

    Kitchen

    Mold in the kitchen tends to multiply because of the use of the hot water for dishwashing and a warm oven increasing the temperature. Food in the sink or left in the fridge can be sources for mold growth. With all the great real estate, make sure you’re looking at these areas:

    • Microwave and stove
    • Refrigerator and pantry
    • On, in, and around the kitchen sink
    • Trash cans
    • Cutting boards
    • Behind the stove

    Living Room

    You might think that there aren’t favorable conditions in your comfortable living room for mold, but there are. Think about when you or your kids eat in there. Food undoubtedly falls off the plate which can start mold growth. Houseplants also have the potential of producing mold. Look in these spots:

    • On the couch or the curtains
    • The plants
    • Chimney or fireplace

    Keep everything clean and use a dehumidifier to keep the humidity down in your living room to prevent mold growth issues.

    Bedroom

    All of your rooms are susceptible to mold, including your bedroom. Keep your humidity levels down and regularly check these areas for growth:

    • Windows and window sills
    • Mattresses
    • Vents for air conditioning and heat

    A waterproof mattress cover or a mold resistant mattress can assist with keeping mold out of the area where you sleep. If you see any condensation forming, clean it up and see if there need to be repairs made.

    Related Article: Simple Bed Bug Check

    Get instant access to over *16,000* woodworking projects in the next 5 minutes or less>>>

  • How to Check for Bed Bugs

    How to Check for Bed Bugs

    It seems as though bed bugs are everywhere anymore. Thanks to the media and the internet, people are more capable of sharing their experiences in hotels, cruise ships, trains, and planes when it comes to the little critters showing up. Just one pregnant bed bug coming home with you can lead to a complete infestation in your home in a few days or weeks. The first thing you should do when returning from a vacation or after bringing a piece of furniture into your home is looking for bed bugs. You have to know where and what to watch for before you can decide what the next steps to getting rid of them are. Find out about the process now, so you don’t have a much bigger problem to deal with down the road.

    Where to Look

    Bed bugs live and feed in areas that they have a host or a human body. They feed solely off of human blood, so they stick close to where they are going to have easy access to one when they get hungry. They will not travel to different locations unless the host moves or their infestation grows to a point where the single host isn’t enough for all of them anymore.

    Start in the room where it is assumed they are living. Check along the corners and joints of the bed frame, the cracks and crevices in the mattress, in baseboards, floorboards, and carpeting. You may even be able to see them on furniture near the bed. They like to stay in tight, dark areas to keep safe from predators.

    Whatever the reason for your cat’s inappropriate peeing and spraying, I have a very simple solution…>>>

    Signs to Watch For

    If you can fit a credit card into a spot, bed bugs can fit in there too. That’s why it’s hard to see physical signs of the annoying creatures with a visual scan. Aside from seeing the actual bugs, you may be able to notice signs that the insects were there eating or reproducing. Look for:

    • Blood spots – red, dark, and present wherever a bed bug may have been squished by a human body exposing the blood from their stomachs that they had consumed earlier.
    • Shed skin – bed bugs replace their outer shells as they grow. As a result, they leave behind an exoskeleton that is gold in color.
    • Fecal droppings – dark, thin streaks that smear red when rubbed with a wet cloth.
    • Bed bug eggs – eggs are white and look like rice. A pregnant female will drop two to five eggs each day.
    • The bugs – they’re a dark reddish-brown color and get about the size of an apple seed. They have six legs and antennae. Around the abdomen are hairs that create the illusion of dark bands.

    How to Do an Inspection

    You’re going to have the best chance at seeing a bed bug infestation if you use a magnifying glass and a black light flashlight. You should also have a tool to scrape in the cracks and crevices for the smaller matter. Start in one area of the room moving slowly around until the entire inspection is complete.

    Suggested Article: DIY Fruit Fly Trap

    Next Steps

    When you’re still unsure about whether or not you have bed bugs after an inspection, some monitors can be used on the legs of furniture that work as a trap. Set them out at night and in the morning you will be able to see the insects in the trap. After you confirm the presence of bed bugs, there are homemade sprays with chemical ingredients that can be sprayed on the infected areas. For severe infestations, you may want to consider calling in a professional company to ensure they are all cleared out.

    Discover How You Can Get Your Clothes Cleaned Without A Single Drop of Toxic Laundry Detergent…>>>

  • 8 Powerful Uses for Limestone

    8 Powerful Uses for Limestone

    As one of the most versatile materials on the Earth, there are a plethora of uses and benefits of limestone. It can be utilized for a vast number of activities from fertilizing lawns to whitening teeth. Discover more on how limestone works to benefit your livelihood.

    Gardening and Farming

    Limestone has the capability of adjusting the acid levels in the soil to produce conditions that are ideal for growing crops on both the larger agricultural scale and in smaller home gardens. Plants, vegetables, and other crops are protected from nutrients in the ground that could potentially become toxic from nutrients being too prevalent like aluminum. It keeps the pH level at about 5.6 when applied properly. Anything over 5.5 is best for plant and food growth. It also adds minerals that are valuable for the soil like calcium and magnesium.

    Building Material

    The use of limestone in building goes back centuries. From the time the building of the Megalithic Temples that are the oldest free-standing structures through the construction of The Great Pyramid of Giza and beyond, people have been adding limestone to their creations. Train stations and banks from the Victorian era and after the 20th century have limestone in them. Today, exteriors and tiles are often made up of travertine, which is a form of limestone. The only problem with the material is that it is damaged when it comes in contact with acid solutions like acid rain.

    Golf Courses

    The pH balance in the soil on golf course greens is something that lawns keepers keep a close eye on to ensure they produce the best results. Not only does the proper pH look nicer, but it also makes it easier for players. When the turf gets out of the ideal range, limestone can be applied to the dirt to regulate the levels.

    Lawn Growth

    When lawns aren’t growing in as full and thick as you want them to, limestone in a pulverized form can be applied to change that. It improves the structure of the soil which makes for a better growing condition for the grass. You should apply the limestone before planting grass for an evener distribution and possibility for water penetration and absorption for a favorable soil structure.

    Cat Litter

    There are odor and moisture absorbing properties to limestone that make it useful in kitty litter. Cat urine contains ammonia that can cause respiratory problems when present in large amounts.  The lime counteracts the potentially damaging effects of your cat’s litter box making it safer and more pleasant to be around for you and your family.

    Healthy Horses

    During the colder winter months, farmers and other owners like to keep their horses inside a safe barn to protect them from the elements. The problem arises with the ammonia that comes from the animals urinating in the stalls that they stand in for extended periods of time. When limestone is placed under their bedding in a way that the horses will not have contact with it, it can absorb the ammonia making the barn a safer, better smelling place to be.

    Roads

    The base of many roads has a crushed limestone component included. Asphalt is made up of limestone in part as well. It continues to be used in the updates of existing highways and urban infrastructures today.

    Teeth Whitening and Other Brightening Uses

    Inside of your toothpaste, limestone is used as filler and a pigment that helps in cleaning your teeth and making them brighter. It is cheap and can lighten up a plethora of other materials as well, so it’s often put in plastic, paint, tile, and paper for a bigger and brighter finished product.

    ZERO Woodworking Experience Needed: 1,200 “Perfect” Shed Plans So Clear,  So Complete, So Easy To Use…The Shed Practically Builds Itself… Check them out here>>>

  • 3 Tips to Outsmart Backyard Critters

    3 Tips to Outsmart Backyard Critters

    No matter where you live, you’re probably familiar with backyard critters. These squirrels, skunks, raccoons, and more tend to invade yards in both the city and the country. There’s nothing worse than having to defend your yard from these invasive pests, especially when you catch them trying to eat the crops growing in your garden. Thankfully, there are a few different ways to outsmart them!

    Stop Attracting Them

    Outdoor critters want three things: shelter, food, and water. If you have even one of these three things in your yard, you’ll attract some unwanted pests. The shelter could be anything from a doghouse to a backyard deck. Even the shade and protection from something like a hot tub can provide a good hiding space for a raccoon or squirrel. The food comes from your garden, in the form of the crops that you grow. Other sources include trash cans full of kitchen scraps and even compost bins. Finally, if you have birdfeeder or a pet dish full of water, you’ll no doubt see some wild critters drinking from them. The best way to keep from attracting these animals is by limiting their access to these things. Bar off any covered sections of your yard, fence in your garden, and don’t leave your pet’s water dishes outside, unless your pet is present.

    Scare Them Off

    If those methods don’t work, or are unfeasible for one reason or another, you need to scare them off. Since these backyard animals tend to be afraid of humans, this is fairly easy to do. You could set out aluminum pie tins filled with ammonia. This works great if you have raccoons living under your front or back porch. Don’t block off any of the exit routes, since that will trap the animals in and cause an entirely different problem should they expire under there. You need to be humane and give them a chance to escape. However, a small tin with some ammonia in it will annoy the animals, and they’ll leave on their own. The chemical in ammonia irritates their respiratory system.

    Learn about the Tree EVERY homesteader should have in their backyard>>>

    Another method involves placing a radio outside. Since many squirrels, raccoons, and skunks, (not to mention other pests) are afraid of humans; this works quite well. Set the radio to a talk station at a fairly low volume. It should loud enough to scare off the animals, but not so loud that it irritates your neighbors. Leave the radio running as much as you can, especially at night.

    Bright lights make up the third method of disturbing these critters. They want dark, quiet spaces to hide out in, particularly when they’re giving birth to their offspring. Shining spotlights, setting up motion detector lights, or just leaving outdoor lights on in the areas where they tend to hide will deter them from setting up a habitat in your yard.

    Tailor Your Methods to the Animal

    Finally, once you determine which animals have been frequenting your yard, you can completely outsmart them. Some of them, raccoons, for example, have sensitive paws. Sprinkling some dried pepper flakes over your rock borders or fences will keep them at bay. They’ll go elsewhere permanently once their paws begin to sting. Squirrels, on the other hand, like fruit trees and birdfeeders. If it bothers you that you’re constantly chasing them away, think about whether you really want those things in your yard. You could always get rid of the tree or empty the feeder and place it in storage. Other critters, like skunks and moles, like to tunnel under the ground. Setting up your landscaping to block off their access will work well.

    As you can see, there are numerous ways to prevent wild critters from taking over your yard, it may take a little bit of thought but you can definitely outsmart them.

    Are you sick of spending a fortune to hire someone to build things for you?  Even if you don’t have a large workshop or expensive tools you can easily do it yourself.  Get over 16,000 step by step plans and build anything you need HERE>>>

  • 7 Great Fence Alternatives for Your Yard

    7 Great Fence Alternatives for Your Yard

    Improved landscaping, privacy, and security are common reasons why people install fencing in their yards. You don’t have to necessarily use a traditional fence to produce the same effect with the many different alternatives out there. There are several that are environmentally friendly that also look beautiful. Check out seven different options that you have to choose from when it comes to creating a perimeter around your yard.

    1.    Brushwood

    Brushwood is a natural material that you can make yourself or buy from your local lumberyard. When you’re looking to make a barrier, but you want it to look natural, brushwood is a good option. Due to the texture and color, it blends in with the natural background. The problem with brushwood is that it isn’t water resistant and can quickly become damaged or rot.

    2.    Stone

    Stone walls require no mortar so you can easily install it and change it depending on what you need. They look extremely attractive in most yards. Stone walls don’t keep wind or wild animals from doing what they do naturally. Pressure washing the stones is simple if you want to keep a clean look. You can also let the moss and plants grow for a more natural and stunning look. The rocks can be expensive to purchase and difficult to move around if they’re large is a downside to this option.

    3.    Bamboo

    Bamboo screens can be installed quickly, they are affordable, and they grow fast. They don’t have to be set up permanently in case you’re looking for a temporary fencing solution. There isn’t much maintenance required for bamboo. You can either cut it up and let it dry before installing or let it grow wild for a natural look. It will blend into the existing backdrop if other plants or trees surround your property. It’s recommended for small homes and cottages rather than older bigger homes where bamboo might look out of place.

    Bonus Material: Breakthrough in Electric Car Technology Powers An Entire Home>>>

    4.    Hedges

    Putting in hedging as a fence is probably the most versatile option. You get to decide what kind of plants to install so you can customize the look along with the size. If you want a tall fence, some hedges and trees can grow up to 20 or 30 feet over some time. When something shorter is desired, you can select one that doesn’t reach that height. The combinations of trees, shrubs, and flowers that can be planted to create an effective perimeter around your yard are endless.

    5.    Corrugated Metal Panels

    Corrugated metal is durable and can be decorated with wood accents for a more attractive finish. It’s affordable and can be installed a lot more quickly than traditional fencing. You can give it a modern or vintage look, depending on the size, style, and design you finish it with. The metal can be expensive to purchase if you have a large area to cover. It’s not natural looking and will stick out against the rest of the property making it clear you have put up a barrier.

    6.    Vertical Gardens

    You can construct several different vertical gardens on various platforms and set them next to one another to create a fence. The amount of coverage you’re going to get is going to depend on how dense your gardens are.

    7.    Ivy on Rope

    Running rope around the border where you want to install fencing gives you a good foundation for growing ivy. The plant will grow quickly, and you can train it to wind around your rope and then it will hang off of it creating a radiant barrier. You can also add in different kinds of flowers and plants to create a completely different look.

    As you can see, there are plenty of alternative options when deciding the type of material to use for your fence.  Some of these may not be practical for your purpose, but you should be able to use at least one or two depending on the purpose of your application.

  • 11 Little-Known Green Alternatives to Concrete

    11 Little-Known Green Alternatives to Concrete

    What have you found out there for a building material that is more solid and long-lasting than concrete? It’s what holds together and constructs pretty much everything around you. Sidewalks, apartment buildings, bridges, roads, viaducts, and all other modern urban life necessities are built with the man-made compound.

    The problem is, there are vast amounts of C02 emissions that are sent into the air every year during the production of the commercial concrete that contributes to the climate change issues that we’re dealing with. Thankfully, there have been other building materials discovered that have less of an impact on the environment but can still withstand the pressure of doing the job of concrete. Take a look at these 11 “green” solutions.

    1.    Grasscrete

    One way that the amount of concrete being used is reduced happens when the concrete gets poured in such a way that grass and other foliage can grow up in between the patterns. It’s been done successfully in driveways, sidewalks, concrete flooring, and walkways. Along with the reduction of concrete use, there is the benefit of improved water drainage and absorption.

    2.    HempCrete

    The woody inner fibers of the hemp plant can be used to bind and create concrete-like shapes that are both sturdy and light. It’s a fast-growing renewable resource that doesn’t cost as much to transport because of its weight.

    3.    AshCrete

    Instead of traditional concrete, ashcrete uses fly ash. It’s a by-product of burning coal. It’s estimated that 97% of the standard materials used in concrete can be swapped out for recycled components.

    4.    Timbercrete

    Sawdust and concrete mixed together creates timbercrete. The transportation emissions generated to move it are lower because it’s a lighter product. The sawdust is a waste product that gets reused. The energy-intensive components of the standard concrete are eliminated. Bricks, pavers, and blocks can all be formed with timbercrete.

    5.    Ferrock

    Dust that is created through work in the steel industry is a material that can be used to create something that’s even stronger than concrete called ferrock. During the hardening and drying process, the carbon dioxide gets absorbed into the ferrock making it carbon neutral.

    6.    Rammed Earth

    Walls have been made by forming and tamping Earth for thousands of years. They can last a long time and be made more sustainable by utilizing bamboo or rebar as a foundation to build around.

    7.    Straw Bales

    Homes and other structures have been built out of local, natural materials since the beginning of time. The walls inside of the frame that would otherwise be wood, gypsum, concrete, plaster, fiberglass or stone can be built with straw bales. As long as they have been sealed properly, they provide insulation from cold and hot weather. It’s a renewable resource that’s both affordable and sustainable.

    8.    Recycled Plastic

    Ground up recycled plastic and trash can be added into concrete to reduce that amount of garbage clogging up landfills. It’s also a way to prevent extracting, mining, and milling of new materials.

    9.    Bamboo

    Bamboo has been used as a building material in other cultures for many years. It’s lightweight, fast growing, and sturdy. It’s ideal for post-disaster rebuilding, construction in low-income areas where it grows naturally, and excellent for hard to access areas.

    10.    Mycelium

    Mushrooms and fungi are what makeup mycelium. It’s a building material of the future that is grown around molds, straw, and other natural materials. After it’s dried, it can be used to make bricks and other strong yet lightweight shapes.

    11.    Wood

    Wood is the most traditional yet one of the most eco-friendly building materials that there is. The forests can create biodiverse habitats and absorb unwanted C02 while growing.

    Breakthrough in Electric Car Technology Powers An Entire Home — Find Out More Here>>>

  • Simple Pig Weighing Hack

    Simple Pig Weighing Hack

    Did you know that it’s entirely possible to figure out how much your pig weighs without putting it on a scale? Instead, you can use a number of things that you probably have lying around your house to figure out your pigs weight. A few quick measurements and calculations are all that it takes. This is much easier than trying to hoist your pig onto a scale. We’ll cover this useful pig weighing hack and some additional information here.

    Why Do You Need To Know How Much Your Pig Weighs?

    If you’ve been trying to determine when your pig is ready to be slaughtered, or your kids want to use him or her for a 4-H project, then you need to know how much it weighs. It’s good to measure and weigh your pig on a regular basis to ensure that it’s getting enough food and growing at the proper rate. You can then place these measurements in a chart and keep track of growth rates as they compare to the amounts of food provided.

    What You Need To Get Started

    Gathering your supplies constitutes the first step to determining your pig’s weight. You’ll need a tape measure, some twine, and the most important thing – a calculator. Obviously, you also need a pig. Without one, this entire endeavor is fruitless.

    Taking the Measurements

    The best time to take these measurements is while your pig is eating. This provides a good distraction, and you won’t have to deal with attempting to measure a moving animal. You also don’t want to have to dive into the mud in order to handle this task, so don’t do it while it’s wallowing either.

    Once you’ve located your pig at the trough, pull out your tape measure or piece of twine. Whichever is easier to use. You’ll measure the twine at some point anyway, so if you have a tape measure, cut out a step and just use it.

    The very first measurement is the length. This is the total length; from the base of the pig’s tail all of the way to its ears. It’s best to go from the top, measuring along you pig’s back. Hold the tape measure flush in order to get an accurate reading.

    The next measurement is the heart girth. Wrap the tape measure around the body of your pig, parallel to its legs. This is essentially the pig’s circumference as if it were a tree or something.

    Once you have those two measurements, you’ll need to apply them to the formula. This is the heart girth number squared multiplied by the length, which is then divided by 400. Here’s an example:

    A pig has a 60” length and a 54” heart girth. Your formula is 54 X 54 X 60 = 174,960. Then that last number is divided by 400: 174,960/400 = 437.4. The pig weighs 437.4 pounds. That weight includes every part of the pig, organs and all. Once the pig is butchered, you’ll lose about 100 pounds of that weight. This means that you’ll get around 330 pounds of meat from it.

    Conclusion

    Knowing how much your pig weighs is important. We already mentioned the ways in which you can track its growth over time, noting how much you feed it in order to see the ratios form. If your kids are using your pig as their 4-H or county fair project, then that data is very important. You also need to know when the pig will be ready to be butchered. This measurement formula is actually very accurate and will come in handy. It sure beats putting your pig on a scale!

    If you find THIS PLANT in your backyard, whatever you do, DO NOT touch it>>>