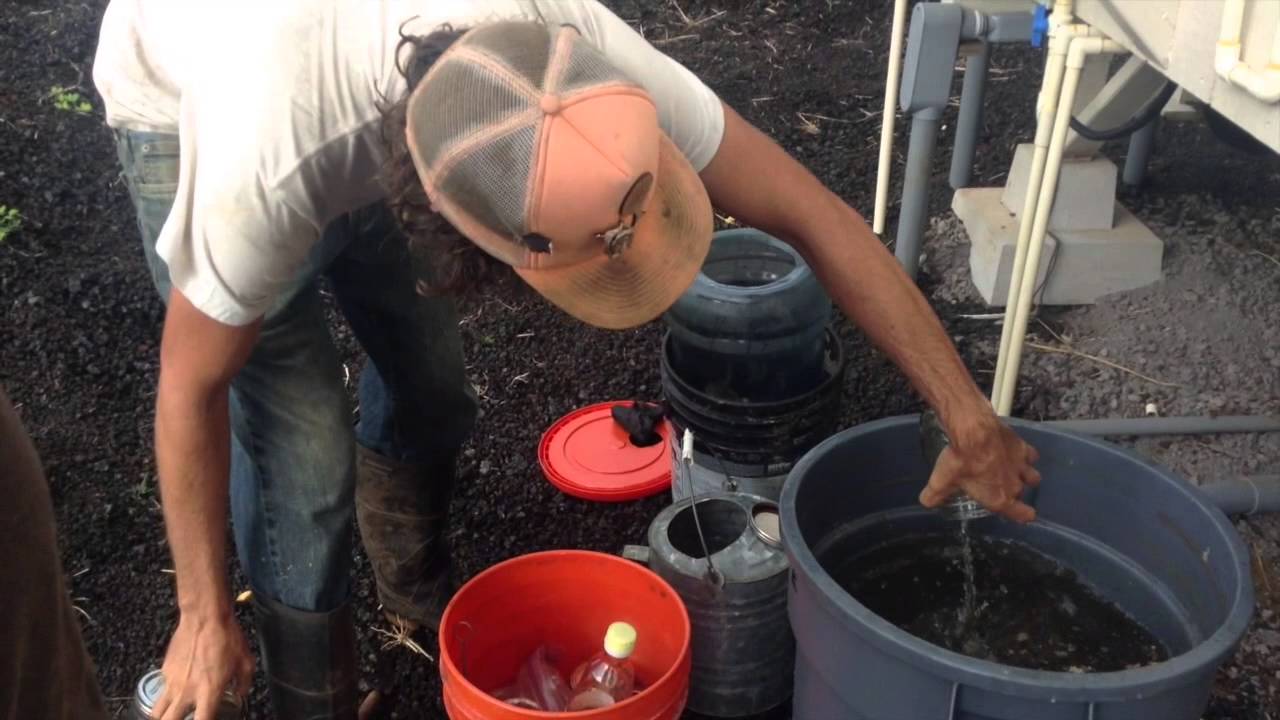
Canning Tips for Those Just Starting Out
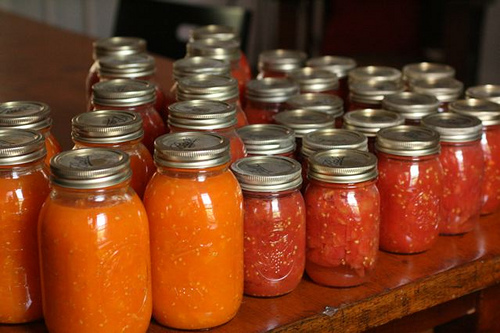
You are a homesteader, then it typically means you have a garden. This means you are growing vegetables and fruit more than likely. You cannot eat all the food right away in most cases, so you want to can it to preserve it. There are some excellent benefits to canning in addition to having all … Read more