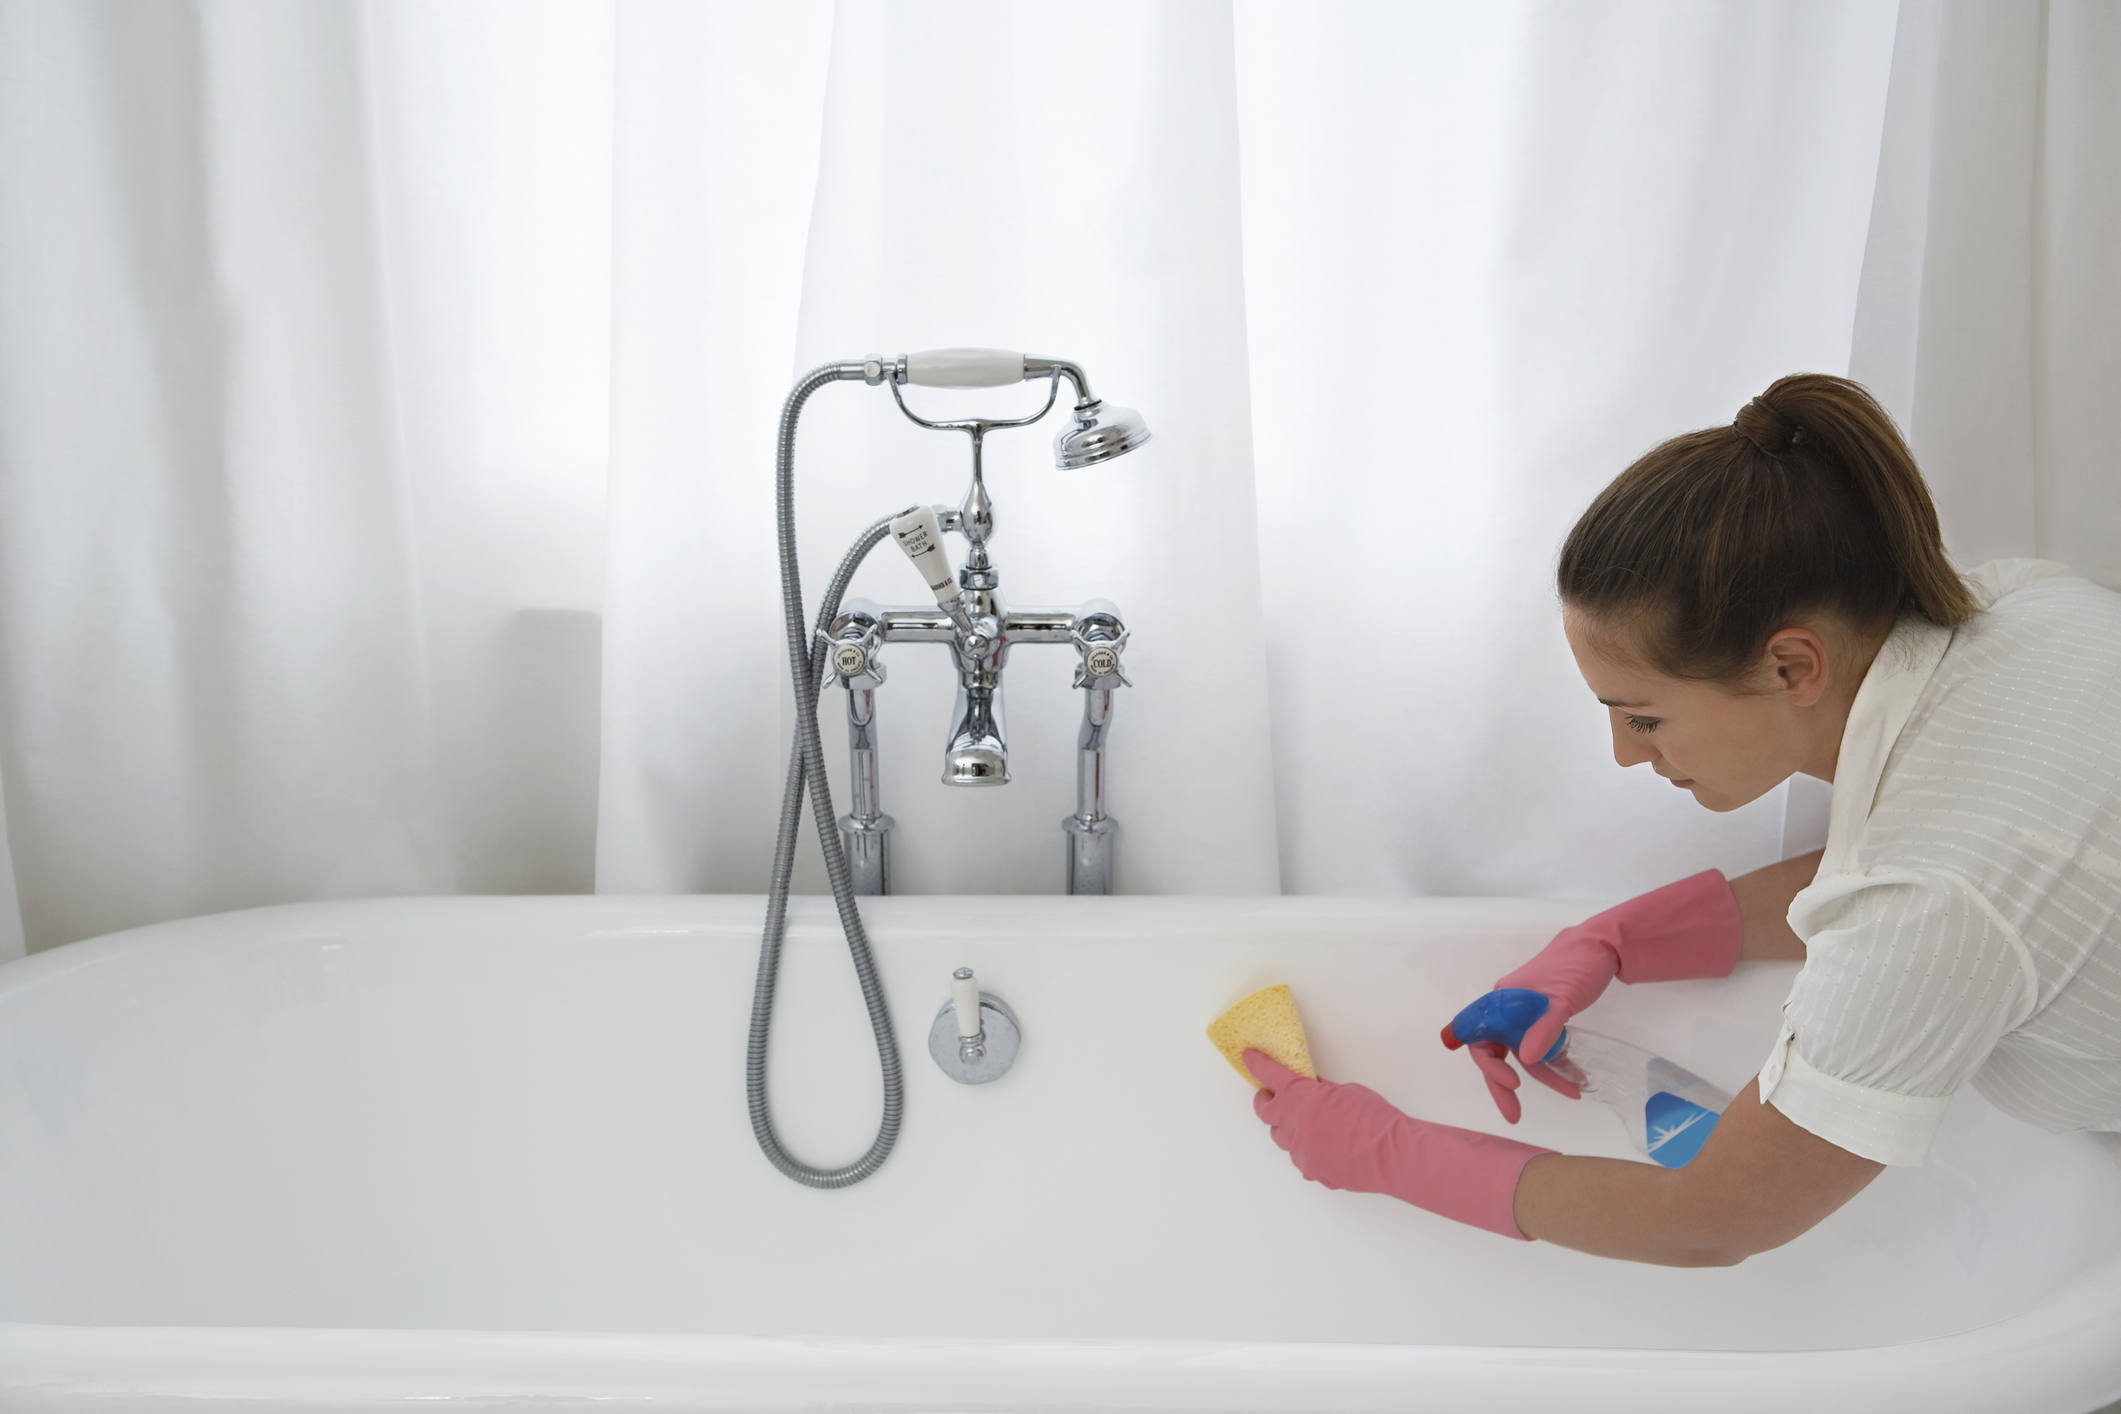
Do you have an old porcelain bathtub in your bathroom that’s in need of some TLC? Rather than replace it with a modern tub, which is more than likely made of cheaper materials and smaller to boot, you can refinish that old tub. The process does require some elbow work, and you may need to use another bathroom (or another tub, at least) while the restoration job is in process, but it is entirely possible to do this yourself. Think of how much less work this entails when compared to a full bathroom remodel. You won’t even damage the tile surrounding the tub if you follow these instructions properly.
Start By Cleaning the Tub Thoroughly
This is the worst of it. The process is all downhill from here. You’ll need to clean that tub thoroughly before you can repair it and reglaze it. This is where the “elbow grease” comment from above comes into play because it needs to be sparkling clean before you can move on to the next step. Open the window and turn on your bathroom fan. Put on your eye protection and don your gloves. Then, start by removing the caulk from around the tub. A putty knife should do the job properly. Then, chip out all of the soap scum, mold, and whatever else is lurking around and in the tub. Finish off the cleaning job with some heavy-duty cleaning solution (Barkeeps Friend works nicely) and a scouring brush or pad. Coat the entire tub with the cleaning solution and then scrub it thoroughly before rinsing. Let it dry completely before moving on to the next step.
Experts Can’t Explain This Miraculous Device>>>
Repair Your Tub
Once your bathtub is clean and dry, it’s time to repair it. You can use Bondo (yes, the stuff that they use on cars), as well as a glaze designed for repairing porcelain. Place some sheets of paper in the bottom of the tub in order to catch any debris. You don’t want any dried bits of glaze or Bondo going down the drain. Take your putty knife and carefully layer your repair material into any chips, cracks, or weakened sections of the porcelain. Allow it to dry thoroughly, and then go over it with a fine-grit sandpaper. This will smooth all of the repaired sections, leaving you with a comfortable tub once again. You may need to repeat these steps if necessary until your tub is full of smooth surfaces. Remove the paper from the bottom of the tub and then coat the tub with a lacquer thinner. This will prevent the final glaze from going on too thickly. Wait until the thinner dries completely before moving on to the next step.
Reglaze Your Tub
Now the fun begins. Start by reading the directions of your reglazing product and mixing it up accordingly. There are several different products on the market that are designed specifically for this purpose, so choose whichever one that you think will work best, or what’s available to you. Use masking tape to cover the edges of the tub where it meets the floor and the tile on the walls. Cover your faucet and any metal bits (like the drain) in order to protect them. Then, out on your protective equipment, including a respirator, and start applying your new glaze. Use a foam roller in order to leave thin, light coats over the entire tub. Once the tub is covered, wait several days for the glaze to dry thoroughly, and then recaulk your restored bathtub. It’s ready for use once again, and all that it took was a little bit of work and some handy products.
Bring Old Batteries Back to Life>>>
🔄 2025 Update: What’s Changed
This guide has been updated for 2025 with the latest techniques, tools, and cost information. The fundamentals remain solid, but we’ve added modern insights and current market prices to keep you informed.
💡 Pro Tip for 2025
Modern homesteaders are increasingly using technology to optimize their results. Consider documenting your process with photos and notes – it helps troubleshoot issues and share successes with the community.
🎯 Next Steps & Related Guides
Now that you’ve learned the fundamentals, here are some related topics that can help you expand your homesteading knowledge:
- Budget Planning: Calculate the true cost of your homesteading projects
- Seasonal Timing: When to start different projects for best results
- Tool Selection: Modern tools that make traditional tasks easier
- Community Resources: Finding local support and knowledge sharing
📧 Stay Updated
Homesteading techniques and tools are constantly evolving. Make sure you’re getting the latest tips and seasonal guidance by staying connected with our community.
Questions about this guide? Drop us a line – we love hearing about your homesteading adventures and challenges!


