Grow 53 Plants in 4 Square Feet (Video)
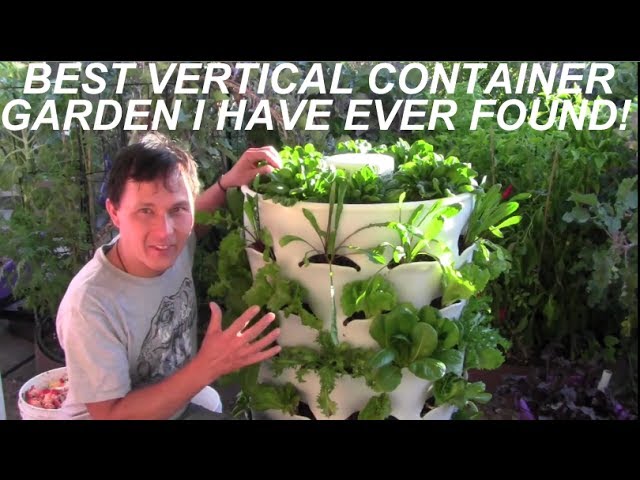
We’ve been talking a lot about urban homesteading here lately, and when you’re talking about gardening in an urban or suburban environment, space is always going to be an issue. A lot of urban gardeners are turning to vertical gardening, which is an excellent way to maximize space and production when growing area is limited. This is … Read more