Tips to Help You Improve Your Soil
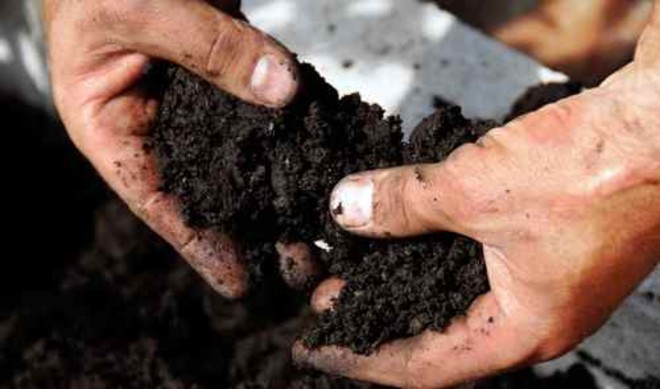
If you are going to be successful at homesteading, you need to have good soil. There are no two ways around it. However, this doesn’t mean that the soil on your land right now needs to be great. There are some simple things you can do to improve the quality of your soil so you … Read more