Blog

  • Homesteading Myths-Busted! (Video)

    Homesteading Myths-Busted! (Video)

    Homesteading is hard work and takes experience, know-how, and sensibility. Homesteading has gotten very romanticized as of late, and a lot of people are diving in head-first with a lot of preconceived notions and misconceptions about homesteading.

    This is a great little video busting some of the common homesteading myths and explaining the reality of homesteading from a seasoned expert.


    If you liked this, you might also enjoy…

    Natural Healing Secrets You Can Master…

    Great Skills for Homesteaders to Have...

  • Battery Reconditioning: Limitless Homestead Energy

    Battery Reconditioning: Limitless Homestead Energy

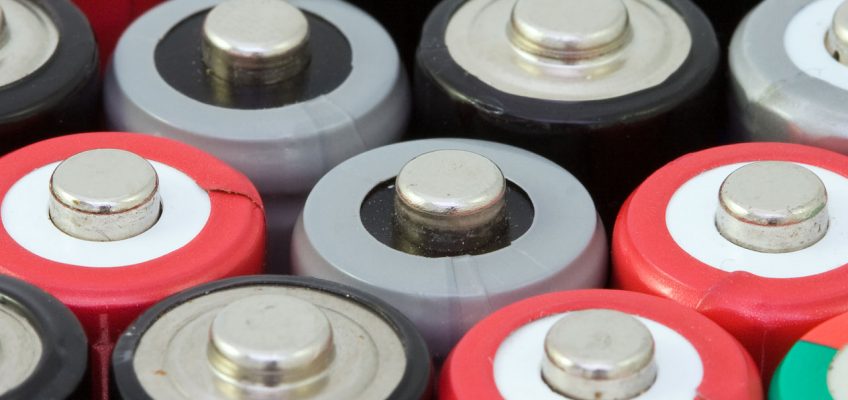
    One of the biggest concerns for long-term self-reliance as a homesteader is energy. Most energy sources that we rely on seem to be finite. Especially if you are focused on survival when the grid goes down or being completely off-grid. Gasoline, propane, coal, even wood, all will run out at some point and are difficult to regenerate. Batteries in particular run out quickly, and rechargeable batteries can be costly and unreliable. But what if you could have nearly unlimited battery power …

    Gasoline, propane, coal, even wood, all will run out at some point and are difficult to regenerate without reliance on the grid. Batteries in particular run out quickly, and rechargeable batteries can be costly and unreliable. But what if you could have nearly unlimited battery power …for nearly no cost?

    Enough to live off-grid and power all of your electronics and devices? Sounds too good to be true, right? I definitely thought so, but there actually is a way to do this, and this awesome video explains how. You can literally re-use your batteries over and over and literally never need to buy them again. Battery reconditioning is incredibly cool and could become a cornerstone of your self-reliance plan.

    Never buy another battery again

    Whether you simply want to save money, completely get off the grid, or prepare your homestead for the worst, this technique is incredibly valuable to know. Make sure you check this new video out right now because it won’t be up much longer:

    >> Click Here To Learn About This Dead Simple Battery Trick <<

  • DIY Liquid Hand Soap

    DIY Liquid Hand Soap

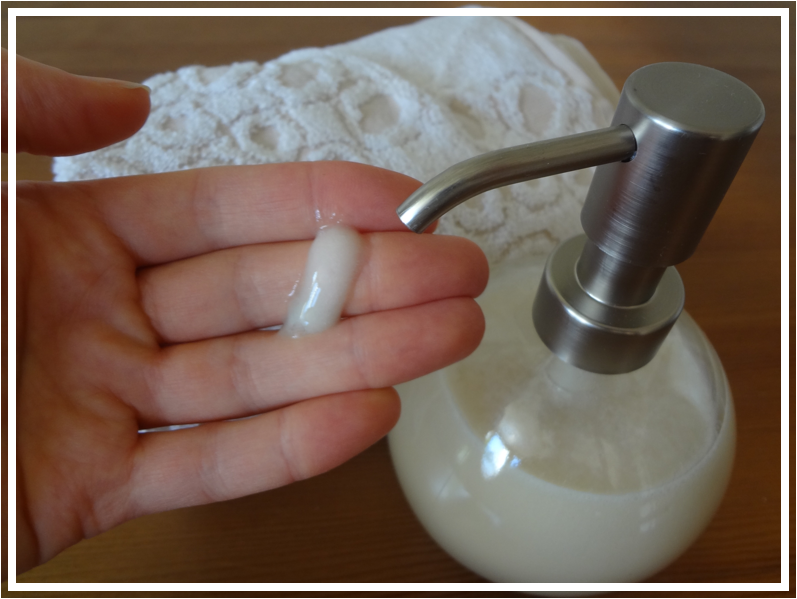
    I am all about ways to make value-added products like liquid hand soap yourself to save money and reduce exposure to harmful perfumes and toxins.

    Liquid hand soap is a really great DIY because you can re-use old hand soap pumps, or if you put them in a pretty container they make great and meaningful holiday gifts.

    The ingredients are simple and easy to adjust for scents that you prefer. Using essential oils of choice, you can mimic your favorite soap scents or create ones! Let’s get started:

    Ingredients:

    Two 5oz bars of castile soap

    Essential oils of choice

    One gallon distilled water

    Directions: 

    1. Grate up the bar soap using a box grater or the grate attachment of a food processor. The finer the better, but whatever you have will do. You can even shave off pieces if you like, this is the old-fashioned way, but it will take considerably longer.
    2. Heat up your distilled water in a large pot until it is nice and hot, doesn’t need to be boiling but definitely very hot
    3. Stir in the grated soap and stir slowly and consistently until all the soap is dissolved. If your grater was able to grate the soap very finely, it will dissolve quickly, or, if the soap was grated into larger pieces, it might take a bit longer.
    4. Once the soap is fully melted, remove from heat and set aside for 12-15 hours. You can stir it occasionally if you like, but don’t fret too much about it. It will thicken over this period of time as it cools.
    5. Finally, add your essential oils, as much or as little as you like.
    6. Pour your liquid soap into smaller containers. You can reuse old pump soap containers, or, for something very stylish and pretty for gifts, you can either make your own pump top for mason jars or use small oil bottles with metal tops, like the type you see fancy artisan olive oil in.

    If you liked this, you might also enjoy…

    Natural Healing Techniques Doctors Don’t Want You to Know…

    The Weight-Reducing Magic of Yoga…

    The Ultimate Woodworking Course..


  • Guppies for the Garden

    Guppies for the Garden

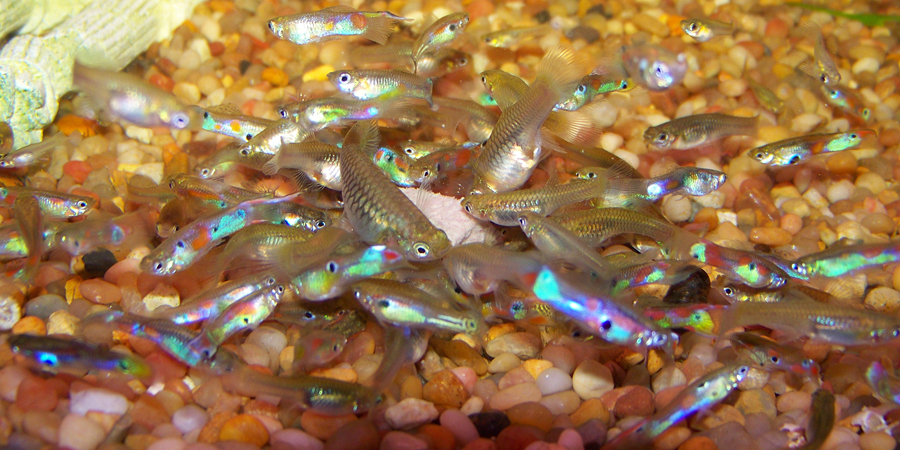
    When one thinks of raising animals that offer benefits for your garden, chickens are probably the first to come to mind.  But not everyone has the ability or the desire to have animals that require as much care as chickens do, or make as much noise as chickens do.  Luckily, there are animals that offer several benefits for the garden that require barely any attention and make absolutely no noise:  guppies! Yes, the little fish.  Guppies are freshwater fish that don’t require pumps of filters in their aquariums or ponds.  Females can reproduce at 2 months

    Yes, the little fish.  Guppies are freshwater fish that don’t require pumps of filters in their aquariums or ponds.  Females can reproduce at 2 months

    Guppies are freshwater fish that don’t require pumps of filters in their aquariums or ponds.  Females can reproduce at 2 months old, and can give birth (yes they give live birth which is cool to see if you have them in an aquarium) to 60 fry (baby guppies) at a time.  They can be put outside in most zones in the spring and netted back up in the fall to be brought inside for the winter, and if you have enough plants in their pond, they don’t require much care in between.  But why should you raise guppies?


    Pest Control

    The most commonly sought advantage to raising guppies is their ravenous appetite for mosquito larva.  Having a pond or outdoor aquarium will provide mosquitoes with a place they will feel save leaving their eggs.  Having that pond stocked with guppies will ensure that none of those eggs ever amount to an adult mosquito that will buzzing in your ear while you are outside working or relaxing in your garden.

    Fertilizer

    Like every other animal, guppies produce waste that can be used in your garden as fertilizer.  It smells less than chicken manure and it’s easier to collect than horse manure.  Just move the water plants to one side, and stir the water until it goes from clear to green.  Then dip in your watering can and fill it up, water hungry fruiting plants like tomatoes or melons with the contents.

    Feed

    If you do have chickens in your back yard, guppies can still be a nice addition.  As little as 10 adult guppies placed outside in the spring can result in 1,000 adults by fall.  It’s unlikely that you want to net in and maintain 1,000 guppies inside through the winter.  Instead, you can regularly scoop some up and toss them to your chickens.  Chickens love guppies.  But if you don’t have chickens, you can (it might sound cruel) bury the guppies in your fall garden for rich soil in the spring (watch out for raccoons).


    Guppies require less care than just about anything.  They can be raised in virtually anything that holds water.  They can reduce mosquitoes, give free fertilizer, and provide pretty cool entertainment if you watch them give birth.  Give guppies a try for your garden this spring.

    If you liked this, you might also enjoy…

    Become a Master Healer at Home

    Anaerobic Weight Loss Fitness…

    The Ultimate Woodworking Course..

  • Winterizing the Chicken Coop (Video)

    Winterizing the Chicken Coop (Video)

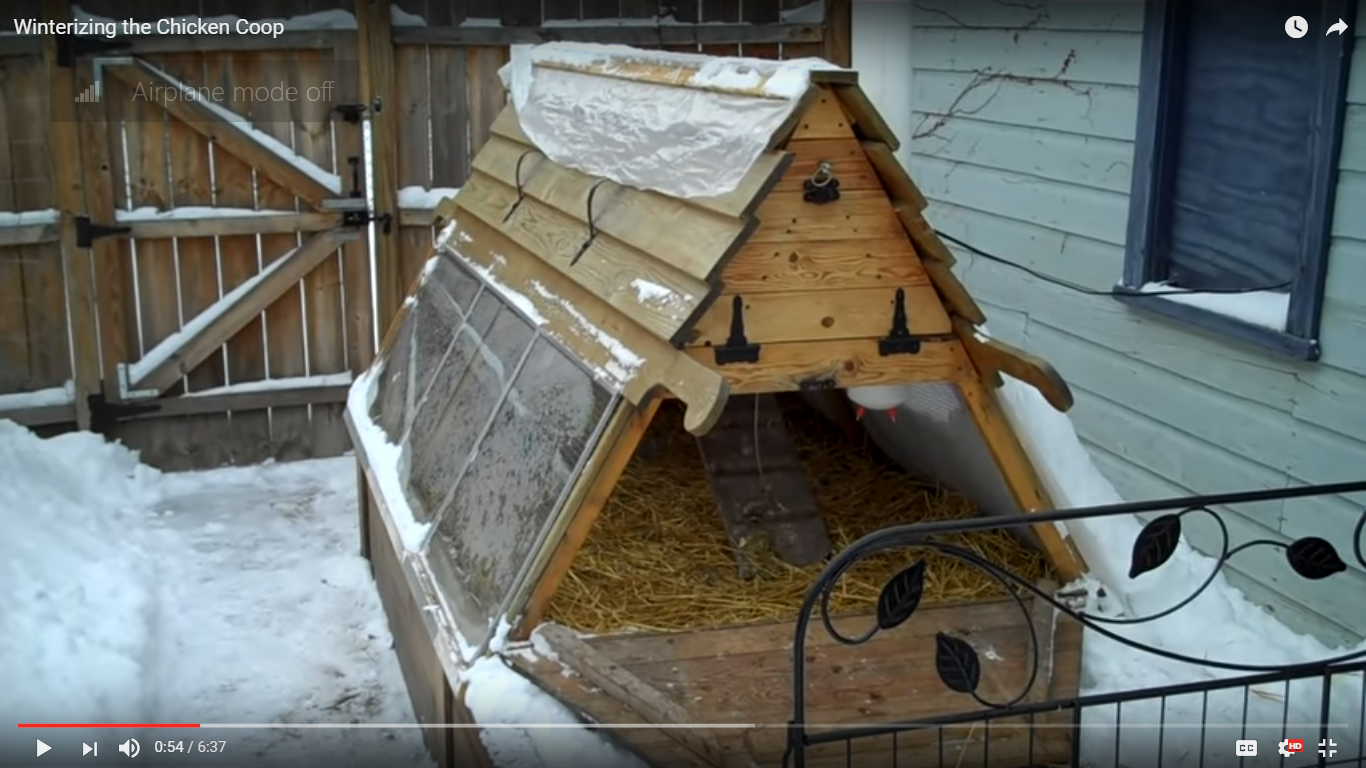
    We love our feathered friends, so it’s important that we make sure they have the best care through the winter! This clever Chicago couple kept getting questions as to how they cared for their backyard chickens through the notoriously brutal Chicago winters, so they made a video to show what they did. Their chicken coop looks nice and cozy! Check it out:

    If you liked this, you might also enjoy…

    Ancient Healing Secrets You Can Learn at Home…

    Yoga and Weight Loss: What You Need to Know

    How to Become a Master Woodworker..

  • How to Clean Cast Iron

    How to Clean Cast Iron

    Cast iron cookware is fantastic. It is durable, lasts forever, can be used over an open flame and is often called “the original non-stick”. A cast-iron skillet is an essential to any homestead kitchen. However, they have to be cared for properly. There are differing opinions on how to properly clean cast iron, so this is just one way that I have found works best for me. Based on what kind of cleaning supplies and fat you regularly have available to season with, you might find a different method works for you. But I’ve been cleaning my cast iron skillets this way for years, and they’re in great shape. I also find that this  method keeps them very non-stick, making them less likely to need to be cleaned with any more than a quick swipe of a paper towel after most uses.

    The Secret to Keeping Cast Iron Well-Conditioned

    The secret to my method of cleaning cast iron is the use of bacon fat. About once or twice a month, I fry up a package of bacon and save ALL the drippings. I keep a small, 4-oz glass container with a lid in my fridge that I fill up with the drippings. This is what I use to season my cast iron, which I’ll explain later. You can use essentially any kind of fat, such as rendered tallow, olive oil, or coconut oil, which are other popular and effective options. I personally have found animal fat drippings such as bacon grease to be the most effective.

    The Cleaning Process

    When you have a dirty cast iron skillet, always see if you can simply wipe out the food residue with a damp paper towel or cloth first. A lot of the time, this will be sufficient, and you can simply rub all the food residue out, heat over a very low flame until the moisture is gone, and apply more bacon grease. However, often times this won’t be enough. If you have food residue that can’t be simply wiped up, follow these steps:

    1. Rinse your cast iron skillet with warm water and NO SOAP. Gently scrub with a plastic or natural fiber cleaning brush or sea salt, if needed. If you have some stubborn gunk, let soak for about ten minutes, but never much longer than that or your cast iron might rust.
    2. Once you have thoroughly removed the majority of the food residue, rinse, and blot the majority of the moisture off with a dish towel. Your dish towel will most likely get a little gunky at this point, so make sure it’s one that you’re able to wash right away. Don’t worry at all about getting all the moisture though, just whatever is dripping off, and move on to the next step:
    3. Put your skillet on the stove over a low flame, and let it dry this way. WARNING: don’t forget about it! Set a timer for 5 minutes if you’re worried you’ll forget.
    4. Once the skillet is hot and fully dry, grease it thoroughly with your bacon drippings or fat of choice. Make sure to fully coat the whole inside of the skillet so that it looks “wet” again.
    5. You’re done! The heat from the drying process will sort of “lock in” the fat and make the skillet more non-stick for the next time you use it.

    If you liked this, you might also enjoy…

    Natural Healing Techniques Doctors Don’t Want You to Know…

    The Weight-Reducing Magic of Yoga…

    The Ultimate Woodworking Course..

  • How to Freeze Raw Potatoes

    How to Freeze Raw Potatoes

    Keeping potatoes in a root cellar is a common way to store these essential root veggies through the winter, but plenty of people don’t have root cellars! Canning is another option, but that usually takes a pressure canner.

    If you find yourself with a lot of potatoes you’d like to store for a long time but don’t have a cellar or a pressure canner, freezing them is a great option-if you do it right. It can be kind of tricky, so here are some tips to ensure they remain fresh in the freezer.

    Use Fresh Potatoes

    Don’t use potatoes that have started to turn. If you want them to keep fresh in the freezer, use the freshest potatoes you can find that haven’t yet started to sprout or get black spots.

    Vinegar

    Before preparing them for freezing, cut them up and rinse them in cold water with a little vinegar. This will help preserve them.

    Related Article:  Creative Ways to Freeze Eggs

    Blanch

    Before freezing, blanch your potatoes in boiling water for 3-5 minutes, then cool and let dry completely.

    Banish oxygen

    Potatoes usually turn brown or black after exposure to oxygen, so if you can, vacuum-seal your potatoes before freezing. This will keep them in a completely oxygen-free environment and as fresh as possible in the freezer. But if you do not have a vacuum sealer, you can put them in a zip-lock bag with a paper towel and try to squeeze out as much as the air as possible.

    Thaw at room temperature

    For some reason, if you thaw in a bowl of water in the sink rather than in the refrigerator, frozen potatoes are less likely to turn black. For instance if you are planning on cooking with them in the evening, take them out of the freezer and put them in a bowl of room-temperature water in the sink to thaw throughout the day.

    To use your thawed potatoes, just throw in any dish as you would fresh potatoes. They work best in longer-cooking recipes like stews, soups and chowders. You can even use them for mashed potatoes! Enjoy!


    If you liked this, you might also enjoy…

    Natural Healing Techniques Doctors Don’t Want You to Know…

    The Weight-Reducing Magic of Yoga…

    The Ultimate Woodworking Course..


  • Cultivate Your Own Wild Yeast Starter (Video)

    Cultivate Your Own Wild Yeast Starter (Video)

    As homesteaders, we’re used to growing our own food, raising animals, even fermenting and preserving. But something really cool you can cultivate is wild yeast! You are probably used to baking with active dry yeast that you buy in packets at the store, but did you know you can harvest the microorganisms that naturally occur in any environment to make your own active starter?

    It’s really cool! And if you don’t already homestead, it’s a very fun way to grow “food” right on your countertop, needing little more than flour, water, and time.

    Check it out!

    If you liked this, you might also enjoy…

    Ancient Healing Secrets You Can Learn at Home…

    Yoga and Weight Loss: What You Need to Know

    How to Become a Master Woodworker..