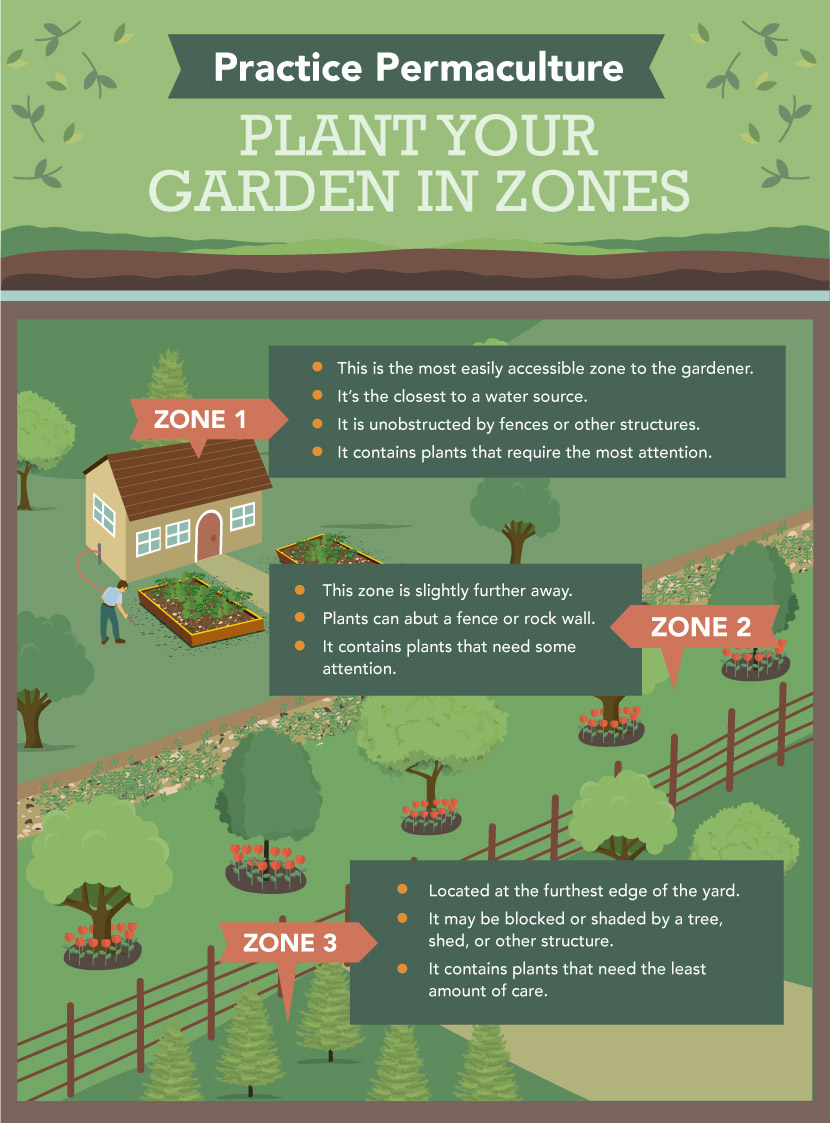
DIY Flow Through Worm Bin
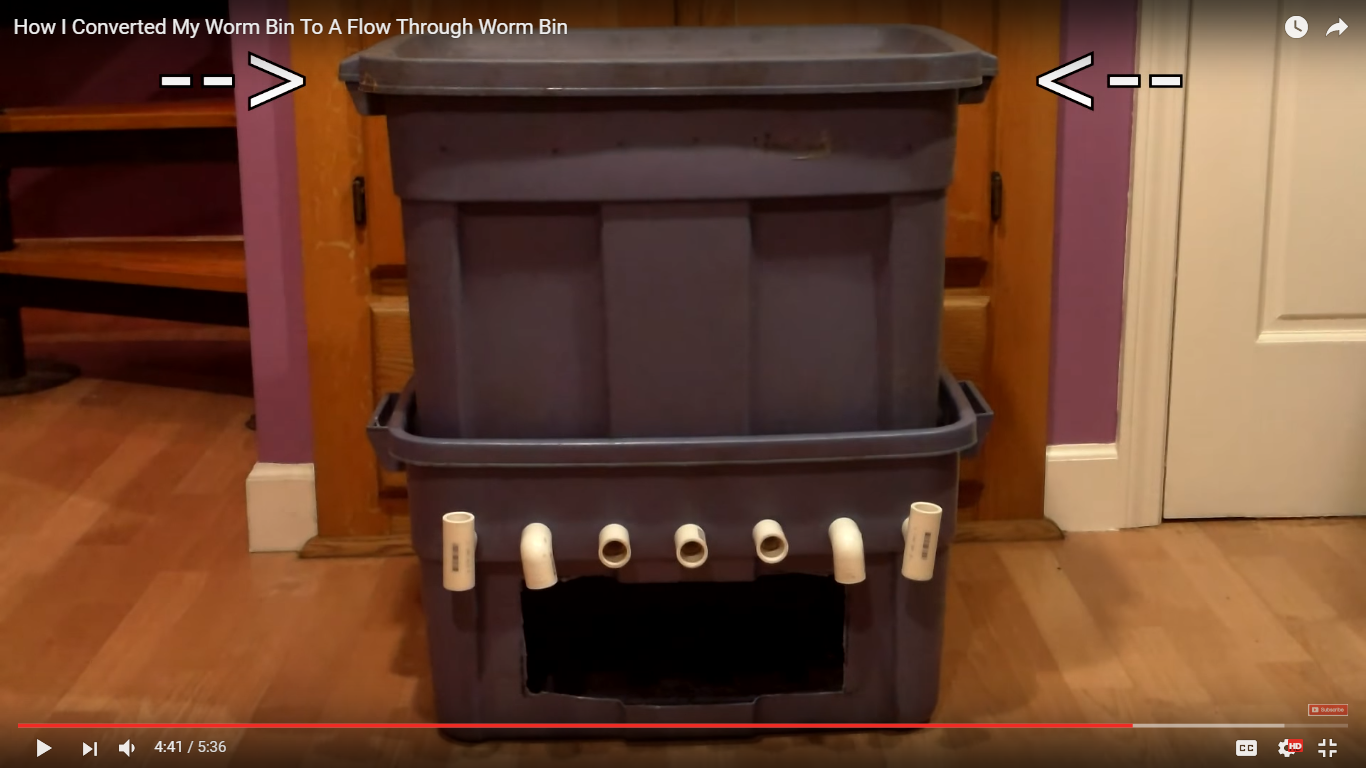
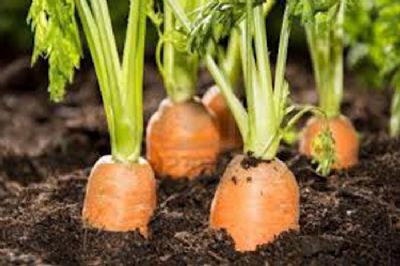
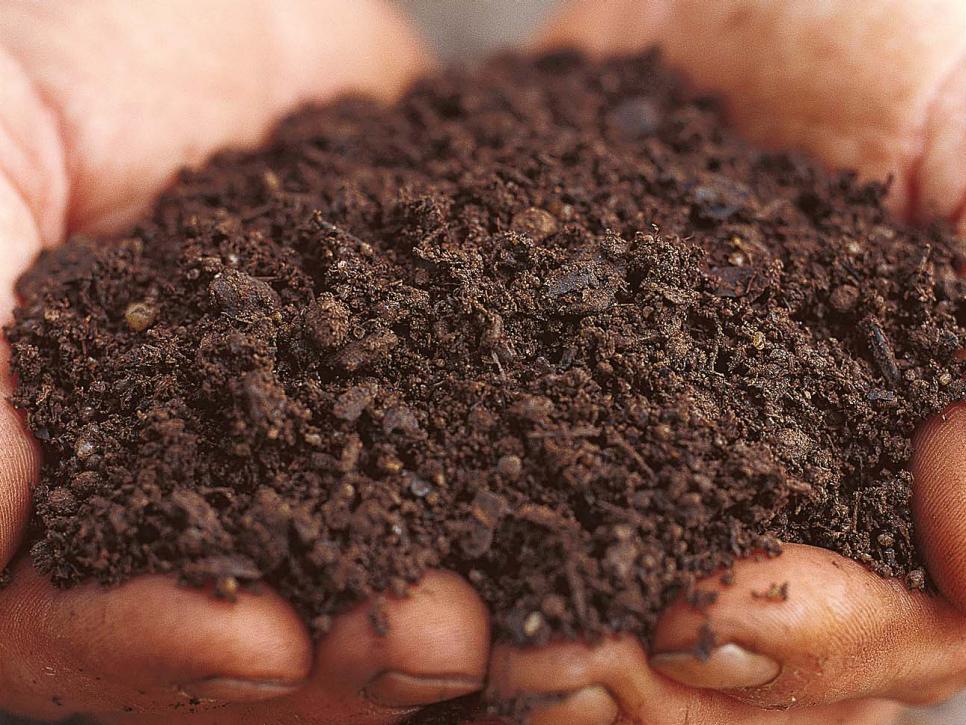
Worm castings are a great natural fertilizer that not only add plant-available nutrients, but also increase long-term soil structure and health. But at over $20 a cubic foot, worm castings can be expensive to add to your garden. So don’t buy them, make your own flow through worm bin and easily harvest your own worm … Read more