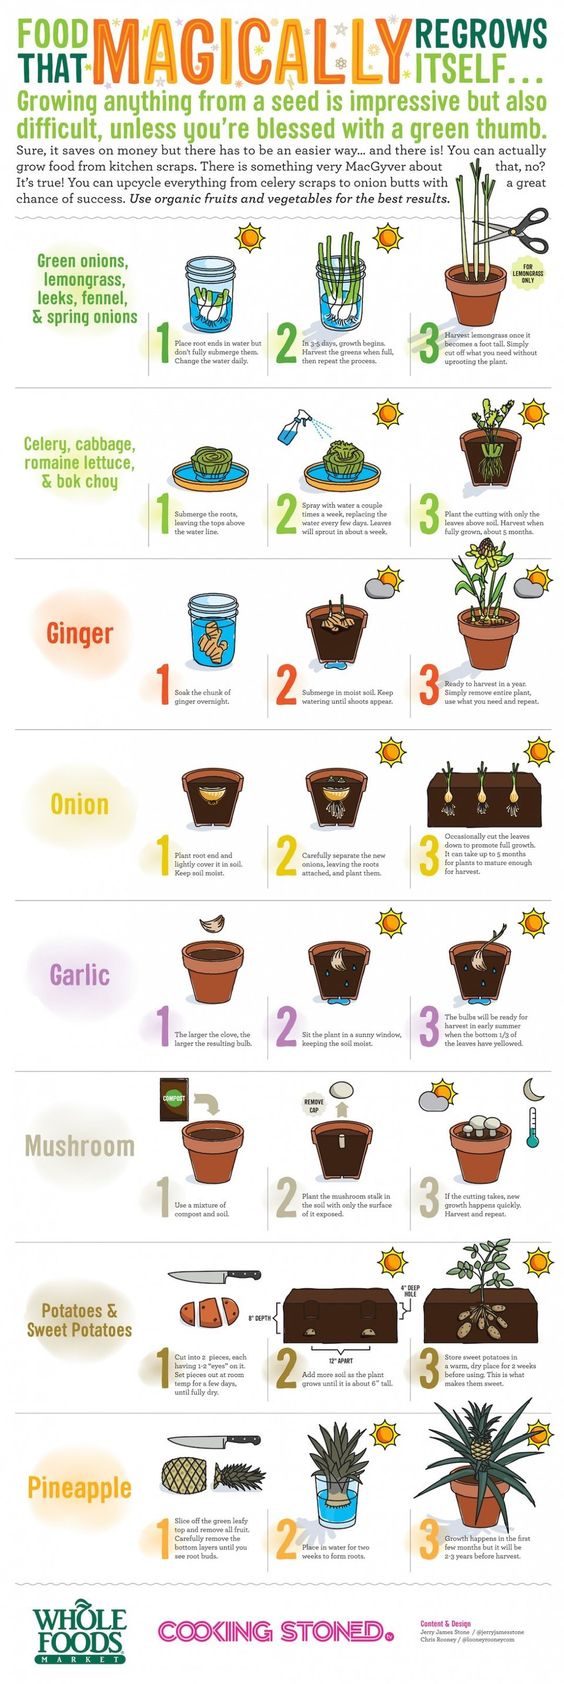
All About Lemon Balm
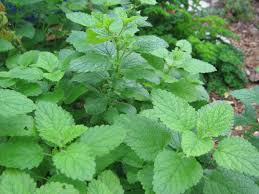
Lemon balm is a perennial herb in the mint family. It gets its name from the strong “lemony” smell of the leaves, which also have a tangy taste to them. If you aren’t currently growing some, here are a few reasons why you should start. Ease: Lemon balm is easy to start from seed … Read more