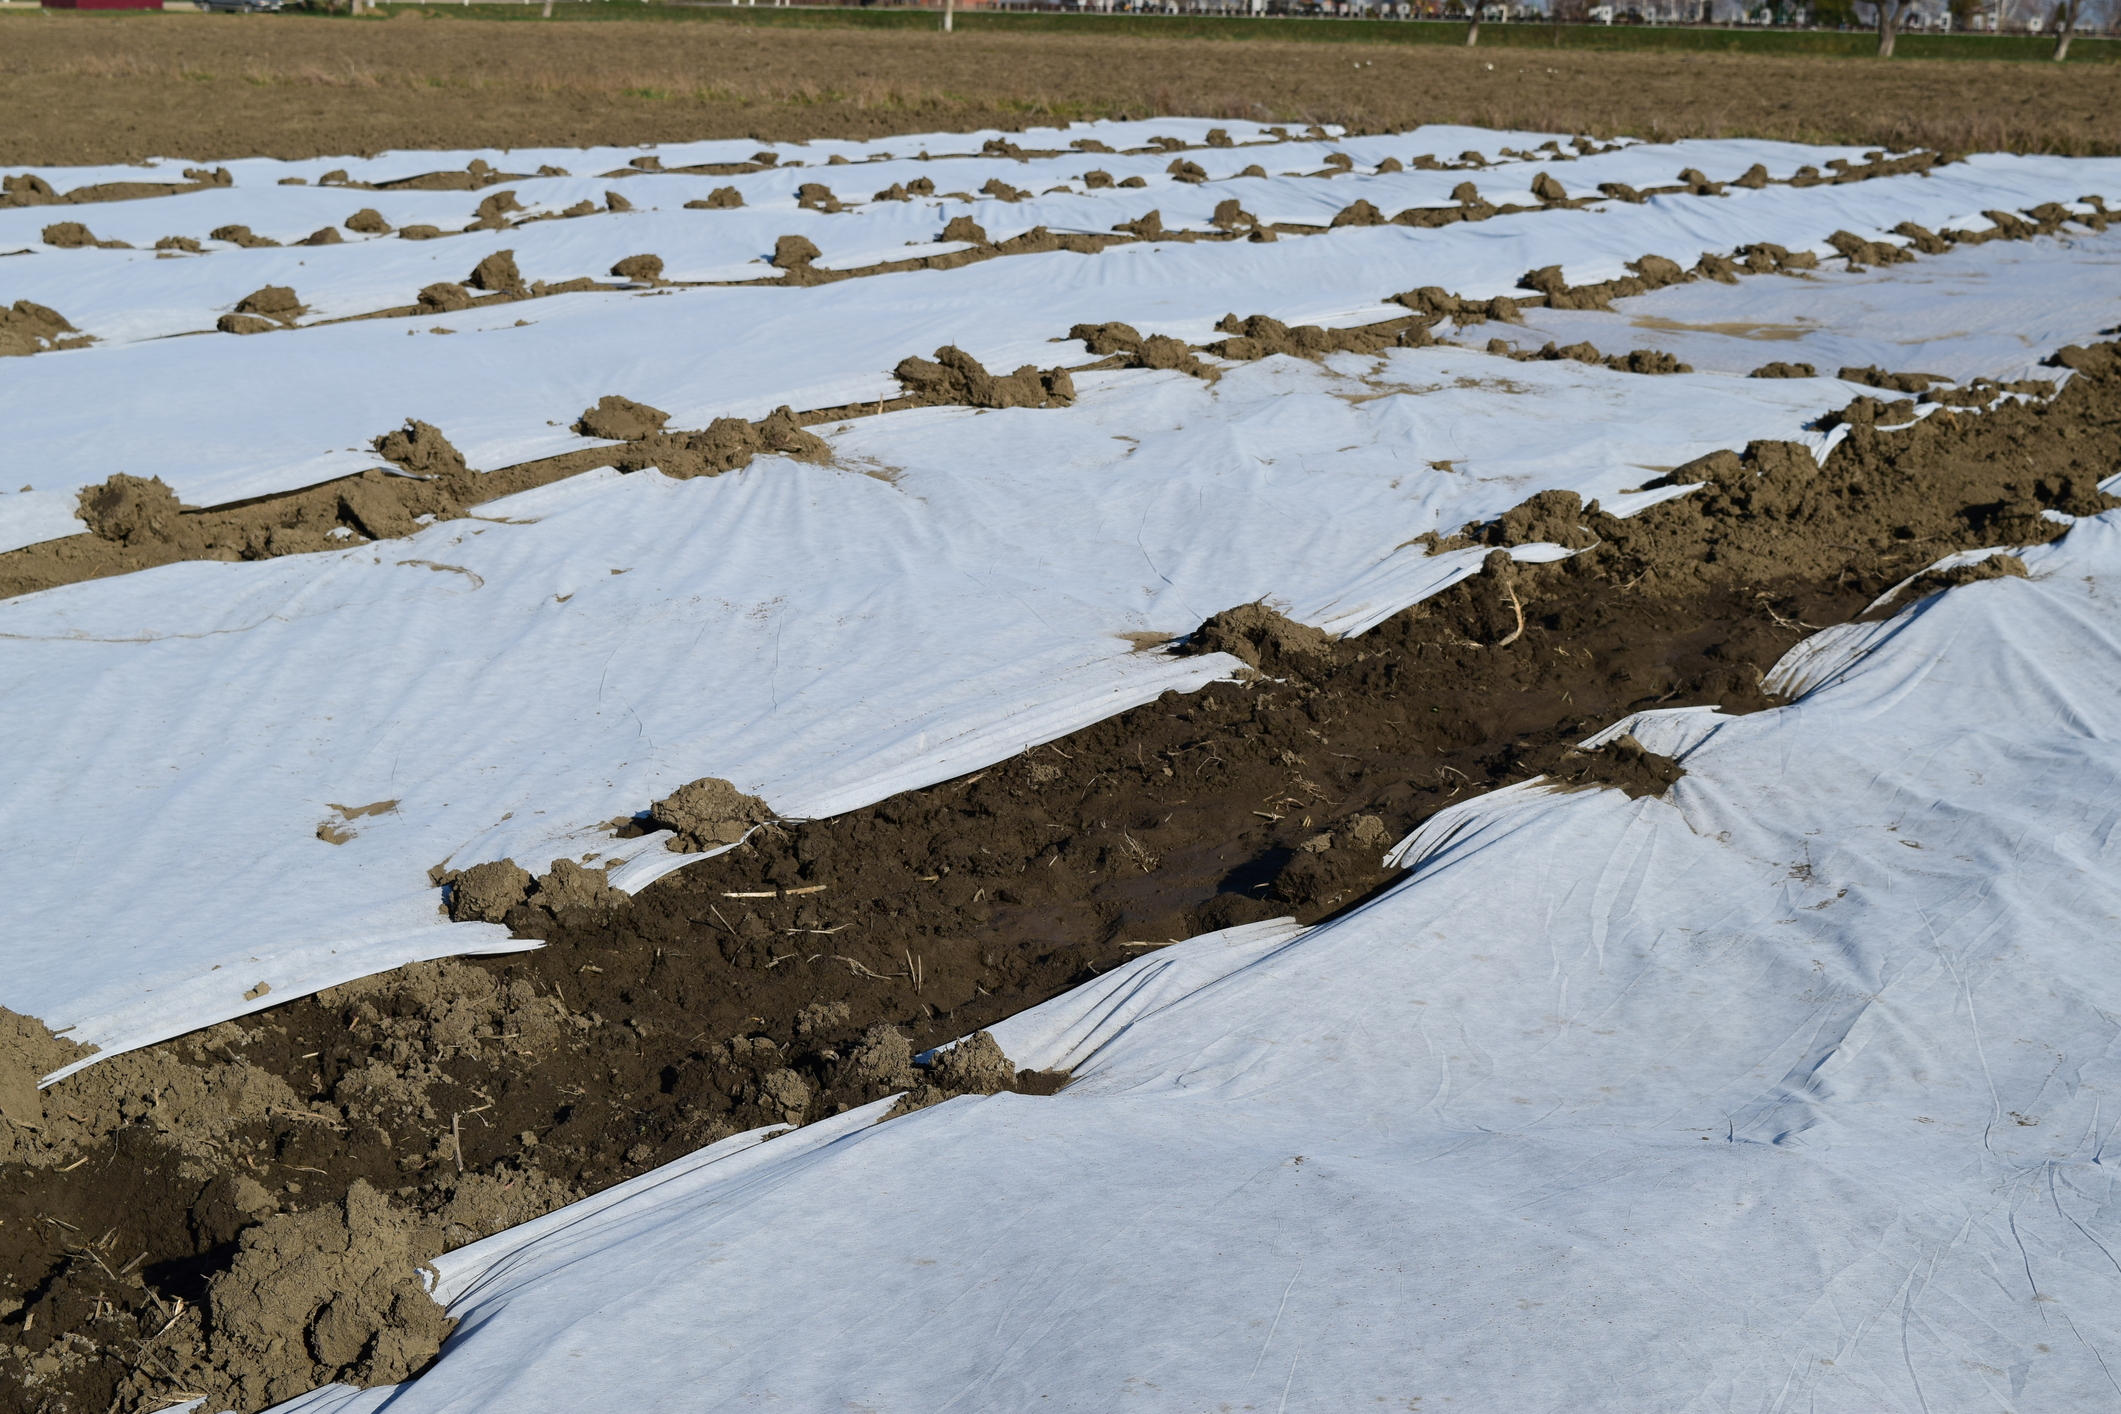
Many gardeners count down the days until the winter ends because they’re just dying (not literally, of course) to get their crops in the ground. Rather than wait until the earth warms up and the last frost is far from over, start your season early by using plastic sheeting in to create a greenhouse-like effect. Plus, if you leave the sheeting up once the weather than changed for the better, you’ll have fewer weeds to deal with. Your garden will be magnificent thanks to this quick and easy garden hack.
It All Starts in the Autumn
Once you harvest your crops in the fall, you can start getting things in place for your plastic sheet garden. Clear out your garden, removing the remnants of your crops. Only the soil should be left. Turn it over very well in order to remove any lingering roots or bits of plants. Get out your tiller if you need to. Then, set up your soil for next spring. This involves making seedbeds, also known as soil ridges. These ridges should be one foot wide by around six inches high. They need to run to the east and west in your yard, parallel to each other. You can arrange them so that they’re as close together or as far apart as necessary. This is up to you.
After The Last Frost (Ideally)
Depending on where you live in the country, these next steps should be completed after the last frost or after what you perceive to be the last frost. (Sometimes the weather can be weird.) Purchase a roll of transparent plastic sheeting. Find one that’s 4-mil, and large enough to cover your desired area. You need it to be able to cover your entire planting area. Lay it directly on top of those soil ridges that you made in the fall. Don’t forget to anchor it down on the edges with wooden boards, stakes, or bricks. You don’t want it to fly away in a windstorm.
Wait Until the Soil Is Warm
Rather than waiting for the soil to warm up naturally (that is, without plastic sheeting) to plant your crops, you just have to wait until the plastic has done its job. It shouldn’t take more than a few days for the earth to warm up under the plastic. Once it has, you can start planting your crops in between the ridges. Peel back the sheet and place your seeds in the ground, following the usual planting instructions as far as how deep and how far apart to plant them. Then, place the plastic back on top of them. At this point, you may want to use wooden stakes instead of boards and bricks, as they’ll allow the plastic to move slightly as the plants grow.
Why the Ridges Are Important
The soil ridges are designed to hold up the plastic, giving the plants some space to grow. They also control the moisture content of the soil and trap sunlight, making the area under the plastic quite warm. It creates a greenhouse effect. This is why you can start planting much earlier than usual.
The Rest of the Process
As your plants begin to grow, you’ll need to check on the moisture content of the soil. If it seems like things are too damp under there, peel back the plastic for a while and let everything dry out a little. Replace the plastic once the moisture levels have gone down. Once the traditional spring-like weather has officially returned to your area, or the plants have grown too big to remain contained under the plastic, roll up the sheet and let mother nature do the rest.


