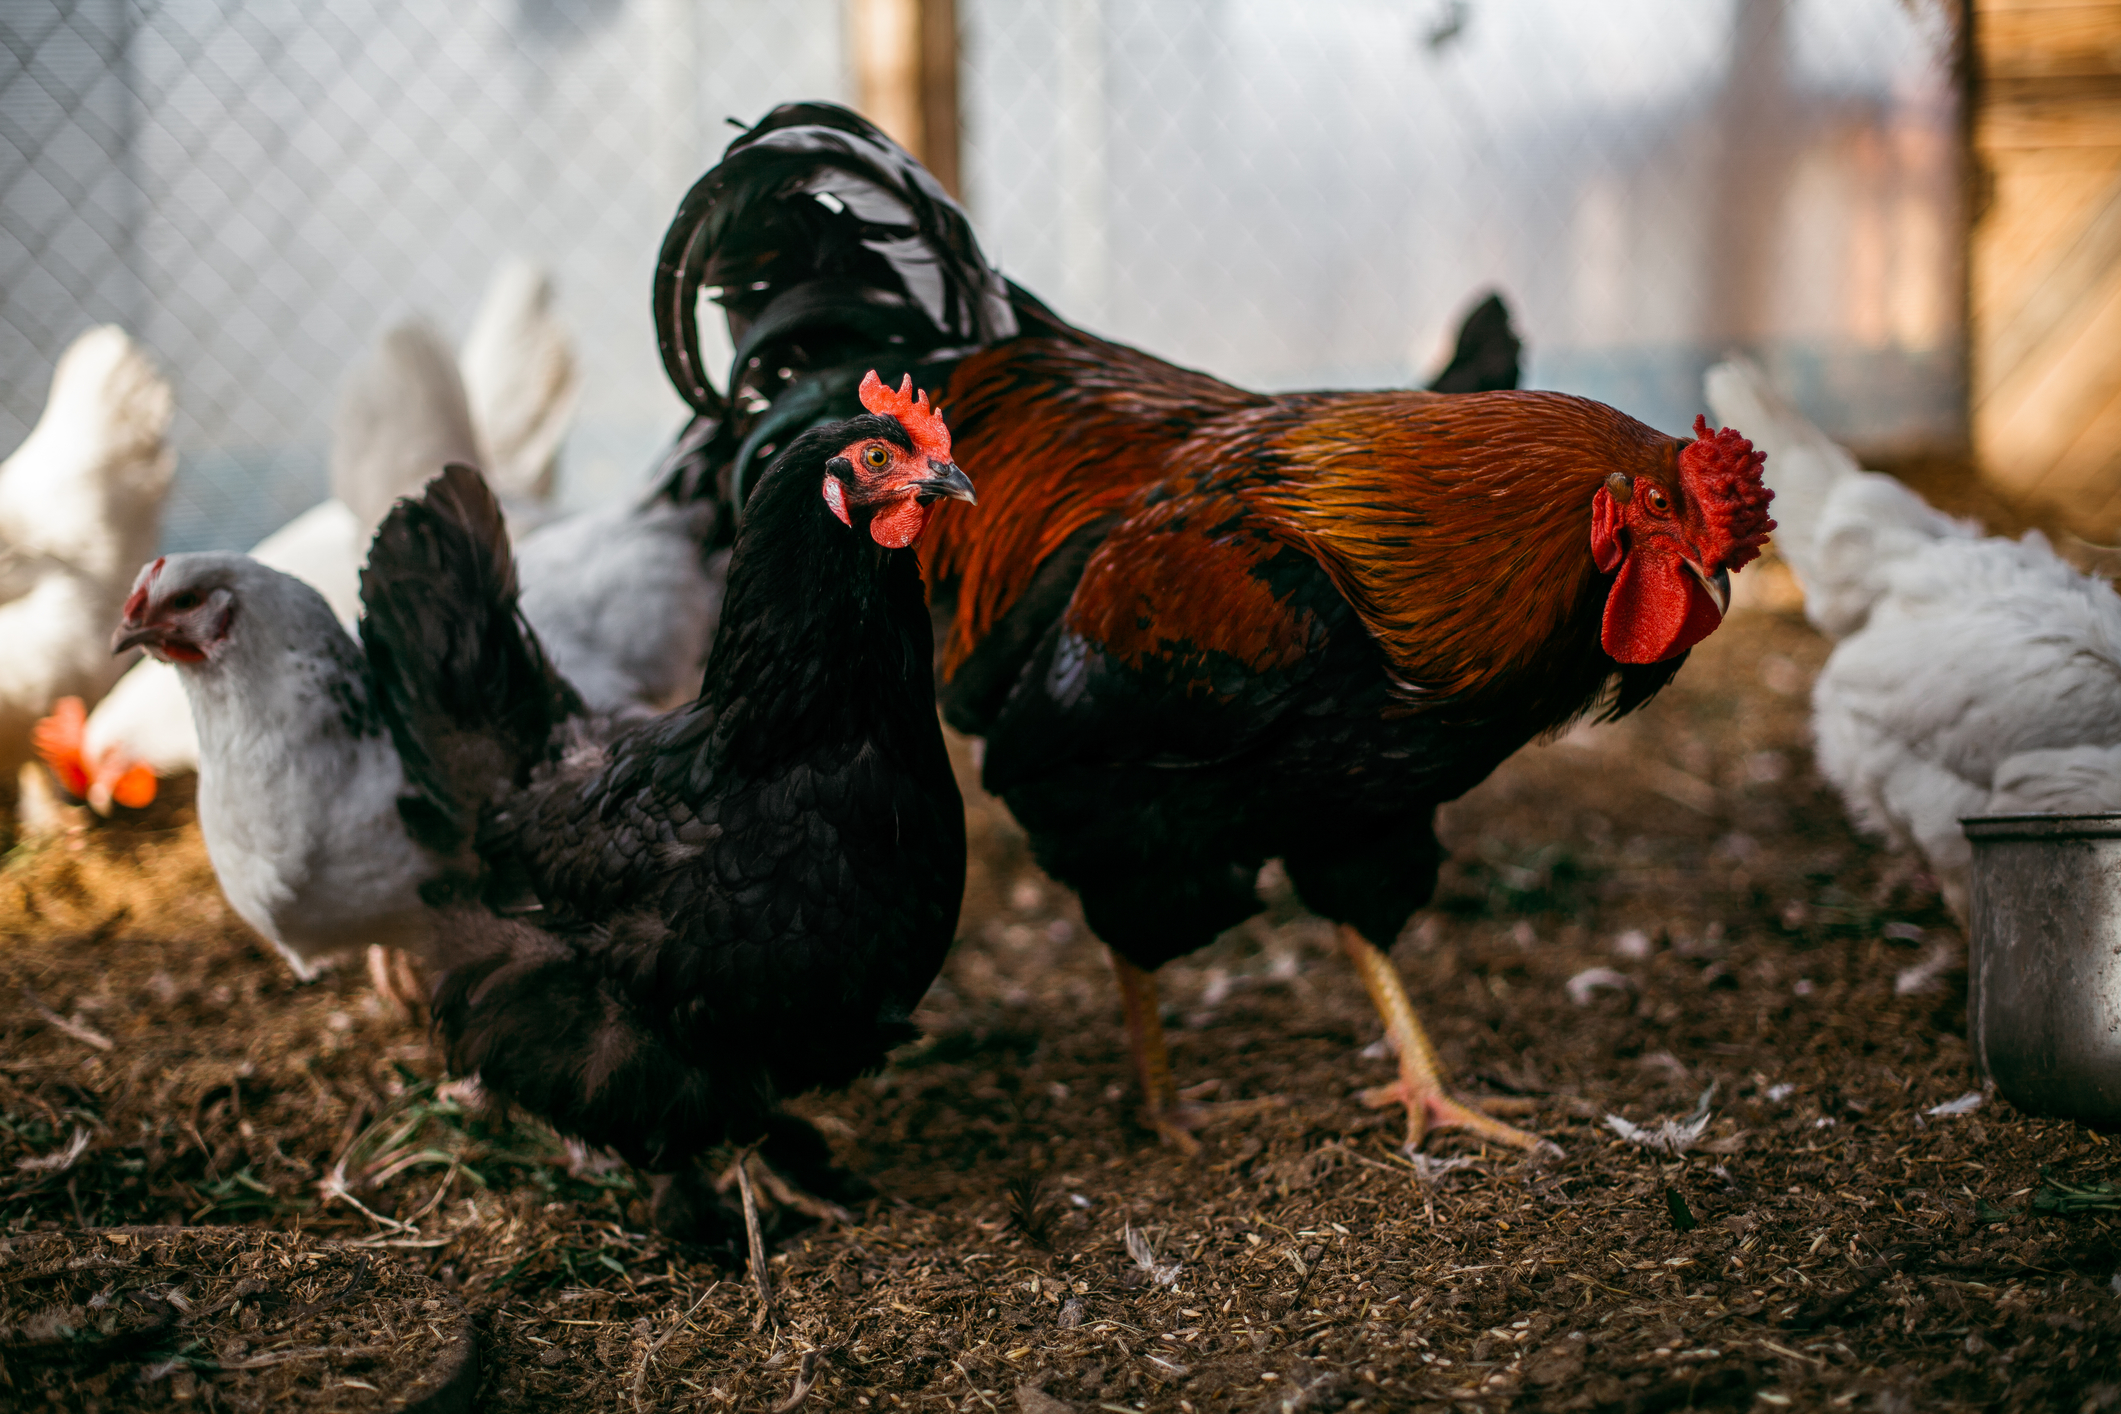
8 Ways Chickens Can Benefit Your Homestead
Updated October 2025: This comprehensive guide has been updated with the latest information on raising chickens for homesteading in 2025, including modern coop technology, updated cost analysis, and current best practices. Do you have chickens on your homestead? Whether you’re considering getting your first flock, are already an experienced chicken keeper, or are evaluating whether … Read more