Page 14 of 15
1 12 13 14 15
diy – Page 14 – Homesteader Depot

Tag: diy

  • Household Uses for Hydrogen Peroxide

    Household Uses for Hydrogen Peroxide

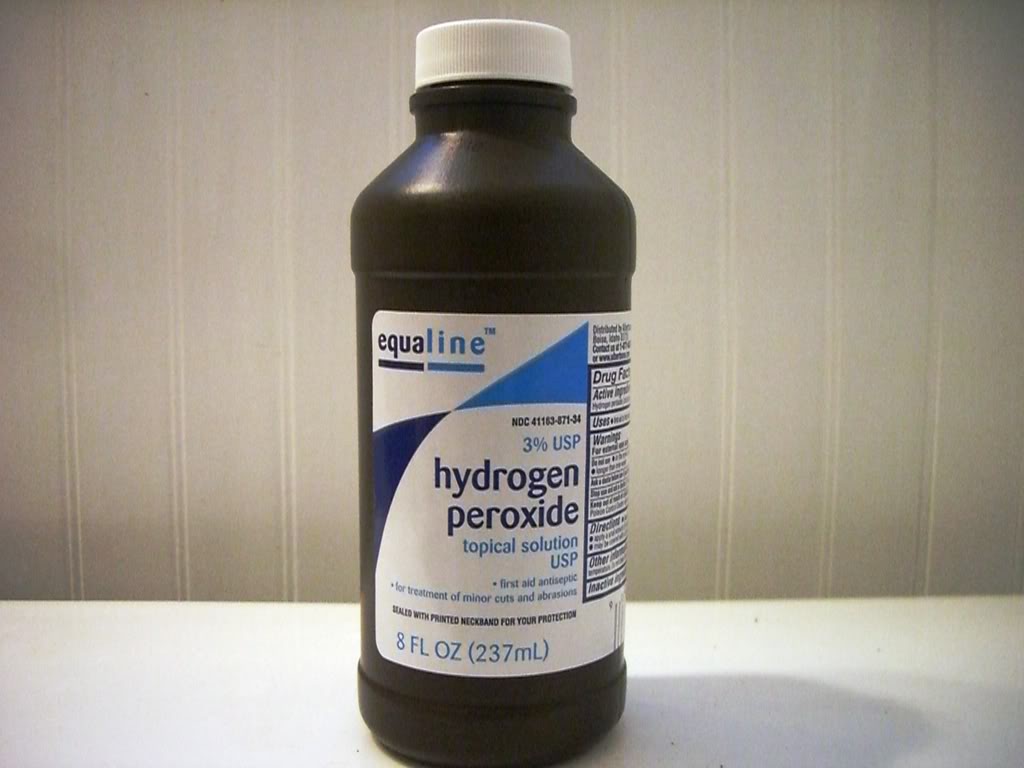
    Every knows that hydrogen peroxide can be used as an antiseptic to treat wounds, but hydrogen peroxide can be used for more than just wound care.  Here is a brief list of other ways you can use this cheap, versatile, and safe product.


    Oral Care

    H202 (hydrogen peroxide) can be diluted with an equal amount of water and be used as a mouthwash to kill gingivitis and help with toothaches.  A bonus is that it will help whiten your teeth.  Don’t go overboard with this, though, using it too regularly can damage tooth enamel.

    Laundry Boost

    Do you remember the infomercials that sold cleaning products that used oxygen to lift stains?  H2O2 works similarly.  Just treat tough stains with it directly and wash them as usual, or add it to your load with the regular detergent for an added boost.

    Antifungal

    If you are living off grid then you are probably going to be wearing clothing more than once, maybe more than twice.  This could lead to fungal infections in your skin such as athlete’s feet, ring worm, and dandruff.  Along with changing out your clothing more frequently, as your resources allow, H2O2 can be diluted with equal parts water and rubbed on affected areas to kill the fungus.

    Sprouting

    Keeping your beans, grains, or seeds from molding while sprouting them can be difficult.  One way is to add an ounce of H2O2 to the water every day when you change it out.

    Shower Cleaner

    When less diluted, or even straight out of the bottle if necessary, H2O2 can help kill mold in the shower than lead to health issues.  It is much easier on the lungs of the person doing the cleaning, or those in the area, than bleach.  If you plan on using it in a spray bottle, make sure you use one that blocks out light, or that you put in the bottle just before use, as light will break down H2O2 and decrease its effectiveness.


    Hydrogen peroxide has been around for a long time, and has proven itself.  Keep yourself stocked up, since with so many uses you will be going through it quickly.

    If you liked this, you might also enjoy…

    Natural Healing Techniques Doctors Don’t Want You to Know…

    The Weight-Reducing Magic of Yoga…

    The Ultimate Woodworking Course..


  • Why Baking Soda is Awesome

    Why Baking Soda is Awesome

    Two of the most constant themes in homesteading are resource conservation and improvisation.  Having items that can be used in a variety of ways will help make both of these possible.  One such item is baking soda.  Baking soda can be used in virtually every aspect of homesteading life.  It is cheap, natural, and safe.  With a nearly limitless amount of uses this will probably not be the last time we talk about baking soda, but for now here is just a short list of a few ways that it can help you save money and improve your quality of life while homesteading.


    Personal Hygiene

    The two most common ways to use baking soda for personal hygiene are for toothpaste and deodorant.  Baking soda can be used alone for toothpaste, but will be for effective if it is added to coconut oil, salt, and mint essential oil (yit is controversial whether or not you are supposed to ingest essential oils, but most commercial toothpaste has a poison control warning on it, while essential oils don’t, so just be careful not to swallow).  Baking soda can be applied by itself for use as deodorant.

    Safety

    While it’s always a good idea to have a fire extinguisher in the house, you don’t always want to use something that has a single use and costs $30 or more if you don’t have to.  If you have a small grease fire in the kitchen spraying it with a chemical fire extinguisher may be a bit of an overkill, and leave you will quite a mess.  If the situation isn’t severe enough to call for a fire extinguisher, then throw handfuls of baking soda on the fire.  When baking soda is heated it releases carbon dioxide, this helps to smother the fire.

    Battery Maintenance

    Baking soda can help fight battery corrosion since it is slightly alkaline.  Make a paste of 3 parts baking soda and 1 part water, disconnect your battery terminals, use a brush to scrub the corrosion off with the paste, apply a thin layer of petroleum jelly after cleaning to help keep moisture off.


    These are just a few of the many ways to use baking soda!

    If you liked this, you might also enjoy…

    Natural Healing Techniques Doctors Don’t Want You to Know…

    The Weight-Reducing Magic of Yoga…

    The Ultimate Woodworking Course..


  • How to Build a Fire Pit (Infographic)

    How to Build a Fire Pit (Infographic)

    Fire pits are great for summer or fall nights when you want to be outside but want or need some extra warmth. It’s a great thing to have on a homestead not just for outdoor evenings, however, but also for burning small bits of waste or even cooking (with the right set-up, but that’s another article for another day).

    This handy fire pit infographic from fix.com breaks down the process of building a firepit and makes it easy-to-understand and manageable.

    To start, it’s important to think about what you’d like to use your fire pit for, and where to place it. If you’d like to use it to burn garden waste or heat up water for butchering chickens, you might want to put it closer to where you keep your garden tools or butchering area. If you’d like to add a spit and cook, maybe closer to the house.

    Whatever you do, make sure to check your local fire ordinances so that it will meet regulations. You don’t want to put all this work into a fire pit just to have the fire department called when you light it up for the first time!

    According to the original article, the materials you will need are:

    • Shovel
    • Measuring tape
    • Spray paint to outline the shape/size
    • Wood stake
    • Concrete blocks, fire bricks, landscaping stones
    • Sand
    • Level
    • Rubber mallet
    • Masonry adhesive
    • Gravel

    The infographic is about both above ground or in-ground pits, and you can read the original article to read a more detailed discussion of how to pick which one you might like.

    Here’s the infographic, enjoy!

    fire-pit-embed-small

    If you liked this, you might also enjoy…

    Natural Healing Techniques Doctors Don’t Want You to Know…

    The Weight-Reducing Magic of Yoga…

    The Ultimate Woodworking Course..

  • Homemade Bird Feeders

    Homemade Bird Feeders

    During the fall and winter, as trees die and snow eventually covers the ground, many birds have a harder time finding their food than during the spring and summer months. But unlike their hibernating woodland counterparts, birds still look for sustenance in the coldest months!

    A very nice way to help them out a bit, and attract beautiful birds into your yard is to make your own bird feeder. It’s very easy to make and doesn’t require much at all.

    This is a great indoor, snow day craft for little ones. You can make the bird feeders with them, then hang them on a tree within view of the house, and then watch the birds come and feed from it! So much better than TV.

    Another great thing about this craft is it uses pinecones, which can often be found on the ground in abundance during the winter. So if you have several on your property or in a park or along hiking trail you like to visit, this is a great way to use them up. It’d make a great activity for a children’s birthday party, or a homeschool or church group craft as well.

    What You Need:

    • Pinecones
    • Peanut butter
    • Cornmeal
    • Birdseed
    • Ribbon, twine or wire
    • Large bowls, pans or wide plates

    What You Do:

    1. Spoon some peanut butter into a bowl. It’s impossible to say how much you need as that will be based on the size of the pinecone and the consistency of the brand of peanut butter you have, but to give a rough idea, 1/2 a cup for 2 or 3 pinecones is probably a good place to start.
    2. Mix in a bit of cornstarch, about 2 tsp per 1/2 of the peanut butter, and stir to combine. You might need more; the idea is to make the peanut butter more gritty so that the birds can eat it easier.
    3. Pour your birdseed, about 2 or 3 cups to start, into your bowl, pan or wide plate. You just need a big enough area to be able to roll the pinecone around in the birdseed.
    4. Secure your ribbon, string or wire to the pinecone. You will probably want to tie it around the middle and train some up the side so that it can be hung. It doesn’t have to be perfectly symmetrical, it just has to be secure and able to be hung from a tree.
    5. Using a spoon or wide popsicle stick, spread the peanut butter mixture over the pinecone. Try to fill as much of the gaps as you can with peanut butter.
    6. Roll the pinecone in the birdseed, pressing the seeds into the peanut butter and the gaps in the pinecone.
    7. Shake the pinecone off over the container that the birdseed is in, just so you don’t make a mess on your way to hang them!
    8. Once you’re done putting the peanut butter and seed on the pinecones, hang them in a tree and enjoy the sight of happy birds with lots of free food!

    If you enjoyed this you might also like:

    How to get started with Aquaponics.

    Grow your own food, better, faster, stronger….

    DIY Home Energy System…

    Click Here To Get The Best Survival Medical Course…

  • Super-Simple DIY Pest Repellent for the Garden

    Super-Simple DIY Pest Repellent for the Garden

    As you probably know, most commercially available pest-repellants are full of harmful chemicals that you wouldn’t want anywhere near your house, children, or pets, let alone near the garden that you’re growing your food in.

    Even if you don’t spray chemicals right on the leaves of your plants, spraying them around the perimeter, either to kill grass, weeds or bugs, will trickle into the soil and can easily be absorbed through the roots of your plants, and you don’t want that.

    But there is a very easy, at-home solution for keeping pests out of your garden, and it’s safe enough to use regularly.

    The solution is very simple: vinegar and peppermint essential oil. You can spray it around the perimeter of your garden, however NOT on any plants you want to keep alive, vinegar kills plants! If you have a fence around your garden it would be ideal to coat the fence with the spray every week or so, and the strong, pest-repelling scent of the peppermint oil is sure to keep pests away.

    What you need:

    Peppermint essential oil

    Vinegar

    Spray bottle

    Label (optional but recommended)

    What you do:

    1. Pour your vinegar into the spray bottle.
    2. Add about 25 drops of your peppermint essential oils
    3. Put the top back on the spray bottle, and shake to combine. You’ll want to do this before you use each time just to make sure the oil is evenly dispersed throughout the bottle
    4. Label if you like. This is highly recommended if you use spray bottles for other garden uses, as vinegar is something you definitely don’t want to get mixed up with say, a neem oil spray or fertilizer!

    And that’s it! If you can create a barricade around your garden of the strong vinegar and peppermint oil scent, it will greatly reduce the pests in your garden without putting toxic chemicals in your food.

    If you enjoyed this you might also like:

    DIY Home Energy System…

    Click Here To Get The Best Survival Medical Course…

    Check Out These Mind Blowing Survival Skills…

  • Homemade Toothpaste

    Homemade Toothpaste

    It’s really fun, wallet-friendly and healthy to make your own personal hygiene products at home. A great place to start is with homemade toothpaste! It’s really easy and cheap, and quite possibly much better for your teeth than conventional toothpaste.

    This recipe includes coconut oil, which is great for your teeth. The oil naturally attracts the bacteria that contributes to plaque build-up and decay, and leaves a protective layer on your teeth to help prevent more bacteria from settling on your teeth.

    It also includes an optional essential oil, which can kill bacteria as well, and prevent bad breath. One of the nicest sensations from store-bought toothpaste is the refreshing, minty taste it leaves in your mouth, so you can easily mimic that with peppermint essential oil! Tea tree oil, on the other hand, will clean just as effectively and is great at killing germs. You can also use clove oil, which is very effective for cleaning and helps contribute to overall gum health.

    Let’s get started!

    What you need:

    • A small jar
    • Baking soda
    • Coconut oil
    • Essential oil of choice (peppermint, tea tree, clove, lemon, or oil of choice. Feel free to play around!)

    What you do:

    1. Fill about 1/3 of your jar with coconut oil. Begin to pour in your baking soda and combine thoroughly until you get a smooth paste. Bear in mind the consistency will change based on temperature because of the coconut oil, so if your bathroom is warmer than your kitchen, it might turn into liquid, if its colder, it will get more solid. You might want to leave the coconut oil in the bathroom for 24 hours before making the toothpaste so its the same consistency it will be when made into toothpaste and stored in the bathroom.
    2. Once you have a paste that is the consistency you’d like, add your essential oils. How much you add will vary based on the size of your jar, but for a 1 oz jar, about 10-20 drops essential oil will probably be sufficient. Once you’ve added the oils, mix thoroughly again to evenly distribute throughout the paste.
    3. Cover tightly and store in the bathroom. You can apply to your toothpaste using a popsicle stick or small spoon. Use as you would normal toothpaste, adding essential oils as needed if the coconut or baking soda taste is too overwhelming.

    The Only Survival Medical Course You’ll Ever Need…

    Essential Survival Skills You Need to Know…

    See what is happening in this country and what you can do to prepare…

  • Making Your Own Shampoo

    Making Your Own Shampoo

    Are you sick and tired of the high-priced shampoos that are on the market today? You want to be self-sufficient, but you still keep on buying those shampoos because you need to keep your hair clean. What if you could make your own shampoo? Think about the benefits that can provide.

    Benefits of Homemade Shampoo

    First, when you have homemade shampoo, you’re not going to be spending as much money on those expensive brands in the store or at the salon. Consider howMaking your own shampoo much money you spend on shampoo each year for your entire family.
    A bottle of high-quality shampoo can cost between $10 and $15 per bottle. Of course, there are some that are much more. For the purpose of this example, we will say that you are buying shampoo that’s about $10 a bottle, and you’re going through two of those bottles each month for your entire family. That’s only $20 a month, but it equates to $240 per year. You can surely find a better way to spend that money.
    In addition to saving money, you will know exactly what ingredients are going into the shampoo. This means you don’t have to worry about unpronounceable chemicals being placed on you and your family. When you look at the recipe we’ve included here, you will see just how easy it is to keep your hair clean and to keep all those chemicals at bay.

    The Simplest Recipe

    This is going to be one of the simplest shampoo recipes – or any recipe for that matter – you’ll ever find. It’s been around for quite a while, and it works well.
    You need to have one tablespoon of baking soda and 1 cup of water. Mix those two ingredients together, and put in an old shampoo bottle. That’s all there is to it. Once you’ve made the shampoo, you just have to shake the bottle, little dab on your hand, and wash your hair just as you normally would. It’s good for any type of hair, and you don’t have to worry about stripping away the natural oils.
    Once again, baking soda has proven to be one of the best items that any homesteader can have on hand. If you want to make sure you’re saving the most money, then you might want to buy in bulk. This way, you can use the baking soda for other tasks as well, including cleaning and brushing your teeth.

    Getting Fancy

    While the preceding recipe is very simple and it is all that most people are ever going to need, you might want to treat yourself to something a little bit different once in a while. To do that, you can add a bit of essential oils to the shampoo mixture to give it some scent. You can also add in a teaspoon of honey.
    As long as you are using natural ingredients, you can add quite a few different things to the shampoo and still keep it safe to use for any type of hair and any type of skin.

    If you like this, you might also like:

    Survival Medicine & Wilderness Survival…

    Advanced Gardening Course To Accelerate Your Food Production…

    Survival Techniques From Long Ago, Re-purposed For The Modern Era…

  • How (and Why) to Render Tallow

    How (and Why) to Render Tallow

    Tallow used to be commonplace a few hundred years ago, before it was replaced with mass-produced cooking oils like canola, corn and soy. What it is is rendered animal fat, (it’s normally called tallow for beef fat and lard for pig fat, but the same principles apply for each) and it can be used in many ways.

    Why Render Tallow

    The reason this is ideal for a homesteader is it’s always ideal to use every part of a butchered animal, and tallow gives you a great way to use up all the fat. But it’s not just useful-its super healthy and nutritious. Tallow is rich in Vitamin K, which is essential for bone health, cognitive function and heart health, Conjugated linoelic acid which regulates the immune system and maintains a healthy heart, and has also been suggested to contribute to weight loss, and omega-3 fatty acids, which can help with heart health, eye health, a healthy pregnancy, cognitive function, balancing mood and lowering cholesterol, to name just a few.

    How to Use

    Tallow can be used for frying and cooking, in place of butter or cooking oil, as an ingredient in lotion or cosmetics, and even to condition leather or as a lubricant for certain farm equipment. Probably one of the most efficient uses for tallow is for making pemmican, an incredible, super-nutritious survival food that can last for years.

    How to make: 

    To make tallow, you will probably want to start by looking up a recipe specifically for the animal who’s fat you are rendering, just to get an idea of specifics about that fat in particular, but for the most part the process is going to be the same.

    • First, you will want to start with frozen or refrigerated fat. This is how it should be stored before you render it. When you’re ready to make it, cut it up into small pieces or pulse in a food processor until it is broken up.
    • Then, you’ll want to put on very low heat over a stove. The key is not to burn it. A stove thermometer is handy here, keep it between 200-250 degrees. Stir pretty much constantly to prevent burning.
    • Once it is all melted, you need to strain it out. A metal mesh strainer will probably work well, or a colander lined with cheesecloth or a coffee filter. The liquid will be very hot, so as you strain it, make sure it is into something like an old coffee cup or sturdy heat-proof jar.
    • Once it is cool, it will be ready to store. It can keep at room temperature for up to a month, or in the refrigerator for a few months. It will keep in the freezer for up to a year. And that’s it! Enjoy your fresh, healthy, useful tallow.

    Have you ever rendered tallow? 

    If you like this, you might also like:

    Survival Techniques From Long Ago, Re-purposed For The Modern Era…

    Advanced Gardening Course To Accelerate Your Food Production…

    Survival Medicine & Wilderness Survival…