Page 10 of 23
1 8 9 10 11 12 23
gardening – Page 10 – Homesteader Depot

Tag: gardening

  • How to Homestead When You Live in An Apartment

    How to Homestead When You Live in An Apartment

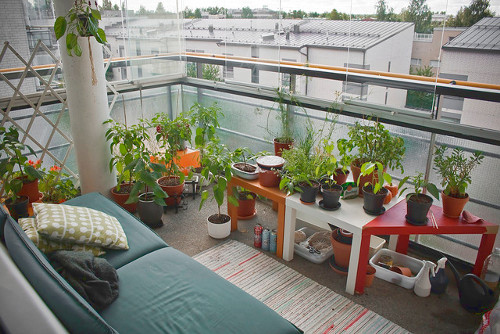
    For many wannabe homesteaders, an apartment probably seems like the last place you’d be able to homestead. And of course, you won’t be able to grow (very much) food of your own, raise livestock, or live off the land. There are however, many things you can do to make your apartment a mini-homestead. While you’ll still be reliant on the outside world, the truth is, most homesteaders still are too, and no matter what your living arrangement, there’s always something you can do to be more self-reliant.

    Here are some tips for apartment homesteading that anyone can do:

    1. Grow as much as you can

    It might not be much, but any outdoor area or even sunny windowsill that you have is potential “garden” space. You can grow herbs, greens, even tomatoes in small pots. You can grow vertically as well, there are many ideas out there on Pinterest or products on the market for growing things from hanging pots or along a wall. You can also grow sprouts right on your counter, for fresh, insanely healthy greens year-round.

    2. DIY Everything

    Ok, so you probably can’t DIY literally everything, but learning to sew, craft, knit, mend, etc., can help you become mroe self-reliant and save money. The beautiful thing about living in the age of Pinterest, YouTube, and blogs (like this one!) is that you can learn to do and make all kinds of things yourself, learning basic skills and saving money along the way.

    3. Eat in season

    Find your local farmer’s market and eat what’s in season. This might mean some season you have less fresh produce than others, but there’s a great solution for that:

    4. Preserve food

    Canning, drying, and pickling are all forms of food preservation you can easily do right in an apartment. Buy marked down end-of-season produce and preserve it for the coming winter. It’s a great way to save money, have nutritious, homemade preserves year-round, and learn some of the skills that are the cornerstone of self-reliant homesteading.

    If you enjoyed this, you might also like….

    Home Defense in the End Times…

    Natural Healing Secrets You Need to Know…

    Eat Like Your Ancestors…

  • 5 Ways to Increase Your Garden’s Productivity   

    5 Ways to Increase Your Garden’s Productivity  


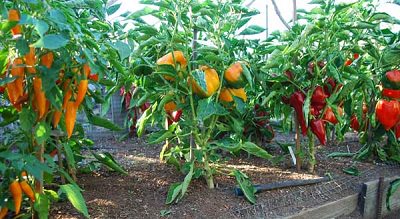
    If your garden just isn’t meeting your expectations or productivity don’t get discouraged, there are plenty of things that you can do that can increase your production of food this coming growing season.  Here is a list of 5 things you can do that will increase the amount of food you can produce in your garden.


    Interplanting

    Interplanting different crops together (not all crops grow well together so check individual crops for what will work and what will pose its own problems) will allow you to grow more food in the same space.  The “3 sister” method is a great example of this, starting corn, then adding pole beans to climb corn stalks, and lastly adding pumpkin or squash which will crawl over the ground.

    Organic Mulch

    Using organic material to mulch with, such as wood chips, comfrey leaves, or even cardboard, will not only keep soil moist and reduce the amount of weeds that compete with your crops but it will also help to build and amend soil as it breaks down.

    Cover

    Growing under the protection of cover will protect crops from the cold.  This will allow you to both start gardening earlier in the year, and to grow longer.  Lengthening the amount of time that you can produce food will result in a larger amount of food being produced even if all other factors remain the same.

    Soil Tests

    Testing your soil will help remove the guess work out of treating your plants health issues.  Sometimes even pest problems can be solved by addressing a nutrient deficiency in the soil.

    Perineal Crops

    Selecting crops that do not require being planted again will increase the amount of time that that patch of soil is producing food by completely eliminating the time that you wait for the plant to mature, go to seed so you can grow it again, and the time the soil must be left fallow between crops.


    Don’t let an under producing garden get you down, put these tips to use and your production level is sure to rise year after year.

    If you liked this, you might also enjoy…

    What Are the Signs of the End Times?

    Learn Natural Healing Secrets From the Masters

    Preparing for the Bubble to Burst 


  • Crops that can Earn you Money on your Homestead   

    Crops that can Earn you Money on your Homestead  


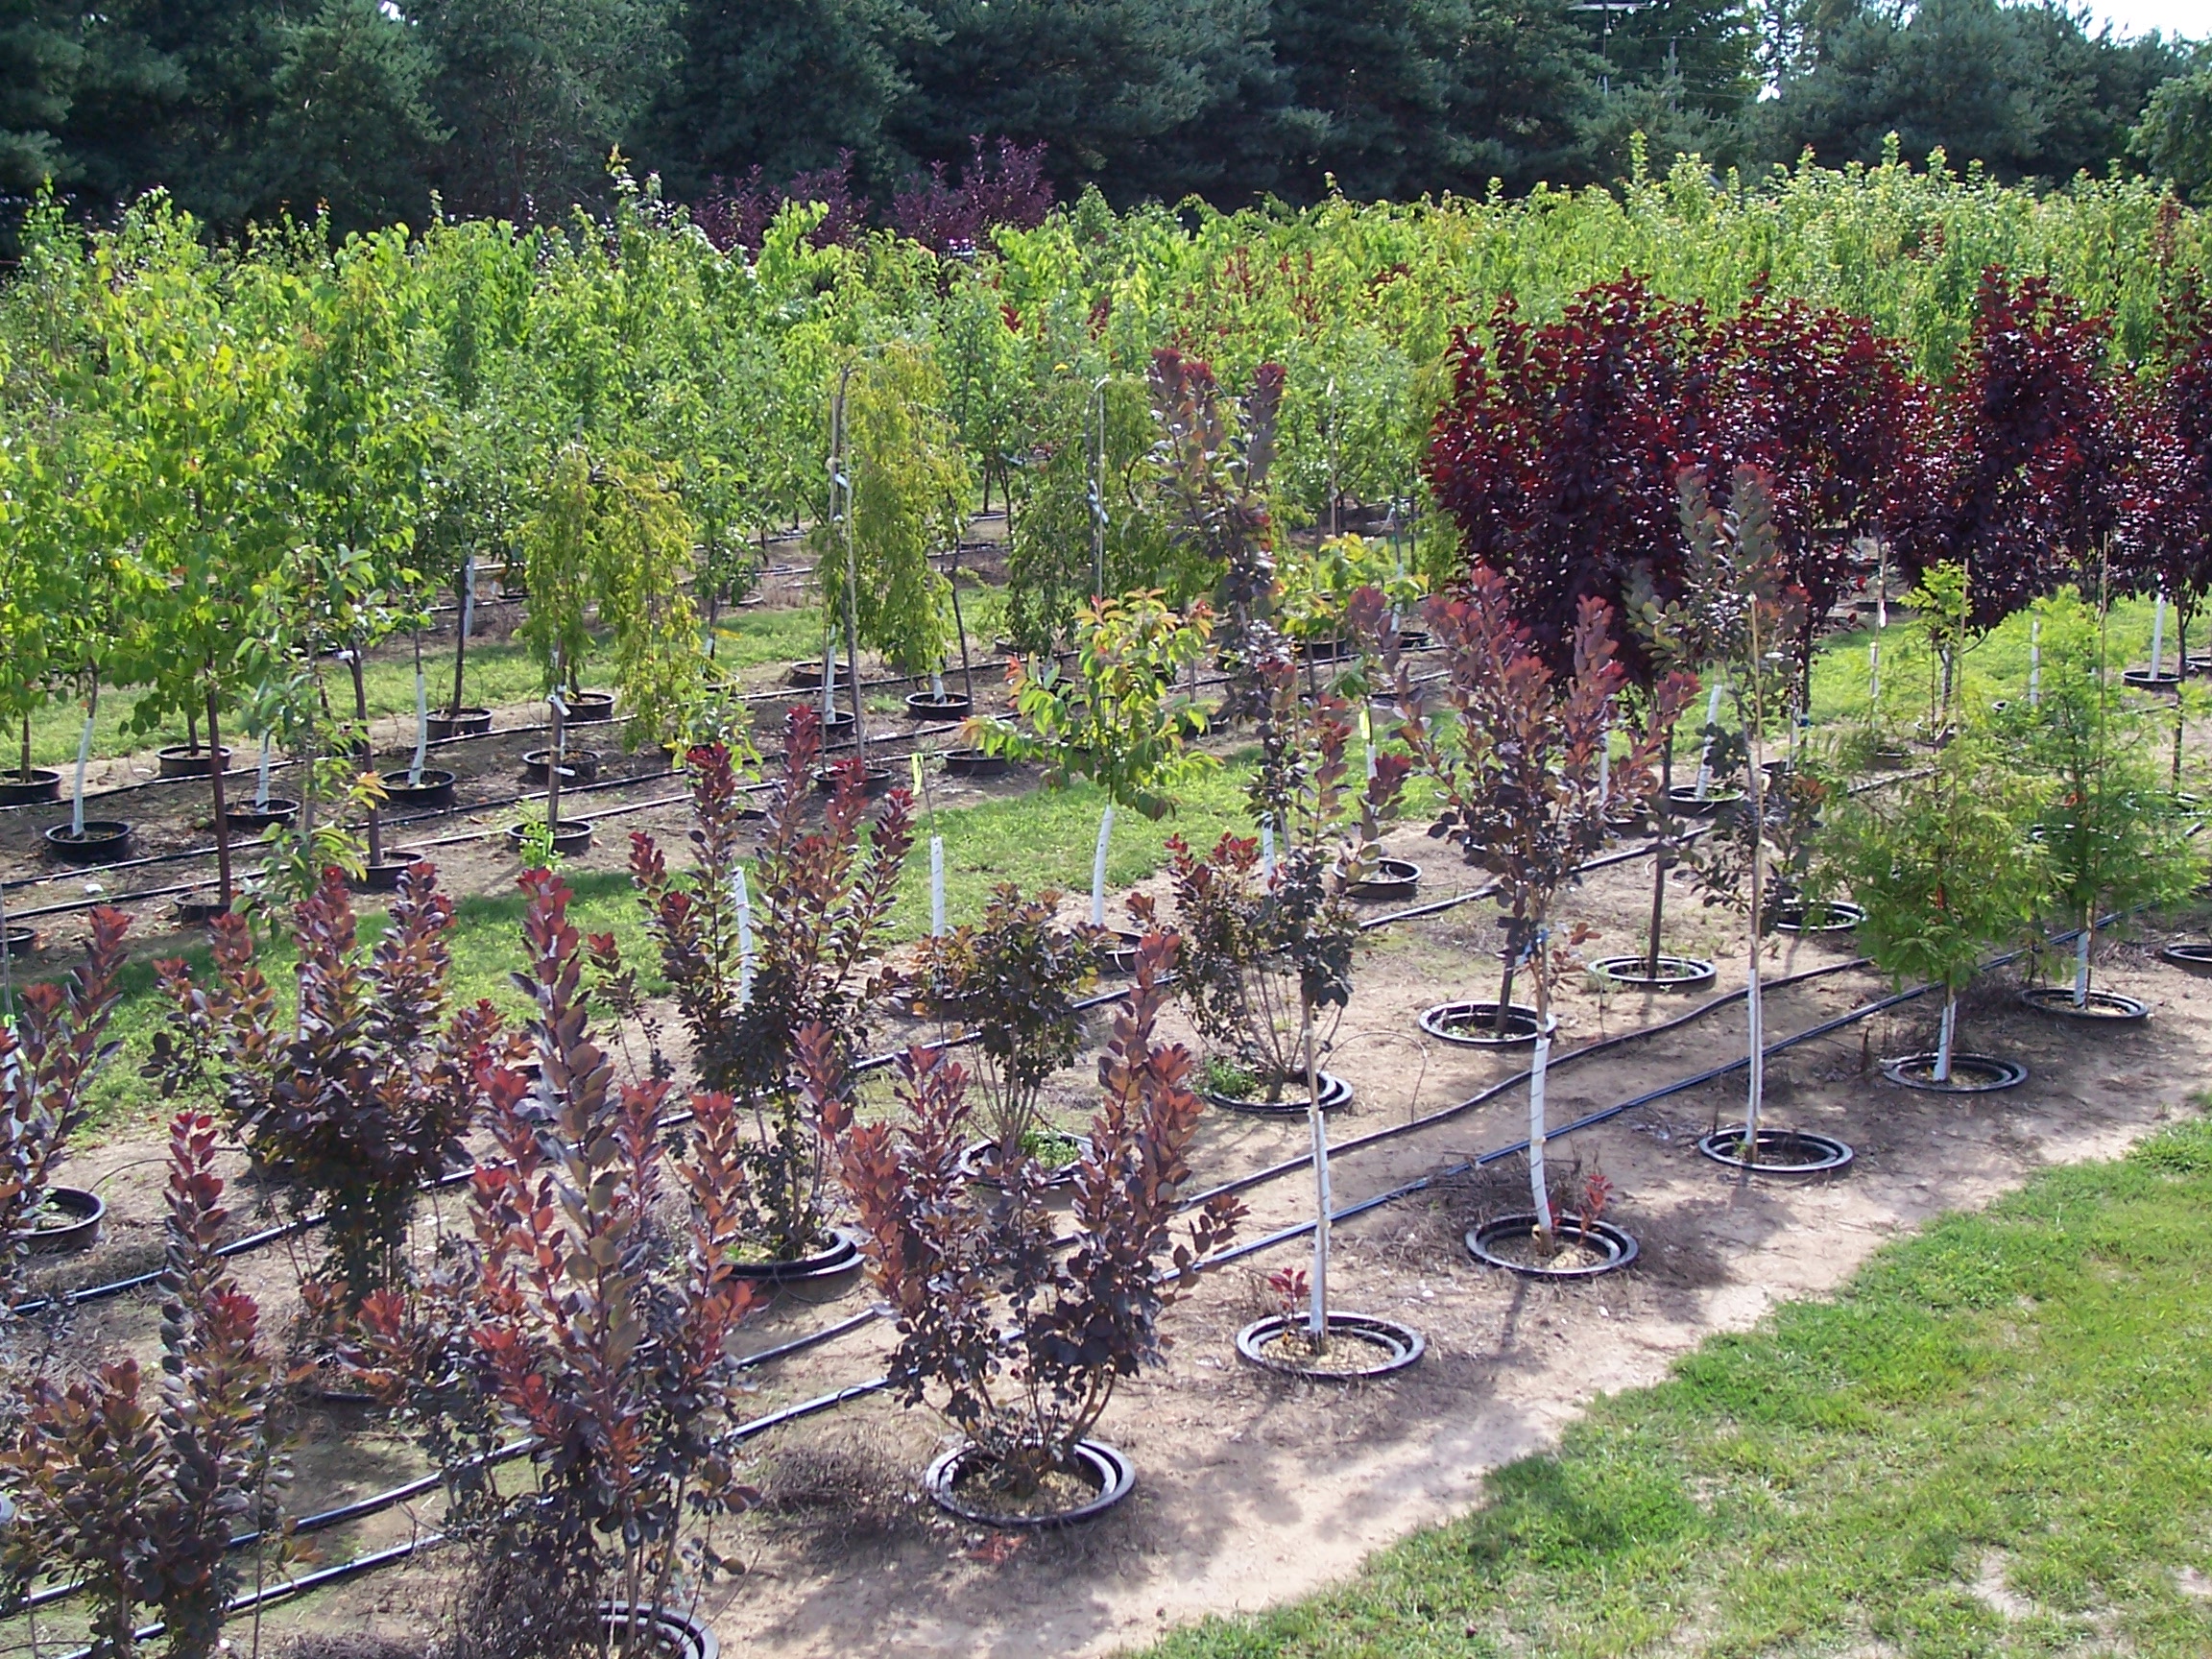
    When most people think of growing crops to earn money on their homestead, they think of growing extra vegetables to sell to their friends, neighbors, or at local farmer’s markets.  While there are plenty of people who do make extra money through this, it can be difficult to produce enough fruit and vegetables for you and your family let alone enough that you have extra to sell.  These are just a few plants that I have personally seen grown easily in small, backyard operations that earned money.


    Herbs

    Vegetables, especially fruiting vegetables can be difficult to produce in mass on a small scale.  However, herbs like basil, mint, rosemary, and lemongrass can easily be produced and propagated.  They can be sold to local health-food stores, at farmer’s markets as fresh herbs, or even as starts so people can grow their own.

    Citrus

    While it will take time for citrus trees to mature and produce large amounts of fruit, in the meantime you can enjoy the smaller harvests for yourself.  And when they do produce large amounts, it is easier to harvest and get to market than other fruit that spoils or bruises easily.  Their think skin also makes them less susceptible to pest damage.

    Ornamentals

    Ornamentals are not without their practical benefits.  They can draw pollinators, some repel pests, and they offer some biodiversity in the garden which also decreases pests.  They can also be sold, and many can be propagated and grown easily.  If you are thinking of growing ornamental flowers for profit, I would suggest looking into what grows best in your area that can be propagated through bulbs or cuttings, as this is nearly effortless and you will suffer less loss of product than with plants that produce through seed.  If you can become regular enough in your production, local stores may want a steady supply of starts which can be a great source of income in the growing season.


    These are by no means the only ways that you can make money through produce on your homestead, they are just the ways that I have seen used most successfully with the least amount of overhead.

    If you enjoyed this, you might also like….

    Home Defense in the End Times…

    Natural Healing Secrets You Need to Know…

    Eat Like Your Ancestors…


  • 3 Tips for Healthier Tomatoes   

    3 Tips for Healthier Tomatoes  


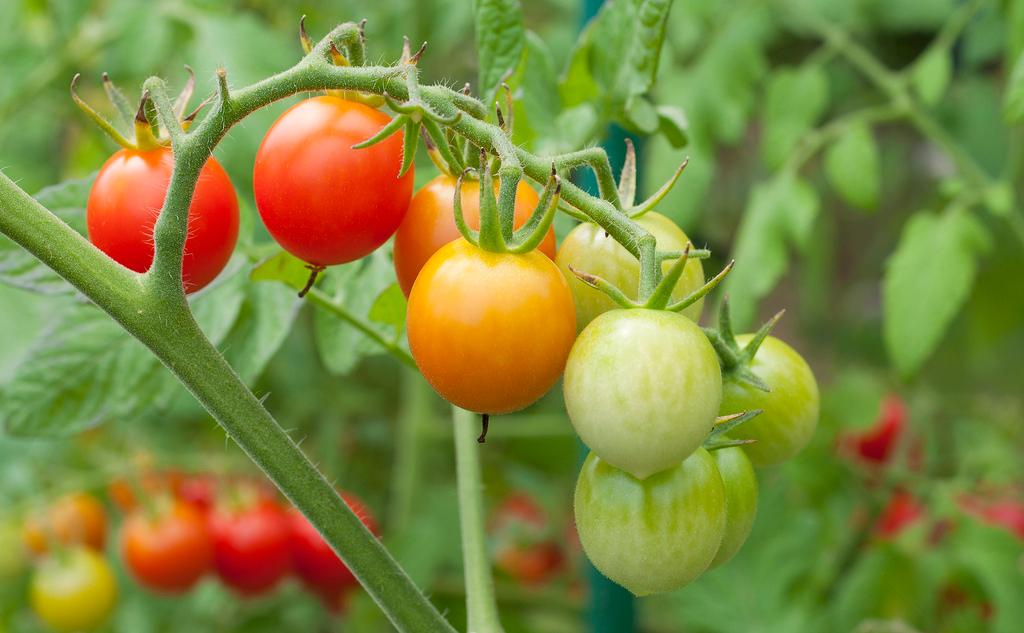
    Tomatoes are one of the most commonly grown crops in back yard gardens.  But it isn’t always easy to grow healthy, productive tomatoes.  And it isn’t really worth it to grow tomatoes if they aren’t healthy and producing to their full potential.  If you have had problems with tomatoes in the past, here are 3 tips you might want to try.


    Epson Salt

    Epson salt is made of Magnesium and Sulphur.  Both of which are vital nutrients for growing healthy tomatoes.  If you have had issues with tomatoes in the past try watering them with ½ tablespoon of Epsom salt per gallon to start, and 1 tablespoon per gallon once they are established.  This can also be helpful for peppers and eggplant.

    Aspirin

    A fungal infection in a plant’s leaves will leave the plant unable to feed, and grow, and therefore unable to produce even if it stays alive.  If your tomatoes have suffered from fungal infections they could benefit from some aspirin.  Crush an aspirin pill, a regular 325 mg pill is enough to add to a gallon or so of water, make sure it dissolves prior to watering.  You can pour the water over the plant’s leaves.

    Egg Shells

    Eggs shells are a great source of calcium.  If you have noticed blossom end rot in your tomatoes, peppers, or eggplants, they it is likely that your soil is lacking in calcium.  Grinding or blending your egg shells into powder will decrease the time needed for them to break down and make the calcium plant available, but even this will not be enough to help plants that are already suffering from blossom end rot.  This needs to be done at least 6 weeks prior to planting.


    Don’t get down if your tomatoes have been leaving something to be desired, with these 3 tips, most problems with tomatoes can be a thing of the past.

    If you enjoyed this, you might also like….

    Home Defense in the End Times…

    Natural Healing Secrets You Need to Know…

    Eat Like Your Ancestors…

  • Tips for Installing PVC for Irrigation   

    Tips for Installing PVC for Irrigation  


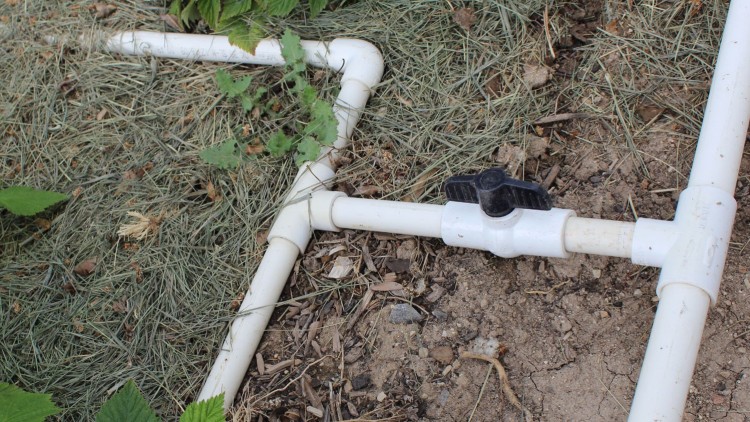
    In ground irrigation can make a real difference for your lawn and garden, saving you time in water, and time and energy in failed crops due to your not watering.  But installing PVC doesn’t always come without headaches, and for those that have never done it, it can be intimidating.  It can also be expensive to hire someone to do.  Here are a few tips to keep in mind if you are thinking of installing PVC in your lawn or garden for irrigation.


    1. Spray paint, or otherwise mark out where you are going to lay your PVC so that you do not dig or trench off track, just to have to turn around do it again.
    2. Get a PVC cutter and don’t waste time and energy trying to saw through the pipes.
    3. You want to pipes to lay straight so that you can find them in case a repair is needed, but don’t stress out if they aren’t 100% straight. As long as they are close it’s good enough.
    4. Avoid 90 degree angles. If you have to make a 90 degree turn, use two 45 degree angels separated by 8 inches or so instead.
    5. Remove all rocks from the ground prior to laying the pipe in. Rocks in the ground, especially where vehicles or even foot traffic is heavy, could lead to damage of the pipe over time.
    6. Always use that horrible smelling purple primer before gluing.
    7. Make sure to firmly compact the ground beneath any sprinklers or other fixtures. If the ground is soft beneath them, the pipe will be under stress every time weight is applied near them, like when a mower drives around them.
    8. Always flush out the lines prior to installing any fixtures since dirt is sure to make its way in while you are putting the pipe together.
    9. When installing larger systems never do the calculations in your head, online resources are available to help you figure out what diameter of pipe you need for the desired water flow over the distance you are working with.
    10. When doing repairs, always excavate twice as much as you think you need to. This will help because the pipe will be more flexible if a longer piece is free from the ground, this is helpful when attempting to put two pieces back together.

    No amount of planning will ever make PVC installation easy, but a little foresight and keeping these tips in mind can make a big difference.

    Natural Healing Techniques Doctors Don’t Want You to Know…

    The Weight-Reducing Magic of Yoga…

    The Ultimate Woodworking Course..

  • Getting the Garden Ready for Spring Now   

    Getting the Garden Ready for Spring Now  

    Just because you don’t have a garden, or if yours is covered in snow and not producing, doesn’t mean there is nothing you can do now to get ready for next season.  Getting ready now will help you start early and thereby increase the length of your growing season and with it, the amount of food you are able to produce next year.  Here are a few things you can do now to be ready early for next spring.

    • Start shopping now for deals on spring crop seeds. The longer you wait, the more uniformity you will see in rising costs for spring crops.
    • Prepare the area that you are going to grow in. If you don’t have a garden now you can cover the area in cardboard before putting your raised bed frame and dirt on top.  This will be much easier this time of year than when the grass is growing.  If you have a garden already you can mulch it heavily to keep the soil as warm as possible and add organic matter.
    • Building a starter box will allow you to start spring crops earlier indoors where it is warmer.
    • Budget now for items that you will use during next growing season, items like bird net, stakes, irrigation supplies, material to build cold protection. Purchasing these items in the winter will help spread out the cost of gardening, making it easier to budget for.

    Getting done whatever you can now, even if it is small well help save time and energy later.  For most of us, those are the two most limiting factors in gardening, so anything you can do to get more of them in the growing season is a big head start.

    If you liked this, you might also enjoy…

    What Are the Signs of the End Times?

    Learn Natural Healing Secrets From the Masters

    Preparing for the Bubble to Burst 

  • Crops to Get Kids Excited About Gardening

    Crops to Get Kids Excited About Gardening

    Gardening can be fun for kids, though it requires more patients than most kids can muster up.  Getting them started with an interest in gardening at a young age will increase their likelihood of eating healthy and continuing gardening as they grow older.  Gardening can get kids off the couch and outside where they belong, learning about the world around them, and how they can relate to it in a beneficial way, both for them and the natural environment.  Here are a few crops that are more likely than others to get kids excited about gardening.


    Stevia

    Stevia seeds are on the small side, so you will need to help young kids when handling them, or even get a few starts instead of seeds.  The excitement from stevia doesn’t come from growing it, but from eating it.  Kids are in for a pleasant surprise when they taste how sweet stevia leaves can be, which can increase their interest in other green foods and plants in general.

    Beans

    Beans are a great first crop for kids to grow.  The seeds are large enough for the kids to handle on their own, and the large size makes them great for learning since all the parts of the developing plant will be more clearly visible.  It’s more fun if you sprout the beans on the surface of the soil so the kids can see the root and leaves come out of the bean.  They can even let them go to seed and see the end result is the bean they first planted.

    Mint

    Mint is a great plant for kids because of its unique taste and its ability to root from nearly any cutting.  It’s a great plant to demonstrate rooting cuttings from.

    Meyer Lemon

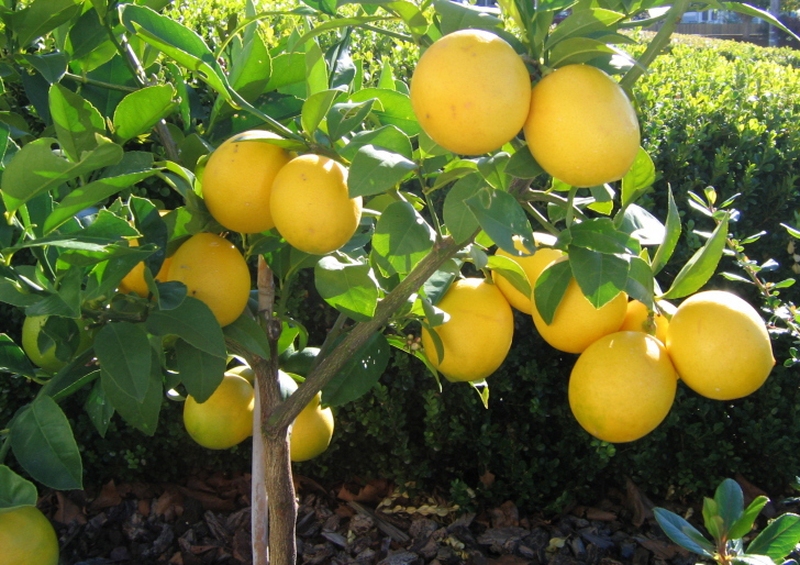
    Kids love everything that seems to be sized just for them.  Kids can water the tree and watch the fruit grow at eye level.  Meyer lemons are also sweeter than larger varieties, so kids are more likely to enjoy them.


    Whether you want to teach your kids botany, health, and fitness, or the utilitarian skills of self-reliance, getting them started early with gardening will put them well on their way.

    Natural Healing Techniques Doctors Don’t Want You to Know…

    The Weight-Reducing Magic of Yoga…

    The Ultimate Woodworking Course..


  • Beer for the Garden

    Beer for the Garden

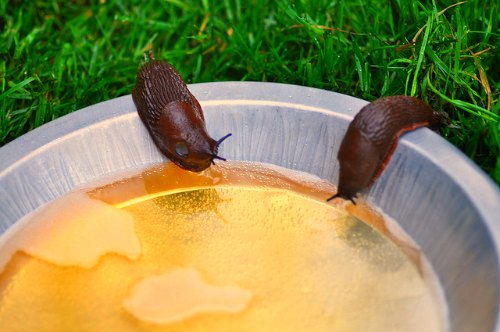
    Beer isn’t just great for the gardener after a hard day’s work, it’s also great for the health of your garden.  One way to put this beverage to work for you is to use it to attract and to kill slugs that can damage your crops and even spread disease.  Here’s how to use household items and little extra beer to keep your garden healthy and productive.


    • You will need a small tin, like a tuna can or a cat food container, a large plastic bottle, and some beer.
    1. Empty and clean the tin. You don’t want to try to get rid of slugs only to bring in the neighborhood stray cats.
    2. Cut the top off of a plastic bottle that has a diameter larger than the tin. This will be used to cover the tin to keep water out, so it needs to be able to fit over the tin completely.
    3. Cut 4 “mouse holes” in the bottle top, one on each side. This is to allow the slugs to get in while it is covering the tin.
    4. Place the tin in the ground near crops that have been affected by slugs or where you have seen their trails. You want the top the tin close to the ground so that the slugs don’t have to work too hard to get to their beer.  But, if you notice that you are catching other critters, especially ground beetles that eat slugs, then you are going to want to raise the tin up a little to reduce this risk.
    5. Fill the tin with beer, almost to the top.
    6. Place the bottle over the tin to keep rain from diluting your beer to the point that it does not attract slugs.
    7. Change the beer in the trap and the location of the trap every few days to keep the slugs guessing.

    Don’t waste all the beer on the slugs, gardening can be hard work, save some for yourself.

    If you liked this, you might also enjoy…

    Holistic Medicine Basics

    Ever Considered Taking Yoga? Read this

    The Ultimate Woodworking Course..