Page 16 of 23
1 14 15 16 17 18 23
gardening – Page 16 – Homesteader Depot

Tag: gardening

  • No Thin Method for Planting Carrots

    No Thin Method for Planting Carrots

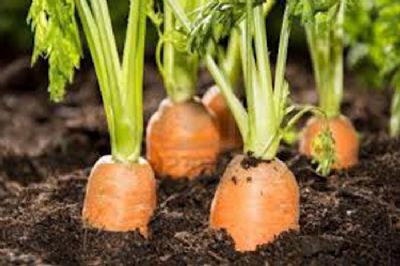
    Anyone who has grown carrots knows that many of the carrots are lost to thinning.  With seeds as tiny as carrot seeds are, it is difficult to handle them and space them out when planting.  Even if great care is taken not to plant too many in one area, you might wait only to find large spaces in your row with no carrot sprouts at all.  If they do sprout close together they are difficult to thin out without removing and killing more than you need to in order to thin.  But, there is a method to plant carrots that, if done correctly, doesn’t require thinning.


    • Get a container like a clean glass jar for each variety of carrot that you will be planting. Don’t mix varieties since they may germinate at different times.
    • Pour some seeds into each container, you don’t need to pour in the whole packet, one of the points of this method is to conserve seeds.
    • Add enough water to thoroughly soak the seeds, but not enough so much that they are floating around in inches of water.
    • Cover with the lid on loosely and place in a warm area that doesn’t get direct sunlight. Check the containers daily, opening them and allowing them to vent.  In just a few days you should see a root begin to sprout out.  Look closely because they will be small and you want to get them when they have just started to appear.
    • When the seeds have sprouted you will need to make a planting gel for them, the purpose of the gel is to keep space between the seeds. To make the gel simply heat cornstarch in water until it takes on a gelatinous consistency, then allow it to cool down so that it does not kill the seeds.
    • Once it has cooled, add a little water to the sprouted seeds so that you can swirl it around, collecting all the seeds, and then pour it into the gel.
    • Being very careful so that you do not damage the sprouted root (this is also why it is important to catch them before they grow too long) mix the seeds throughout the gel.
    • Pour the gel with the sprouts into a plastic bag and cut one bottom corner off. This will allow you to use the bag like a pastry chef and spread out the gel in a shallow trench (1/2 inch or less).
    • Cover the gel containing the sprouts lightly with soil and water carefully with a fine light spray or mist.


    I hope this method helps to save you money on seeds and delivers a great harvest for you.

    If you liked this, you might also enjoy…

    Learn to Heal and Treat Illnesses Naturally…

    An Ancient Secret to Slimmer Waists…

    Learn to be a Master Carpenter at Home...

  • Making Your Own Potting Soil

    Making Your Own Potting Soil

    Whether you are growing in raised beds, containers, or even in rows, you can benefit from starting your crops on tables and even under cover.  But starting your crops outside of their final location, or growing in containers will mean that you need potting soil, which is expensive.  Reducing this cost is a crucial step in lowering the overall cost of your garden.  Here are some tips on making your own potting soil to cut costs.


    Peat

    It’s unlikely that you will be able to build your potting soil without purchasing anything, but purchasing individual ingredients in bulk, and then stretching them will reduce costs dramatically.  One ingredient that you are not going to want to go without because of its ability to wick water up is peat, or coconut coir but generally, peat is cheaper.  This can be stretched by adding saw dust to it that you might be able to get for free if you look for a mill in your area.

    Compost

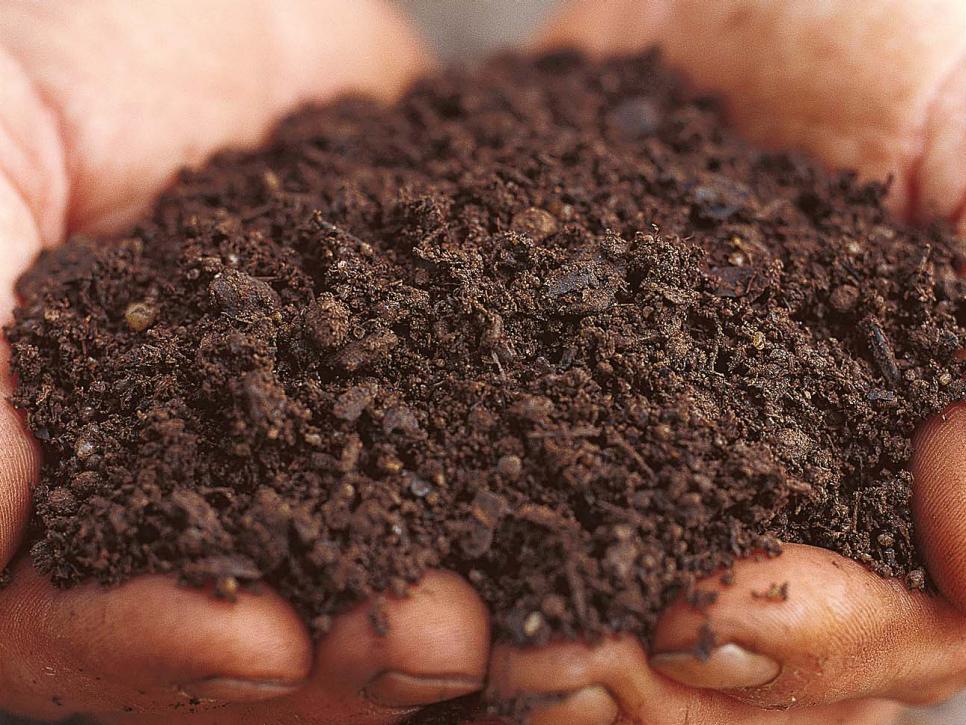
    Compost is, of course, something that you can produce for free.  When using it for potting soil you want to make sure that you are using the finest material you can.  Avoid material with large sticks and obviously, recognizable pieces of ingredients that have not decomposed.  Vermicompost or worm bin compost is great for this.

    Perlite

    Perlite is a volcanic rock that aids in drainage and preventing soil compaction.  These are important factors especially in potting soil.  Perlite can be expensive, but it is a difficult ingredient to replace because of it’s unique and highly beneficial characteristics.

    Separate

    Once you have mixed these ingredients thoroughly you have potting soil.  To avoid the need to purchase these ingredients again, simply segregate your spent potting soil and compost it in a separate pile or add it to your worm bins.  This will keep all of your perlite available for future use, the compost will be replaced, and it will reduce the need to purchase more peat.


    Making your own potting soil not only reduces the cost of purchasing it by the bag, but it also reduces the loss that you would suffer from unsuccessful direct sowing of valuable seeds.  Don’t let the cost of potting soil deter you from starting in a more controlled environment, make your own.

    If you enjoyed this, you might also like….

    Last Resort Home Defense and More…

    Natural Healing Secrets You Need to Know…

    The Healthy Primal Diet Everyone Should Try…

  • Seed Saving Tips

    Seed Saving Tips

    It’s getting to the point that fruiting vegetables will no longer be producing this year, and time to starting thinking about next year’s crop.  Purchasing seeds every year will quickly add up, and many of the crops that are commonly grown produce seeds that can be collected and saved for next year.  Here are some tips for saving money on next year’s garden by collecting seeds this year.


    Bolting Vegetables

    Allow some of your greens to bolt this time of year so that you can get their seeds.  Don’t harvest the seeds to early, wait for the leaves to start to die back.  If the seeds are fluffy, like lettuce seeds, and you see some begin to fall gather the seeds still on the plant in a paper bag and dry them inside for several days before sealing them up.

    Large Hard Seeds

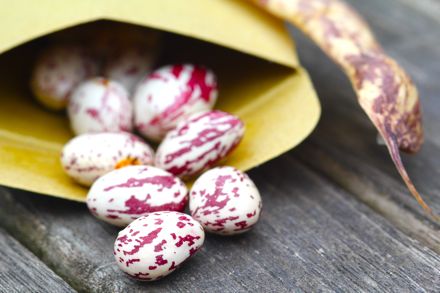
    Crops that produce large, hard seeds like beans or okra should be allowed to dry out on the plant.  The fruit or the pod should turn completely brown and hard like cardboard.  If you flick the fruit or pod and you hear the seeds rattle inside, they are dried and ready to collect.

    Small Flat Seeds

    Crops that produce small, flat seeds in fruit like eggplant and tomatoes should be allowed to ripen fully on the plant and then picked.  The seeds will be difficult to remove by hand and are harder than they look.  You can place the fruit in a blender or food processor and blend it unit it is able to be separated with water.  The seeds that float in the water are no good and can be poured off.  The seeds that sink can be strained out and dried for several days before sealing up for next year.


    At $3 or more per packet, each plant that you can collect seeds from well help you save money that you can invest elsewhere in your garden.  Plants will also become specialized to your area over the years, making them more productive and more resistant to diseases and pests than the plants grown from newly purchased seeds.

    If you liked this, you might also enjoy…

    Natural Healing Techniques Doctors Don’t Want You to Know…

    The Weight-Reducing Magic of Yoga…

    The Ultimate Woodworking Course..


  • Indoor Pets for Your Outdoor Garden

    Indoor Pets for Your Outdoor Garden


    Unfortunately, some people just can’t see the benefit of backyard chickens, and they can’t let others be.  You may live in an area that doesn’t allow for livestock such as chickens and have neighbors that have a lack of appreciation for self-reliance and fresh food.  But does that mean that you have to buy manure?  Or that you can’t raise animals for meat?  Not necessarily.  You could raise animals indoors or in discreet cages, animals such as guinea pigs or rabbits.


    • If you are wanting meat, rabbits are the obvious choice because of their superior ability to reproduce with high rates of surviving offspring.
    • Both guinea pigs and rabbits can have their diets largely supplemented with vegetable scraps from the kitchen and garden making them cheap to feed.
    • Both animals produce manure that is great for your garden or compost pile, and that smells a lot better than chicken manure so your neighbors are less likely to notice or complain if they do.
    • Both animals can be raised in relatively small pins without causing undo stress to the animals compared with chickens.
    • Neither guinea pigs or rabbits are as social as chickens are and can be raised solitarily if given attention without the animals suffering.
    • Both animals can deal with cold weather if they are kept in unheated rooms such as a garage or on a covered porch. But care should be taken to provide them with relief from the heat.
    • Neither animal makes much noise that could be heard by neighbors.
    • Both guinea pigs and rabbits are cute animals that are fun for kids to have as indoor pets that can be allowed out of the cage and safely handled.


    Just because you live in an area that restricts your ability to raise livestock doesn’t mean that you can’t find a way around it that could provide you with manure and even meat.

    Natural Healing Techniques Doctors Don’t Want You to Know…

    The Weight-Reducing Magic of Yoga…

    The Ultimate Woodworking Course..

  • How to Build a Potato Tower

    How to Build a Potato Tower


    Potato towers are a way to grow more potatoes in a smaller area by growing vertical.  There are a variety of techniques to build potato towers using different materials but the basic principles are the same.  This article will describe how to build a potato tower using fencing or hardware cloth.


    • You will need some hog wire, no climb fence, or hardware cloth that is 4 feet tall and at least 6 feet long, at least 2 stakes to support the fencing but preferably 4, wire or zip ties to secure the fencing to the stakes, compost, straw, and sprouted seed potatoes.
    • First, drive your stakes into the ground. If you have 4 stakes, put them in a square pattern with dimensions that will allow the fencing to wrap completely around, if you have only 2 stakes you will make a round tower with the stakes on opposite sides.
    • Secure your fencing to the first 3 stakes leaving one end open for you to work in, or both of the stakes with one end open.
    • Add soil or compost in the center and straw around the outside so that the soil will not spill out. Once you have 8 inches of depth plant your seed potatoes and cover them with more soil or compost.
    • Secure the fencing to close up the tower

    Now all you have to do is wait until the potato plants have grown out of the soil to a height of 6 to 8 inches, once they have, add more soil until the plants are only an inch or so out above the surface, and add more straw to the perimeter to contain the soil.  Keep the tower wet, it will drain much more than the ground will and will need to be watered regularly.  To harvest, simply remove the fencing, no need to dig and risk damaging your potatoes.

    If you enjoyed this, you might also like….

    Last Resort Home Defense and More…

    Natural Healing Secrets You Need to Know…

    The Healthy Primal Diet Everyone Should Try…

  • Growing Onions from Onions

    Growing Onions from Onions

    If you are looking through a seed catalogue or a selection at your local gardening store, it is not at all unusual to see onion seeds.  That being said it is a little unusual for most people to be able to grow onions with any real rate of success from seeds.  The germination rate is not very high, thinning them can be difficult because of their shallow roots, and they grow so slow that it is hard to mulch them without smothering them and hard to keep them moist without mulch.  It is much easier to simply grow onions from onions.


    • If you get your onions from a large grocery store your onions might be from another country and not suitable to be grown in your area. Instead get some onions from a local farmer’s market.
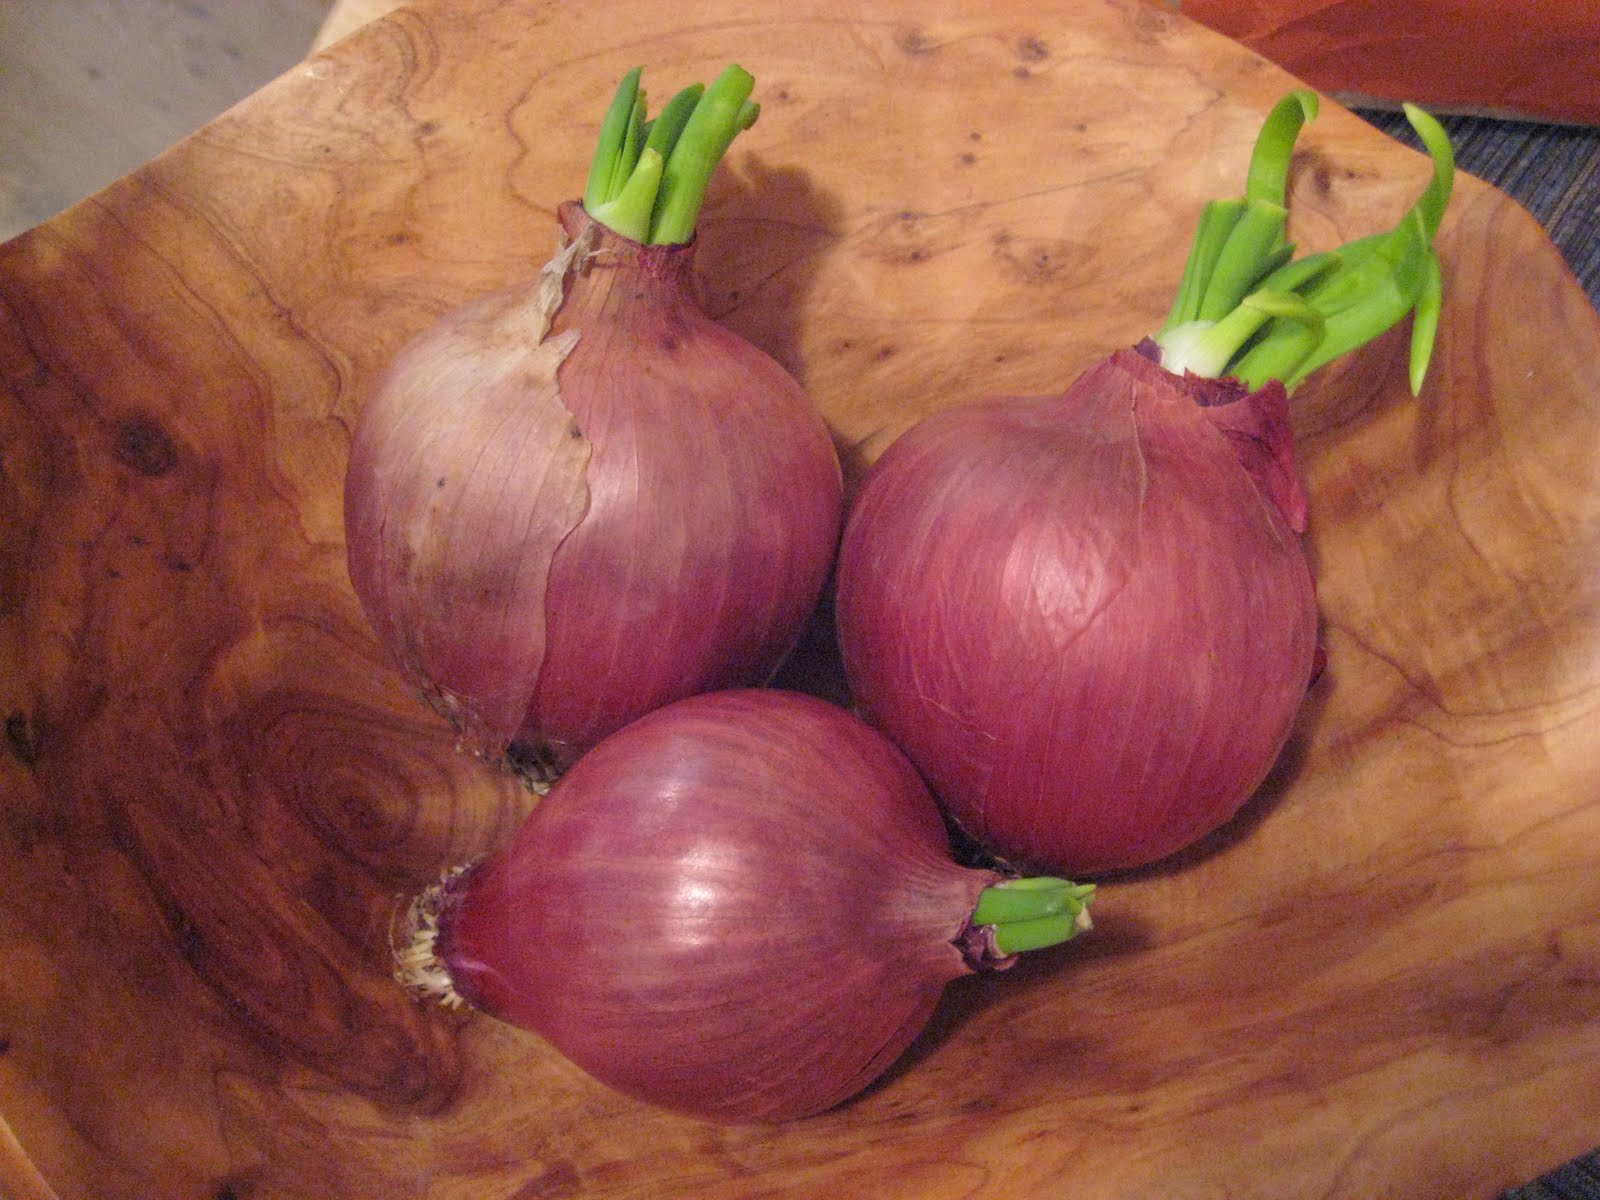
    • Green onions are the easiest to propagate, you just cut the tops and then bury the bottoms just beneath the surface. Bulb onions require a little more but they aren’t difficult either.  Simply allow them to sit in a hanging basket with room between them for air flow so they don’t start to rot.  Wait until you see green starting to sprout out of the top.
    • Carefully peel away layers until you find fresh growing roots. You will likely have two or three sections of new growth within your old onion so carefully separate them without injuring their roots.  Don’t worry about the old dead roots on the outside.
    • Place the onions on the surface of the soil, burying only the roots and leaving the bulbs exposed.
    • With so much mass above the surface and small fresh roots they will be susceptible to falling over. Don’t support the bulb, as this is likely to cause rot, instead try providing support to the green growth.


    Using this technique you can easily grow twice as many onions than you purchased.  Don’t waste money on seeds and time waiting only to be disappointed, grow your onions from onions.

    Natural Healing Techniques Doctors Don’t Want You to Know…

    The Weight-Reducing Magic of Yoga…

    The Ultimate Woodworking Course..

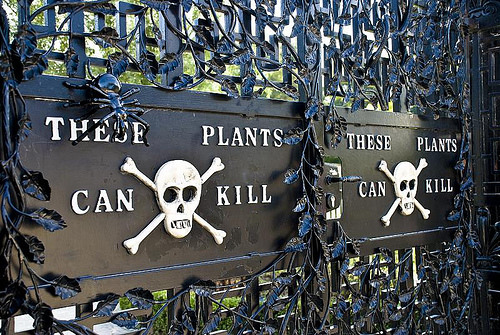
  • Keeping Toxins Out of the Garden

    Keeping Toxins Out of the Garden


    Having a garden and growing your own vegetables and herbs can be a great way to stay healthy.  It will undoubtedly increase the amount of fresh greens in your diet, provide you with safe alternative to treat illness, and for most it will give them more time out in the fresh air.  But if your garden is full of toxins, then the plants will inevitably contain toxins, and ultimately you will consume these toxins and be in a worse state then if you hadn’t had spent all that time and energy growing unhealthy foods.  Here are a few tips to keep toxins out of your garden, improving the health of the soil, plants, and you.


    Pest Treatment

    One of the primary sources for harmful toxins in the garden is pesticides that are intentionally applied.  Sometimes people want to grow an organic garden, but then when they have a hard time controlling pests they start to compromise, telling themselves that they will just do it this once, or even giving up on it all together thinking that organic gardening is just for people with greener thumbs than themselves.  But pests can be controlled without the use of toxic pesticides, and even with limited use of organic pesticides by planting a variety of crops, planning heirloom seeds for your area, and maintaining soil health.

    Avoiding Wood Treatment

    I have seen over and over again people build raised beds with treated lumber.  While modern wood treatments are less toxic than before and don’t use arsenic that is easily absorbed into the body, they still use chemicals that are potential harmful with long term exposure.  Worse yet is that people who use treated lumber will more than likely use exterior paint as well.  Just read the warning label on a can of paint, it’s not reassuring.

    Plastics

    Plastics are great, they make much of our modern life easier if not possible.  But they can break down over time, especially when exposed to the sun, and leach out harmful chemicals.  Don’t use more plastics in your garden than you need to, and replace sun damaged plastic before it breaks down into tiny difficult to remove shards that will contaminate your soil.  Some of the common offenders are plastic braided twine for treles that crumbles over time and is impossible to get out of the soil, black weed cloth which is horrible and offers none of the benefits that can be had with cardboard and woodchips, and plastic beverage bottles that people poke holes in and use as slow watering devices.


    Your garden can’t keep you healthy if don’t keep it healthy, and an unhealthy garden still requires your work and time.  So take simple precautions and strategies to remove harmful toxins from your garden and start eating to your health.


    If you liked this, you might also enjoy…

    Natural Healing Techniques Doctors Don’t Want You to Know…

    The Weight-Reducing Magic of Yoga…

    The Ultimate Woodworking Course..

  • Companion Planting Overview

    Gardeners are often described as an optimistic group of people. No doubt, with each seed or plant that gardeners put into the soil, they hope to have something to harvest later in the season. A variety of factors go into growing a successful garden that yields a bountiful harvest. Some variables, such as the weather, are beyond a gardener’s control. On the other hand, there are numerous growing tips and techniques that can help your garden produce a bumper crop of vegetables. Companion planting is one of those techniques.

    Native Americans planted what is referred to as “three sisters” gardens. Although the term “companion planting” may not have been used when those early three sisters’ gardens were planted, the concept is the same. Corn, beans and squash were the trio of plants that made up the three sisters garden. That same collection of plants is often used by gardeners today who recognize the beneficial impact these plants can have on each other. The success of companion planting could well be the reason it remains a popular gardening technique among today’s rural and urban gardeners.

    Companion planting is a simple concept. It involves pairing plants together to increase productivity, assist with pollination, repel pests and attract beneficial insects. In addition to those benefits, with appropriate pairings, your companion plants can provide shade for some of the vegetables in your garden. Companion planting helps plants grow and produce vegetables to their maximum potential by improving the condition of the soil. For example, beans help trap nitrogen in the soil and therefore are ideal companion plants for vegetables that need nitrogen-rich soil.

    Anyone concerned with natural forms of pest control should include insect repelling plants in their garden. Companion planting is considered to be an effective means of pest control. Once again, using beans as an example, when planted as a companion to corn, they can serve as attractors for beneficial insects that prey on pests that would be detrimental to corn. The bean vine winding itself around the corn-stalk can function as a deterrent for raccoons. There is also another benefit to planting beans as a companion plant to corn. As the vines wind around the corn-stalk, they strengthen it and help increase its resistance to potentially damaging winds.

    If you have a small amount of space available for planting a garden, companion planting is ideal for a compact garden area. Companion planting is also an excellent way to design a raised bed garden. There are charts available online and in magazines to assist you in finding the proper plant pairings. There are also books that are devoted solely to the topic of companion planting. Not all plants are cordial or complementary to each other. In fact, there are some plants that should never be planted too close together. If you use companion planting charts and group the appropriate plants together, your garden may yield an abundance of vegetables that exceeds what you originally hoped for.


    If you liked this, you might also enjoy…

    Learn to Heal and Treat Illnesses Naturally…

    An Ancient Secret to Slimmer Waists…

    Learn to be a Master Carpenter at Home...