Page 17 of 23
1 15 16 17 18 19 23
gardening – Page 17 – Homesteader Depot

Tag: gardening

  • Questions About Woodchips

    Questions About Woodchips

    After writing several articles in which I proclaimed the various, near-miraculous benefits of wood chips a handful of people commented with questions.  These questions are common judging by online comments and video or article titles that are about wood chips.  I’ll try to answer those questions here with what I have found in my research and personal experience.


    What Woodchips are Best?

    People often wonder what wood chips offer the most benefits to their garden.  In my opinion, it’s the ones that are free.  If you have an unlimited budget to go out and pay for your preference of chips then you could just as easily pay for soil and save some time and energy.  Any extra benefits that could be had by one particular tree over another can be obtained by other ingredients in your compost or simply by adding more “lesser grade” woodchips that you can get for free.

    What Woodchips are Bad?

    While all wood chips are good for soil building, not all woodchips are good to add directly to your garden.  Some trees have allelopathic properties that mean their woodchips will suppress the growth of some plants, especially seedlings and new transplants, nightshades are particularly susceptible.  For this reason, you want to know what chips you are getting so you know how to best use them.  Pine, maple, birch, black walnut, and eucalyptus chips should be composted before used as mulch around seedlings or nightshades.

    Nitrogen Draw?

    Nitrogen draw is when soil nitrogen is drawn out to assist in the decomposition of organic material.  Many people refrain from applying wood chips because they are concerned that it will remove the nitrogen from the soil.  This might occur if the chips are mixed into the soil, but it should not be an issue if used as a mulch, and especially not if the chips have aged.  If you are still worried about it, let your chips set until they aren’t heating up before applying them, but realize that any nitrogen draw that occurs will be minimal compared with long-term benefits and nitrogen is one of the easiest nutrients to come by from free sources like grass clippings and coffee grounds.


    I hope this helps and encourages you to take advantage of this awesome soil building resource that is often available for free.  I just got a dump truck full of chips dropped off in my yard for nothing, all I did was call my local electric company and ask for it.

    If you liked this, you might also enjoy…

    Learn to Heal and Treat Illnesses Naturally…

    An Ancient Secret to Slimmer Waists…

    Learn to be a Master Carpenter at Home...

  • Hot Beds

    Hot Beds


    With winter closing in I’ve recently been talking a lot about getting your crops covered up to extend your growing season.  But in some of the colder zones retaining what little heat is in your garden might not be enough, or you might not have the resources available to build a greenhouse or hoop house.  So instead of concentrating on insulating the heat in, you might want to focus on increasing the amount of heat in your soil to begin with.  This is usually referred to as a “hot bed”.  Here are some tips on how to increase heat in your soil and extend your growing season.


    Frames

    Hot beds are just that, beds, not rows, so this isn’t going to work without frames of some sort to contain your material.  So first off, you will need to construct frames for your beds.  These frames will need to deeper than your normal raised bed frames.  Preferably 2 feet or higher.

    Manure

    The key ingredient to any hot bed is manure.  The animal source is not as important as the age of the manure.  Unlike manure that would be added as a top dressing, the manure you want for your hot bed needs to be as fresh as you can get it.  Preferably less than one month old.

    Fill it Up

    You will want to spread out your manure in your hot bed frame.  The depth of the manure is the primary determination of the heat it will give off.  So if you are in a colder zone, or have less insulation you are going to want manure as deep as 18 inches, less if you are in a warmer zone or have multiple layers of cover.  Then press down the manure to get rid of air pockets that will make the heat less evenly distributed.

    Add Soil

    Next, add the soil that you will be growing in.  You want this to be able to accommodate the whole root structure since you don’t want your plants to have to have their roots in manure that is going to be over 100 degrees.

    Soak

    Water your bed thoroughly, add urine if you feel comfortable doing so.  This will help to activate the bacteria that will break down the manure, this is the source of heat.


    All that is left is to plant it out.  Remember, you will still want to select seasonal crops since they are more suited to shorter days.  If your bed is getting too cold, try adding more water, if your bed is dry the bacteria will not be thriving and this is what you need to produce heat.  Don’t let dropping temperatures put an end to your gardening season, fight back with hot beds.

    If you enjoyed this, you might also like….

    Last Resort Home Defense and More…

    Natural Healing Secrets You Need to Know…

    The Healthy Primal Diet Everyone Should Try…

  • Adding Calcium to Your Garden

    Adding Calcium to Your Garden

    Calcium is an essential nutrient for a healthy garden.  If your soil is lacking in calcium your plants will not be able to transport other soil minerals to the leaves and fruit.  Obviously, this could lead to a variety of health issues for your plants including blossom end rot.  Having to purchase fertilizers can be avoided by adding natural sources of calcium to your garden soil and compost that you might already have, and might even otherwise be throwing away.


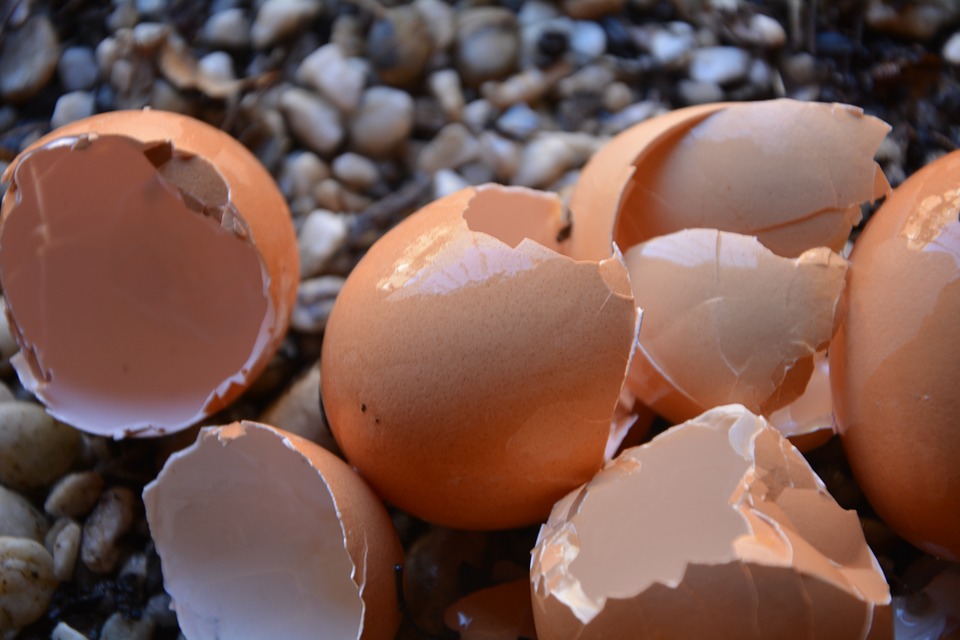
    Eggshells

    Eggshells are a great source of calcium for your garden that most of us already have.  The calcium in the eggshells will not immediately be plant available, so you can just add the shells to your compost bin, giving them the time to be consumed and broken down without any effort you’re your part.  But if you want to speed the process along a little you can rinse and dry your eggshells and then put them in a blender until they are a fine powder.  This can be added directly to the garden beds.

    Bones

    Bones will provide a great long-term source of calcium for your soil.  Dry them out in your oven or in the sun, then put them in several paper bags.  Squeeze and twist the bags so that all the bones are confined to one small area.  Then using a 3lbs mini-sledge, smash the bones until they are as small as you can get them.  Because these pieces will not be as small as your powdered eggshells and might attract scavengers like raccoons at first, they would be better put in your compost.

    Add Vinegar

    The thought of using vinegar in the garden might cause alarm, but vinegar could actually help you deliver calcium to plants in need.  How?  Well like I just said above, the calcium in bones and eggshells will require time to break down in order to become plant available.  This means that if you have plants that are already suffering from a deficiency they will not be helped by simply adding crushed eggshells to the soil.  But, if you mix those crushed or powdered eggshells with an equal amount of vinegar, shake or stir, and let it sit for about an hour, the vinegar will chemically react with the eggshells and will both extract the calcium and neutralize the acid in the vinegar making it harmless for your plants.


    All of these items are probably in your house right now, so there is no need to go spend money at the store buying fertilizers, limestone, or gypsum to increase the calcium in your soil.  Save yourself some money and help your plants today with these easy tips.


    Natural Healing Techniques Doctors Don’t Want You to Know…

    The Weight-Reducing Magic of Yoga…

    The Ultimate Woodworking Course..

  • Extending Your Growing Season

    Extending Your Growing Season

    Recently I posted a video demonstrating how to build a PVC hoop house that will help extend your growing season.  In this article, I’ll give a few more tips about extending your season and maximizing the benefits to your hoop house.


    Seasonal Crops

    While your hoop house will protect your crops from extreme temperature change, temperatures will still drop even inside.  But more importantly the days will be shortening and not all crops can handle the decrease in sunlight.  Leafy greens, carrots, and green onions are examples of crops that cope well with shortening days.

    Layers

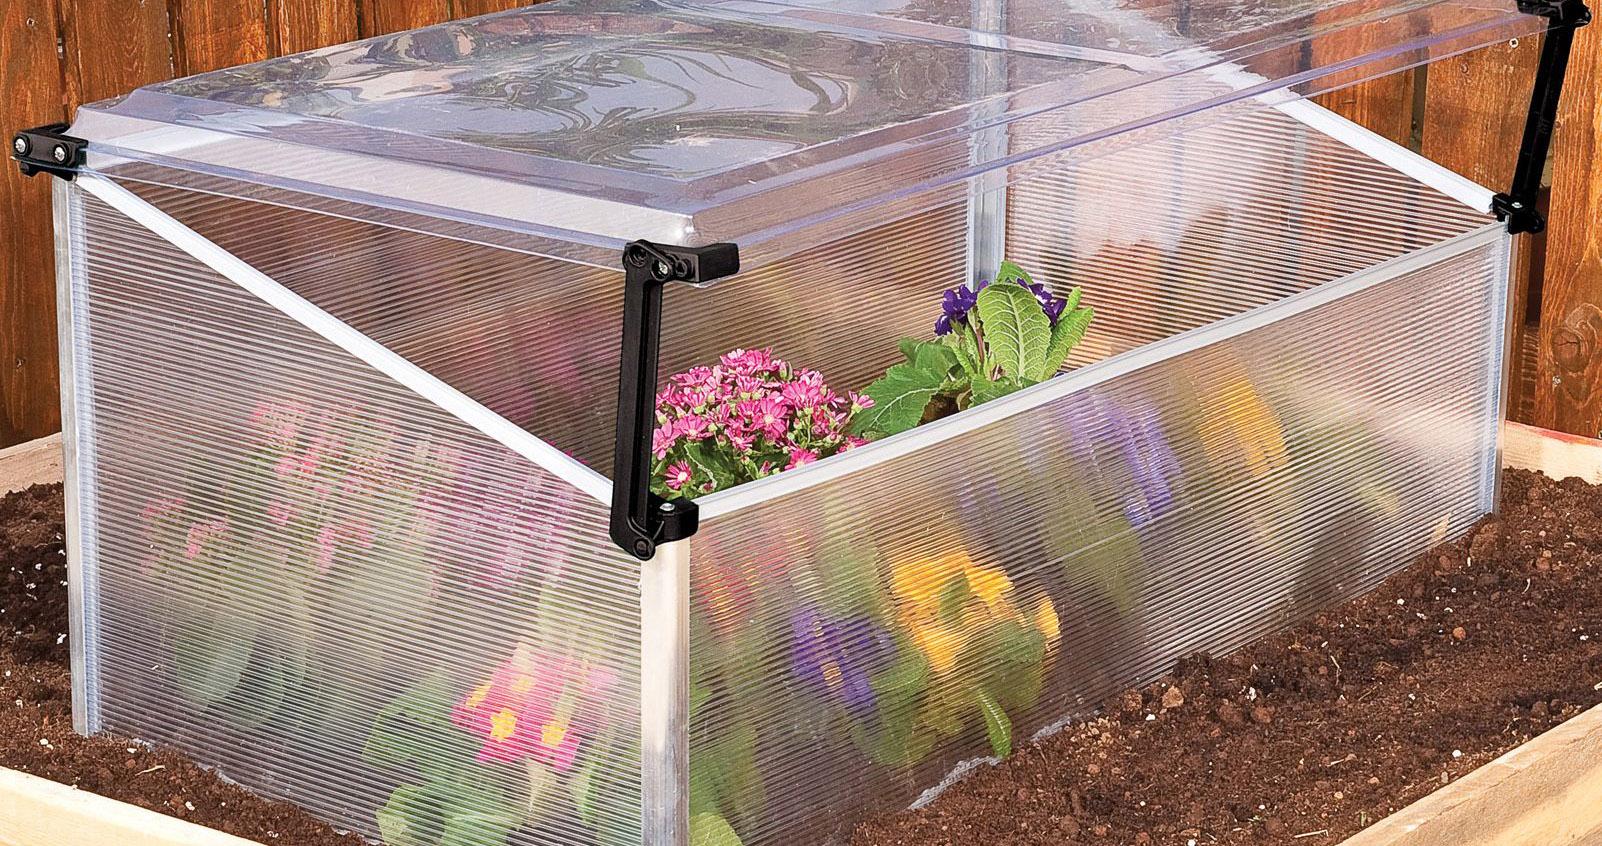
    For those that live in a higher zone, one layer of cover will be plenty, but if you live in a colder zone or are expecting unusually low temperatures you might want to add another layer of protection without your hoop house such as low tunnel or a cold frame.

    Vent

    Alternately, in warmer weather, your hoop house could actually produce temperatures that are too high for cold crops if you do not vent it.  Simply lifting the plastic on opposite ends of the hoop house should do the trick.

    Avoid Containers

    The less mass an object has the quicker it will lose temperature.  If you are in a cold zone, crops in containers can freeze even under a hoop house while soil in beds or rows remains above freezing.

    Water Carefully

    With shorter days comes less evaporation, which will mean that your plants require less water.  Water you plants only when the soil surface has dried out and when you are not expecting temperatures to drop below freezing.


    Decreased production is unavoidable as winter closes in.  But that doesn’t mean that your garden has to shut down.  Depending on your zone, you may be able to continue growing food year round with a hoop house and these simple tips.

    If you liked this, you might also enjoy…

    Learn to Heal and Treat Illnesses Naturally…

    An Ancient Secret to Slimmer Waists…

    Learn to be a Master Carpenter at Home...

  • 3 Tips for Steady Potato Harvests

    3 Tips for Steady Potato Harvests

    If you don’t have a root cellar, then you probably don’t want to have a 100-pound potato harvest.  But that doesn’t mean that you don’t want to grow 100 pounds of potatoes or more.  Instead of planting for one large harvest of potatoes, here are 3 tips for getting a steady supply of smaller harvests that could easily exceed the amount you could get from one large harvest.


    Plant Early

    While waiting until after the last frost to plant some crops might be the way to go, potatoes can handle cold soil well.  If your zone is particularly cold or winter is lasting a little longer than usual you can plant them under a layer of cover to get them out early.  Extending your growing season will increase the number of harvests you can get in a year.  Even if a frost comes, the potatoes will survive.

    Sequential Planting

    As much as the room in your garden allows for, plant additional potatoes as times goes on.  This will give you more small harvests, instead of one large harvest.  This will give you a steady supply and reduce pests, spoilers, and the need to store large amounts of potatoes.

    Variety

    Planting all of the same potatoes will mean that they will all mature at the same time.  It will also increase the likelihood of pests or disease spreading.  Even if you plant them at the same time, you will have weeks in between your first and last harvest.


    While soil conditions and other factors that are zone specific will affect the length of your potato growing season, these tips should help you to get the most out of whatever season you do get and allow you to enjoy eating the fruits of your labors throughout the year.

    Natural Healing Techniques Doctors Don’t Want You to Know…

    The Weight-Reducing Magic of Yoga…

    The Ultimate Woodworking Course..

  • How to Make Biochar (Video)

    Often when production in the garden is low the response will be to add fertilizer.  But is that really what your garden needs?  Your garden is not simply the sum of its chemical components; it is a web of life.  If your garden is not a desirable environment for beneficial micro-organisms, then everything that depends on them will suffer.  Adding biochar to your compost and your garden will provide an ideal environment for beneficial microbes, which will in turn provide food for earthworms, which will then leave behind more castings and aortae your soil, which will ultimately provide better soil health for your plants and increase production.  But what exactly is biochar and how do you get it without spending too much money?  It’s basically charcoal produced for the purpose of being used as a soil amendment, and here is video that shows how easy it can be to produce your own biochar.

    If you liked this, you might also enjoy…

    Learn to Heal and Treat Illnesses Naturally…

    An Ancient Secret to Slimmer Waists…

    Learn to be a Master Carpenter at Home...


  • Growing Shiitake Mushrooms

    Growing Shiitake Mushrooms

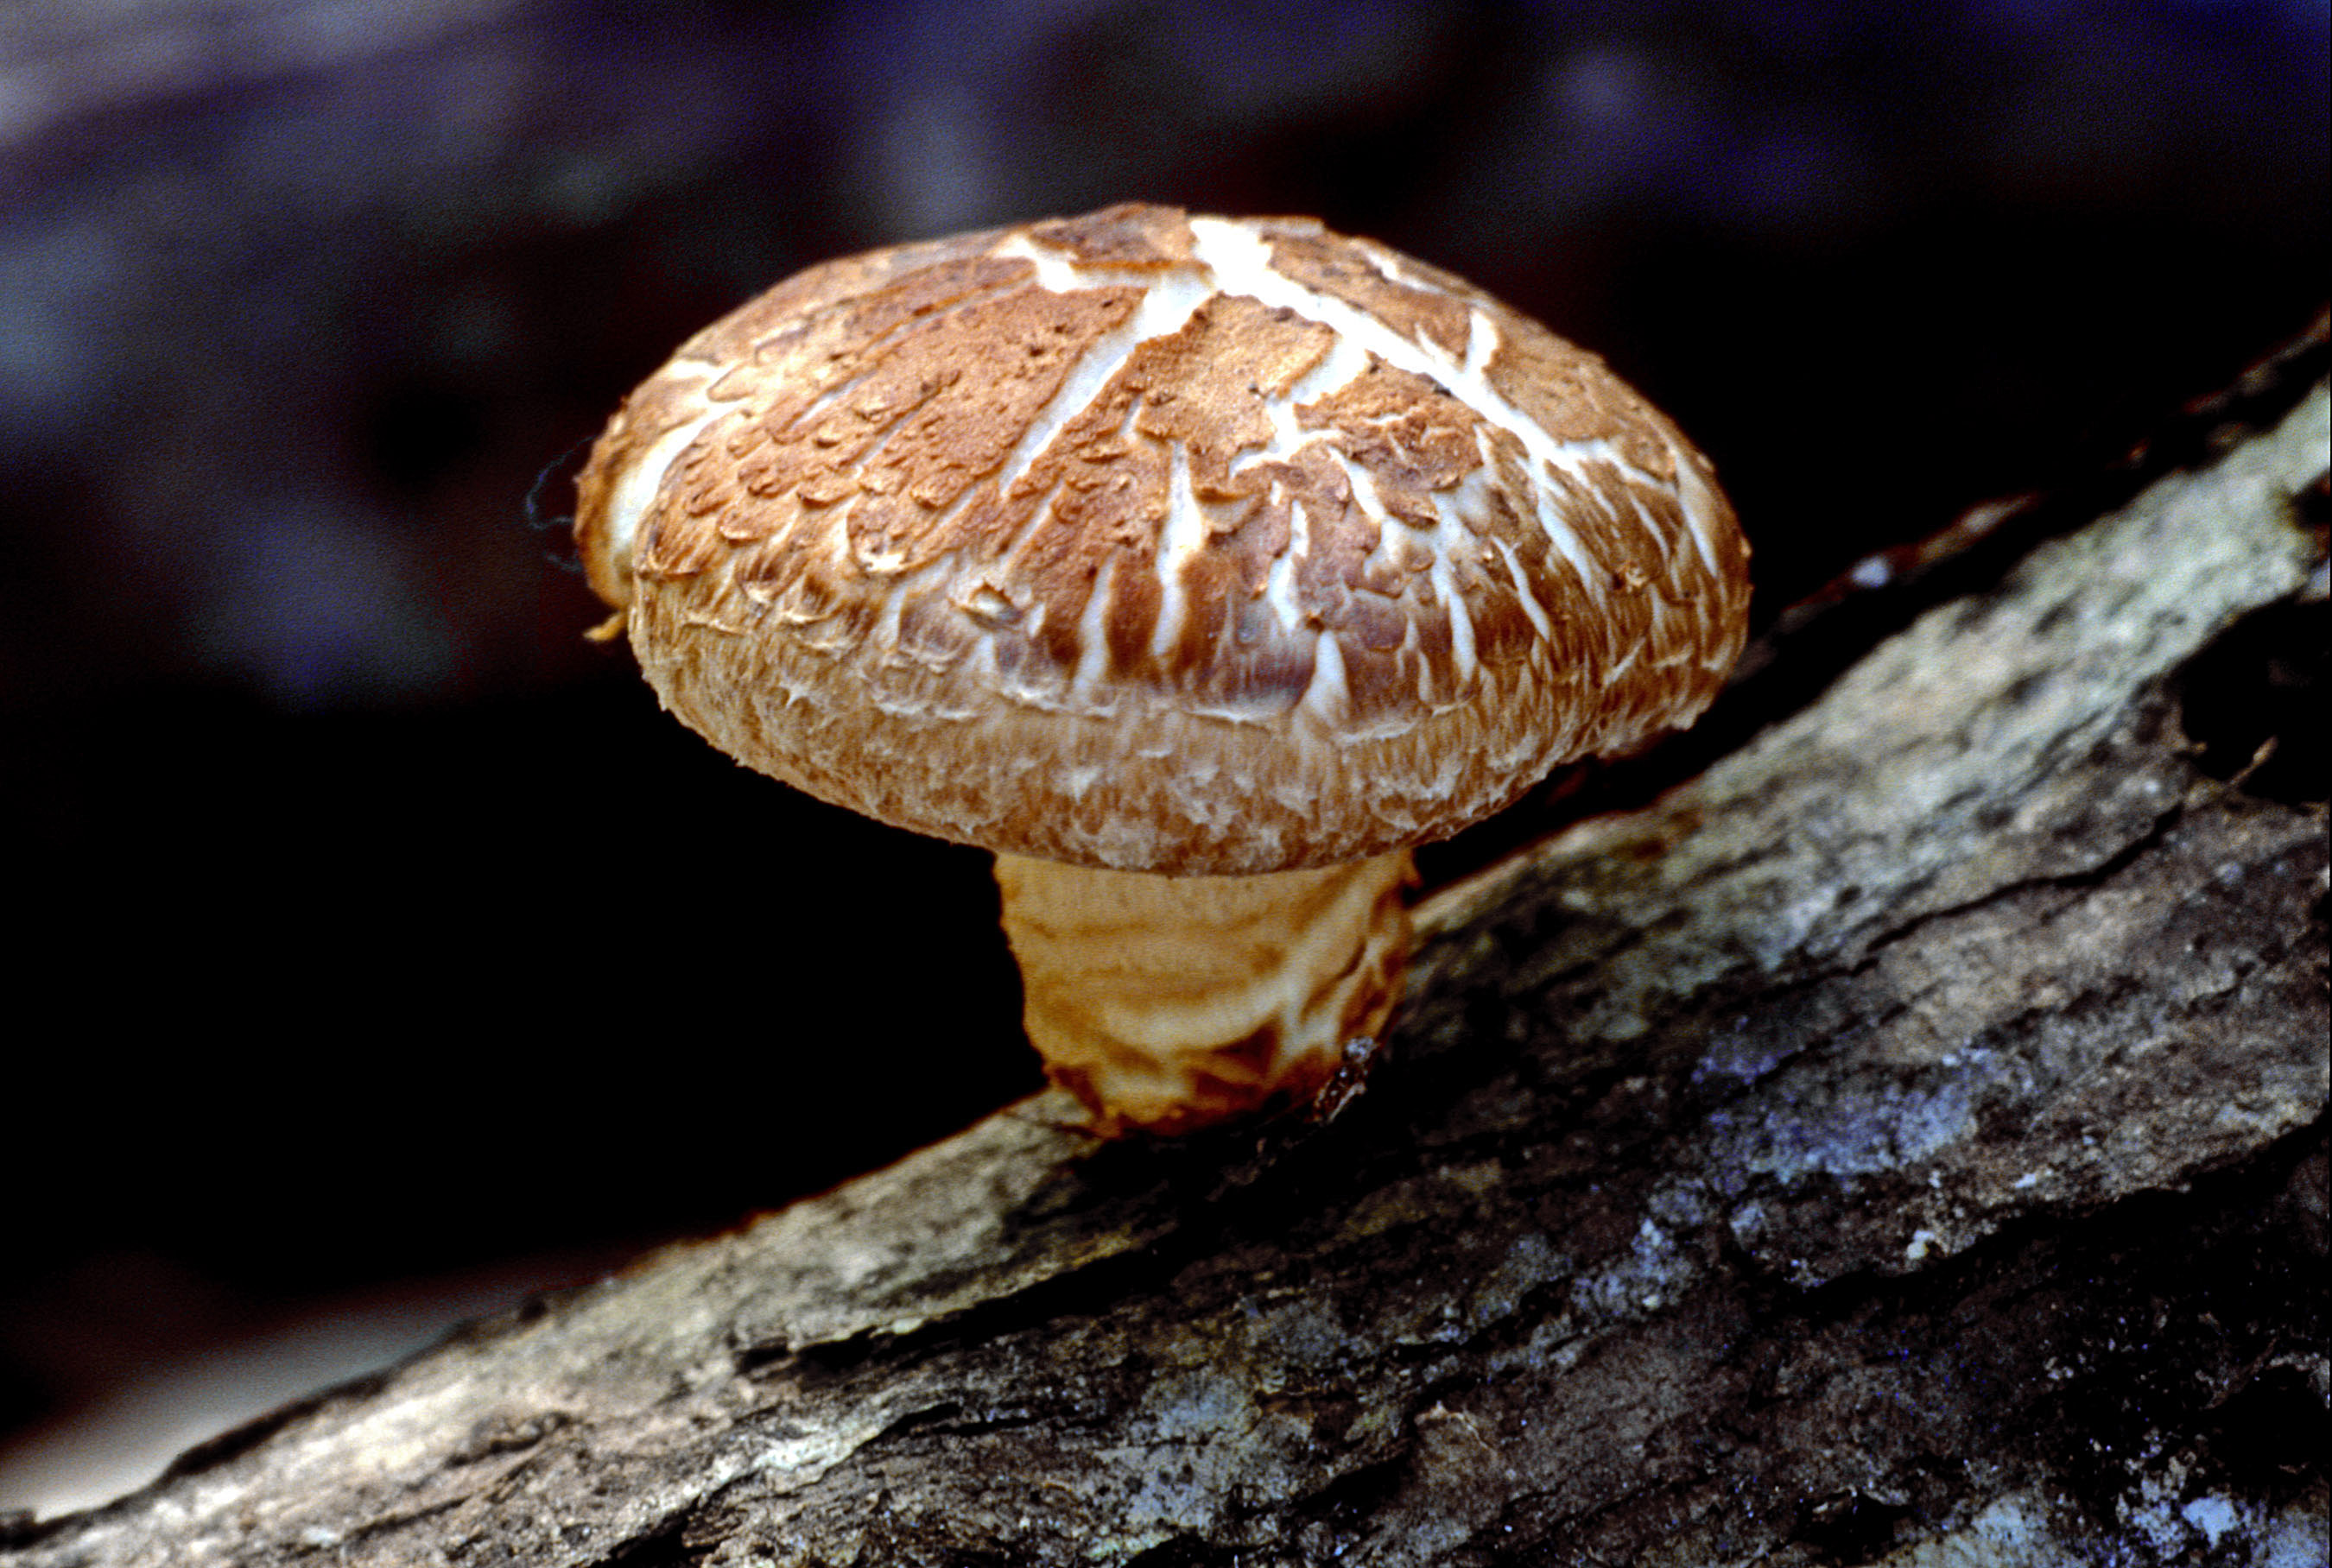
    Do you have a shady area in your yard that you wish you could grow some food in?  Well, not every crop craves sun the way most due.  Get yourself some hardwood logs and spore dowels and you could be growing delicious and valuable shiitake mushrooms for years to come.  Here are some tips to get you started.


    First, you will need to get spore dowels or plugs.  There are plenty of retailers online that carry them it shouldn’t be too difficult to find some with good reviews.  You will also need to collect some fresh cut hardwood logs to put your plugs in.  Oak is the best, but other hardwoods will work if you just can’t get your hands on oak.

    Then, soak your logs in water for 24 hours.  After they have absorbed all the water they can, take them out and start drilling the holes that you will fill with your spore dowels.  Place the holes 6 inches apart from each other in a straight line.  Depending on the size of you log you can make several lines of holes, but make sure that you alternate the spacing, so that your next line of holes start in between the first holes, not directly below them.

    Then, fill the holes with the spore dowels.  Make sure that they are a little bit below the surface of the log and not flush with it.

    Next, seal the dowels in order to protect them from competing fungi.  This can be done with bee’s wax.  You can either melt some in a pan or use a candle.

    After you have sealed the dowels in the log all you have to do is stack them.  You can make a log cabin pattern, or an “A” frame.  The logs are stacked mainly to keep them off the ground to again reduce the chances of contamination with competitive fungi.

    Keep your logs from drying out.  They should produce mushrooms for you in six months, and then every spring and fall for years to come, basically until the logs completely fall apart.

    Harvest the mushrooms when about 2/3 of the gills are visible.


    Don’t see your shade as a limitation for sun loving crops, but rather an opportunity to grow something a little different.


    If you liked this, you might also enjoy…

    Learn to Heal and Treat Illnesses Naturally…

    An Ancient Secret to Slimmer Waists…

    Learn to be a Master Carpenter at Home...

  • Natural Tips for Aphid Control

    Natural Tips for Aphid Control

    Aphids are a nightmare for anybody who has a garden, and if you have a garden, there is a very good chance that you have or will have aphids at some point. What you need to do is learn how to get rid of them so they do not destroy your supply. Fortunately, there are some good ways that you can get rid of these nasty little pests.

    First, you might want to consider adding some plants to your garden that help to repel aphids. Fortunately, some of these plants are going to be very useful and will likely be things that you want to grow anyway. You can put sunflowers in your garden, as well as mint, turmeric, ginger, oregano, basil, cilantro, garlic, and onions. All of these help to drive aphids away. By planting them in between other types of plants – the type that aphids tend to like, which is just about everything else – you can help to reduce the number of aphids you have.

    In addition, you may want to create some sprays that you can use for the garden. There are some very simple sprays that work quite well. Take about 100 g of crushed garlic cloves and put it in a gallon of water. Let it set for 24 hours and then boil it for 20 minutes. Once it is completely cool, you can put it in a sprayer. Even a spray bottle will work. You can do something similar with onions. Just put the hundred grams into two gallons of water instead. Then cook it for 30 minutes, and let it cool. Put it in the sprayer and head out to the garden.

    With these simple tips, you can start winning the fight against the aphids!

    If you liked this, you might also enjoy…

    Natural Healing Techniques Doctors Don’t Want You to Know…

    The Weight-Reducing Magic of Yoga…

    The Ultimate Woodworking Course..