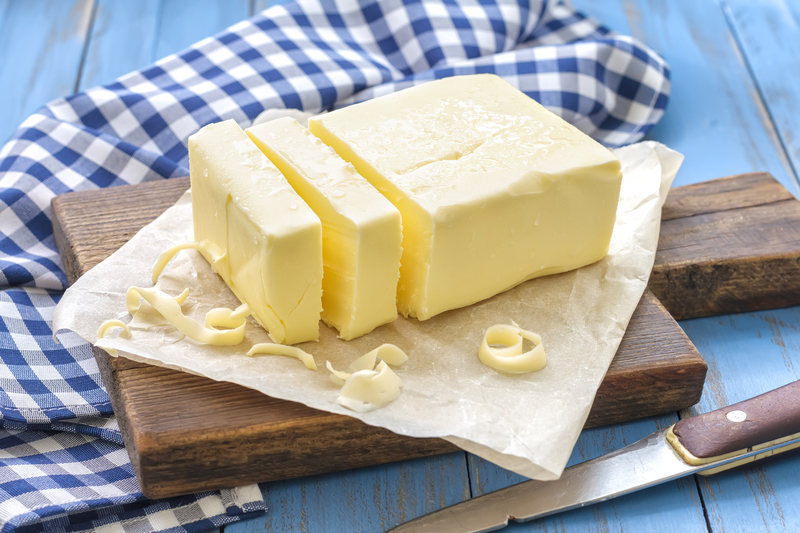
Super Easy Homemade Buttermilk
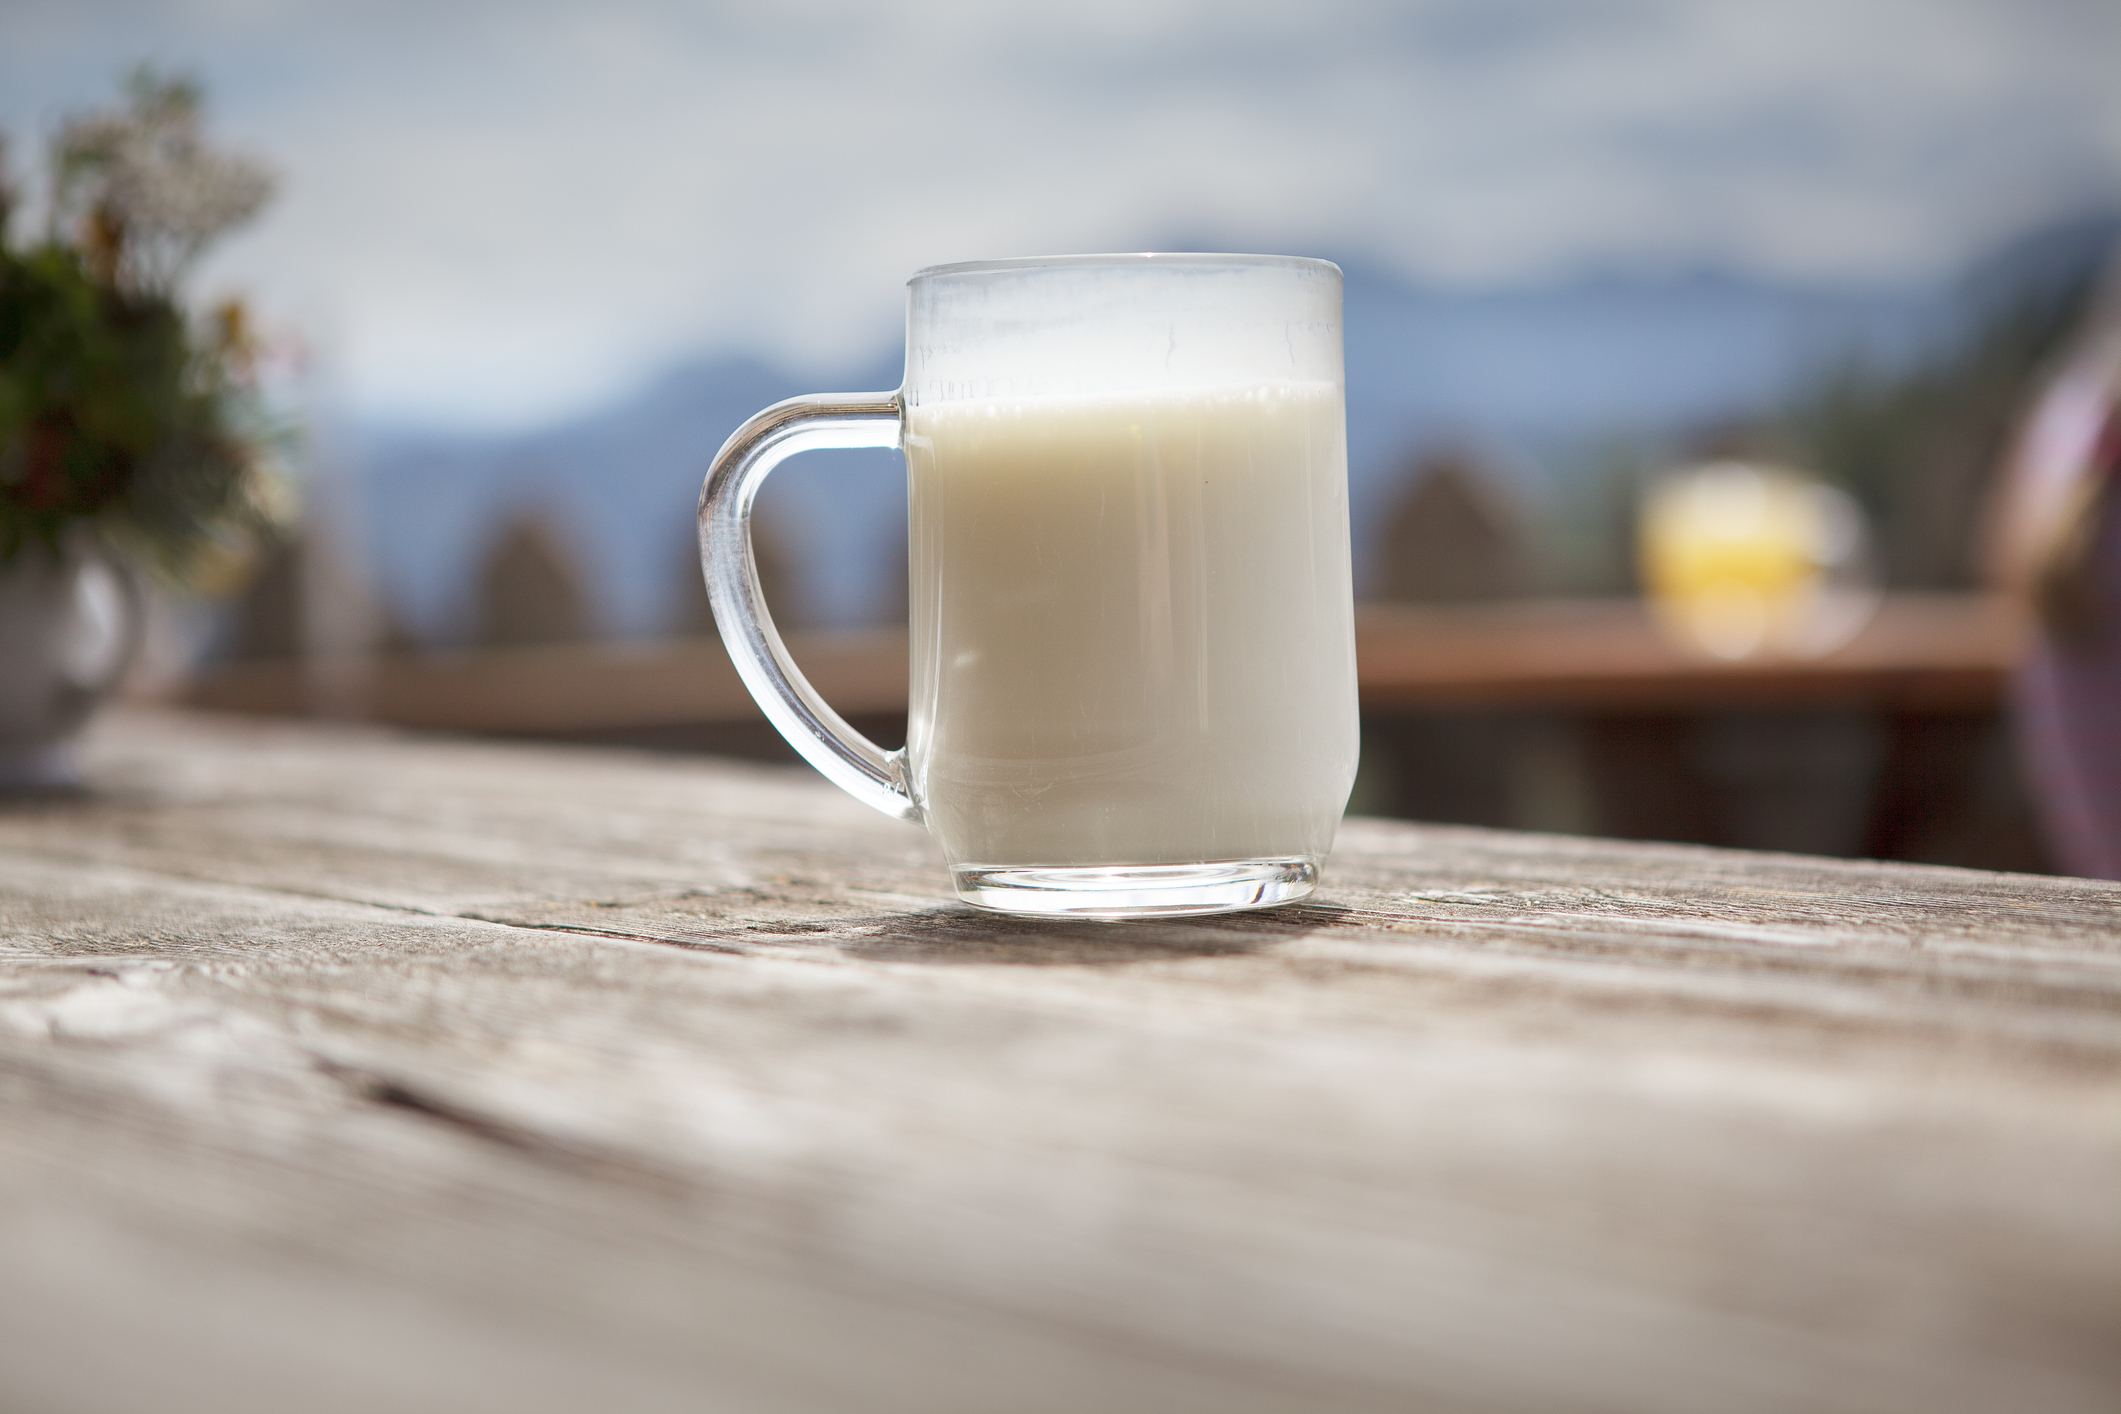
Buttermilk isn’t something that you only need to buy at the store. Instead, you can make it yourself. The results will be much tastier and better for you. The buttermilk that you find in the dairy section (if your grocery store even carries it) is cultured. This type takes at least 24 hours to make, … Read more