Modern Homesteading Technology 2025: 15 Game-Changing Tools That Make Self-Sufficiency Easier
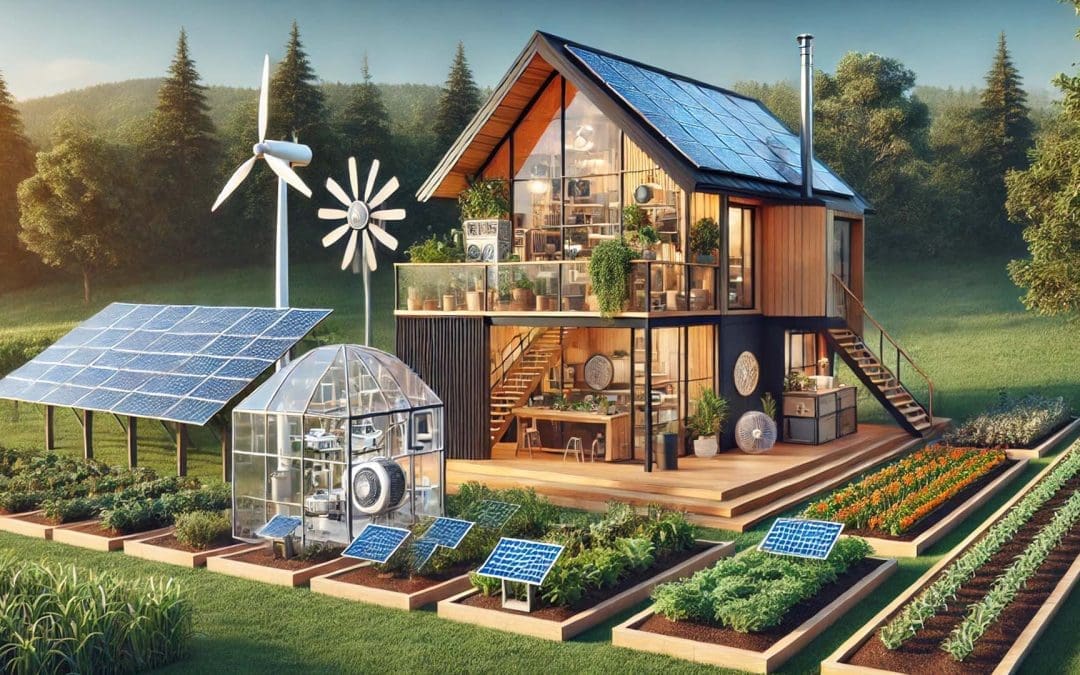
Discover 15 game-changing technologies transforming homesteading in 2025. From $12K solar systems to automated chicken coops, smart irrigation, and vertical farming – learn how modern tech makes self-sufficiency easier and more productive.