Can Rabbits Contribute to a Homestead?
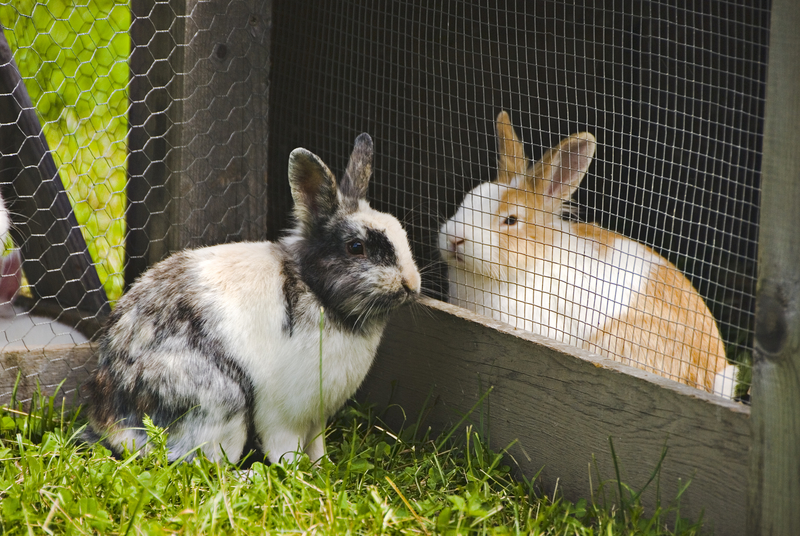
Not just for pets, including rabbits on a homestead can be a great way to contribute to your food supplies, both as a food source and a natural fertilizer for your garden. If you’re into fiber arts or want some extra money, angora rabbits give an additional benefit just by growing their fur. Rabbits for … Read more