6 Creative Ways to Use Bone Broth
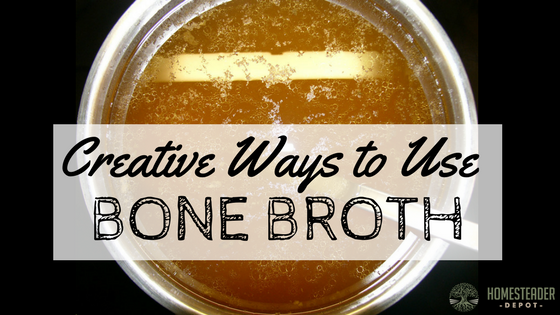
You’ve probably heard of the growing popularity of bone broth lately, and if you haven’t, you should definitely know about it. It’s not really anything new, but recent trendy diets have emphasized the regular consumption of hearty, super-nutritious bone broth as a way to get essential vitamins, minerals, and, most importantly, gelatin. Gelatin is a wonderful … Read more