The Easiest Way to Skim Raw Milk
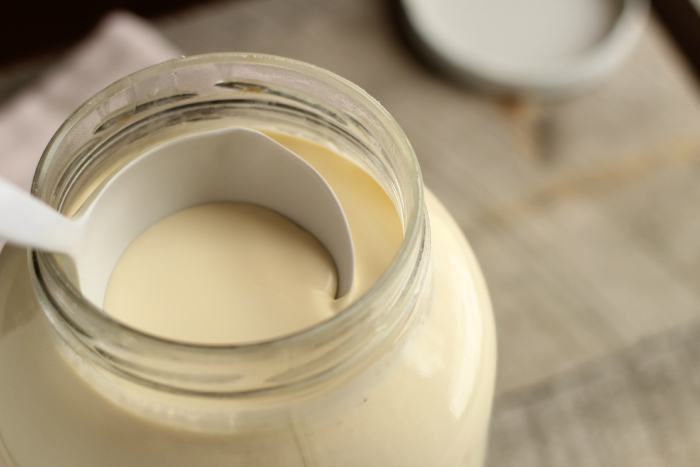
A cold glass of fresh milk is a delicious, wholesome treat. If it’s non-homogenized, the higher-fat cream will naturally separate from the milk to be skimmed for butter, whipped cream, or to splash into a hot cup of coffee. The traditional skimming process, however, is a tedious repetition of scooping out the cream ladle after … Read more