Keep Your Chicken Coop Clean
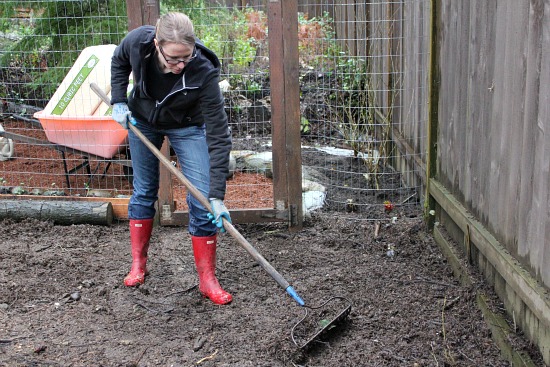
When you are a homesteader, you likely have livestock. One of the most common types of livestock to keep is chickens. You can use them for their eggs, as well as their meat, if needed. Building or buying a chicken coop and raising chickens is relatively easy if you put in some time and effort … Read more