How to Homestead When You Live in An Apartment
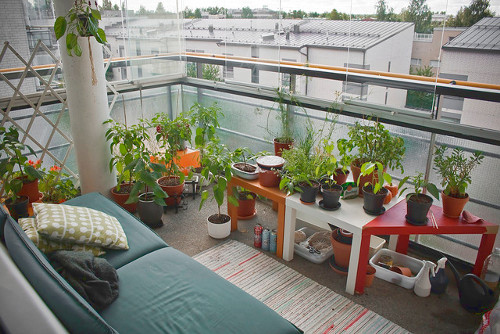
For many wannabe homesteaders, an apartment probably seems like the last place you’d be able to homestead. And of course, you won’t be able to grow (very much) food of your own, raise livestock, or live off the land. There are however, many things you can do to make your apartment a mini-homestead. While you’ll … Read more