Curing Bacon, Step by Step (Video)
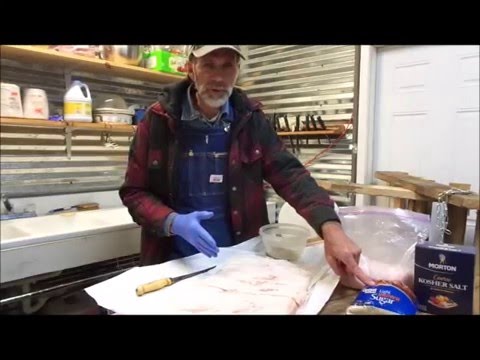
Who doesn’t love bacon? One thing I love even more than bacon is seeing processes like curing meat, so this video was fascinating to me. One of my favorite YouTubers, Down South Homestead, wanted to show their viewers how they cure their own bacon. I’ve always wondered what the exact process would look like since … Read more