How to Make Homemade Almond Extract
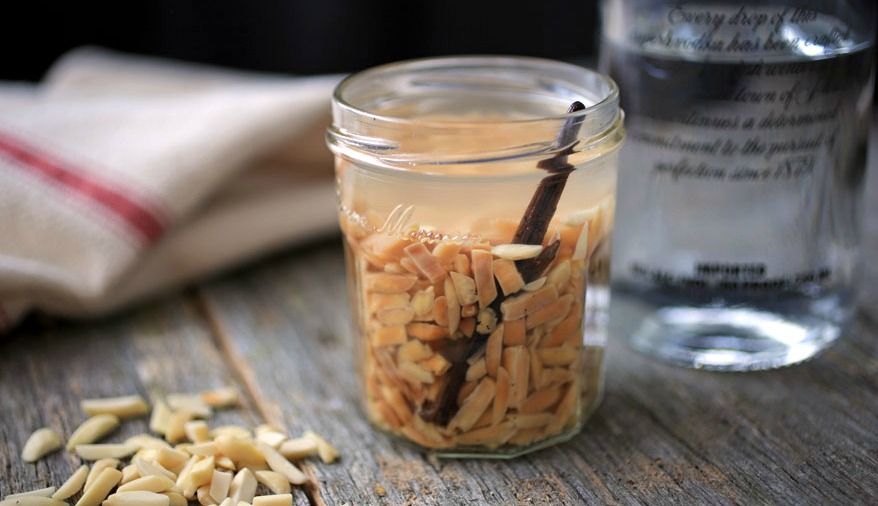
I love DIY everything, and extracts are surprisingly easy. At the store, extracts for baking and flavoring foods can be surprisingly expensive, especially if you’d like organic or natural extracts of any kind. Almond extract is great to have for baking of all kind as the subtly sweet flavor of almonds makes for delicious cakes and cookies. The … Read more