Page 60 of 89
1 58 59 60 61 62 89
Homesteading – Page 60 – Homesteader Depot

Category: Homesteading

  • Don’t Be Without These Homemade Cough Drops

    Don’t Be Without These Homemade Cough Drops

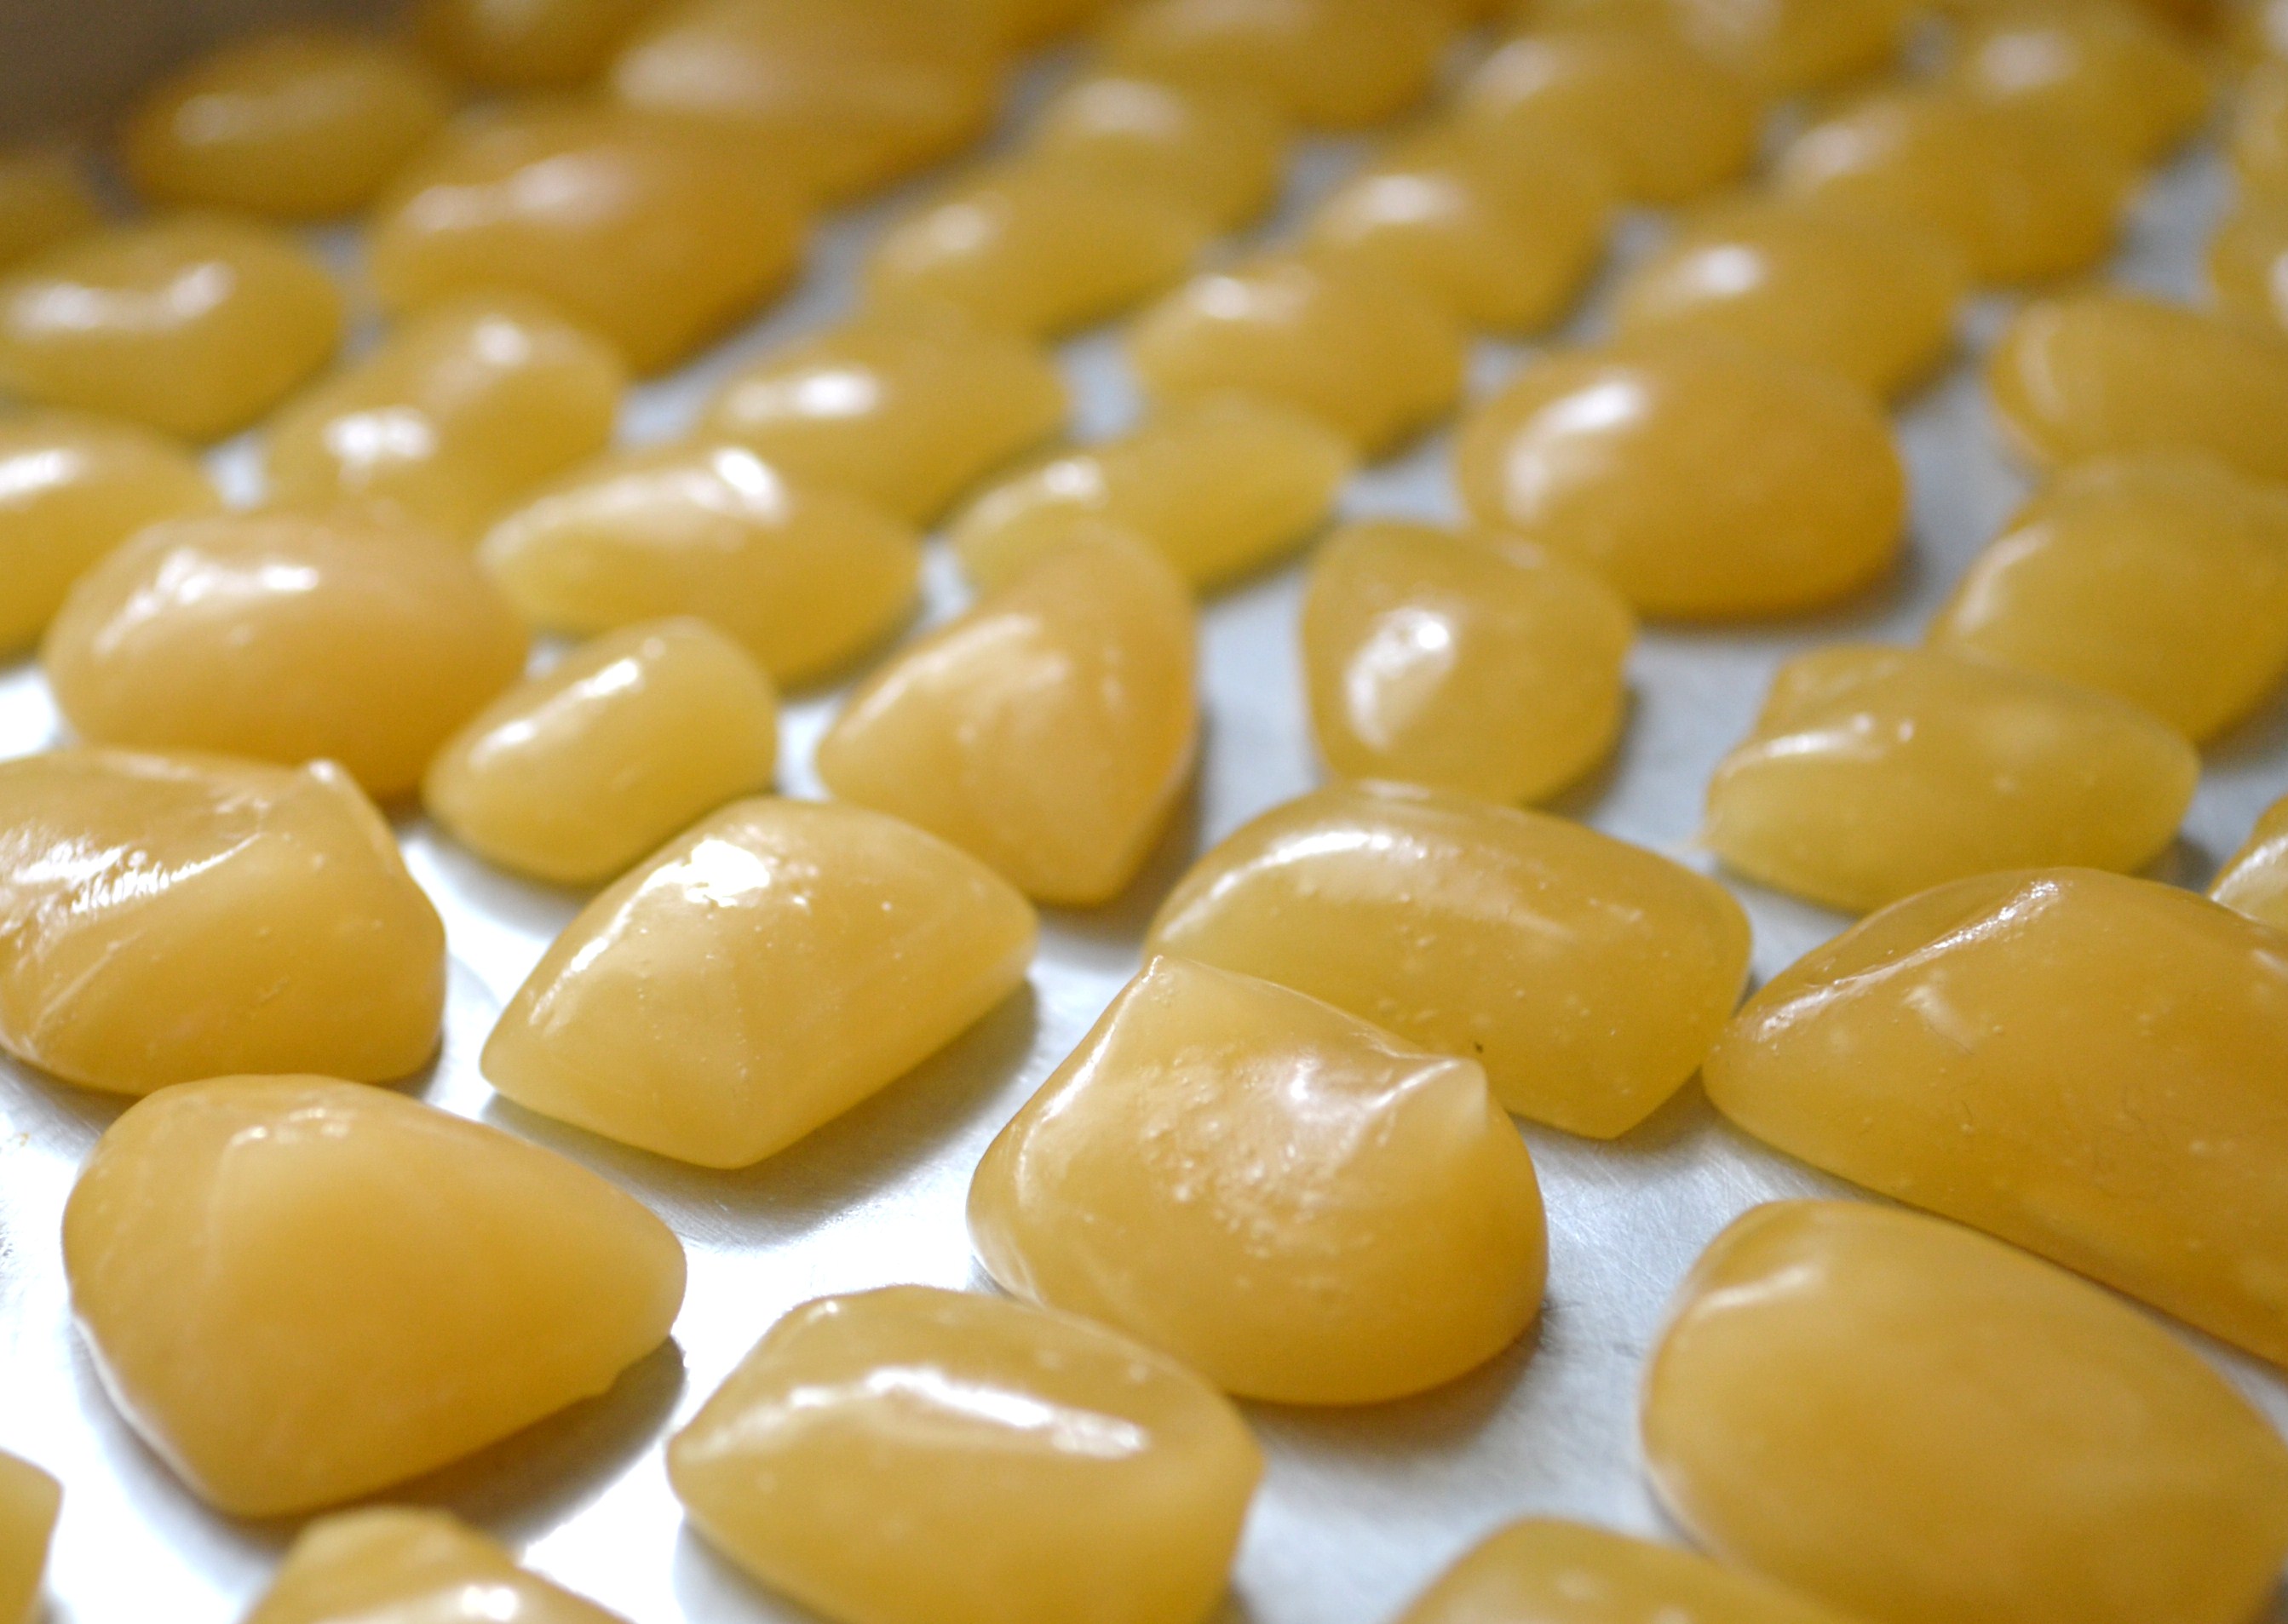
    I never tire of homemade cold remedies. I got a pretty bad cold this week and really wished I had made some of these delicious homemade cough drops. A nasty cold is particularly awful to have during cold winter months.

    I will definitely be making more of these to have on hand the next time a cold hits. It’s simple, easy, and way better than your average chemical-filled cough drops. Regular store-bought cough drops often have artificial colorings and flavorings in them. They might be able to soothe your cough but they sure won’t help prevent cancer!

    Try this simple and wholesome recipe instead. Let’s get started.

    Ingredients:

    4 TBS coconut oil

    1/2 cup honey

    1 tsp ground ginger

    3/4 cup sugar

    1/2 tsp mint extract

    Directions:

    1. Prepare a loaf pan lined with parchment paper, lightly greased with coconut oil
    2. Over low heat, melt all the ingredients together in a saucepan
    3. Stirring constantly, slowly bring the mixture to a boil, at about 250 degrees. (This is called the “hardball” stage in candy making, the point at which the mixture will harden once it has cooled
    4. Carefully pour the mixture into the parchment-lined loaf pan and let cool until you can safely handle it, about 10 minutes. You won’t want to wait much longer
    5. Cut the hardened mixture up into whatever size pieces you like
    6. Individually wrap each piece in wax paper, aluminum foil or lightly dust with cornstarch to prevent sticking
    7. Store in an airtight container at room temperature. These will keep for about a year.

    Hope this is helpful for you this cold season! Would also make great gifts for any illness-prone relatives. Enjoy!

    Also, check out these — Holistic Medicine Basics

  • Growing Vegetables and Herbs Indoors

    Growing Vegetables and Herbs Indoors

    When the weather gets too cold for you to grow vegetables outdoors, you might want to be adventurous and try growing a few select vegetables and herbs indoors. If you live in an apartment, condominium or townhome without any outdoor space to grow a garden, you can grow some vegetables, herbs and even tropical fruit indoors if you create the proper growing environment.

    Sufficient light, either natural light from a door or windows or a grow light, is essential for an indoor vegetable garden to thrive naturally. There are some LED grow lights available on amazon.com that also make for a cost effective alternative (if you don’t have access to sutable light).

    Other than eight or more hours of light, the only thing you need to grow vegetables and herbs indoors is a good potting soil mix and containers with sufficient drainage. You’ll want to be selective when buying seeds or plants for your indoor garden. Carrots and radishes grow well indoors, but it is the round varieties that you want to plant in your indoor garden. Beans are another good choice for an indoor garden. Varieties such as dwarf French green beans and dwarf runner beans are good choices. Beans do well and look attractive when placed at the window of a sunroom. Cherry peppers and banana peppers can do well in a warm, sunny room. Pepper plants should be planted in a 3 to 5 gallon container. Garlic, green onions and ginger are easy and inexpensive plants to include in your indoor garden. Tomatoes can be grown indoors but they won’t produce as well as plants that are grown outdoors.

    If you have a sunny room, an enclosed heated porch or a sunroom that stays warm throughout the year, you might want to try growing something tropical. A dwarf lemon, orange or lime tree could thrive in this type of environment. Hanging baskets add beauty to your indoor decor. A basket filled with strawberries would be a conversation starter when people visit and a convenient source of fresh fruit.

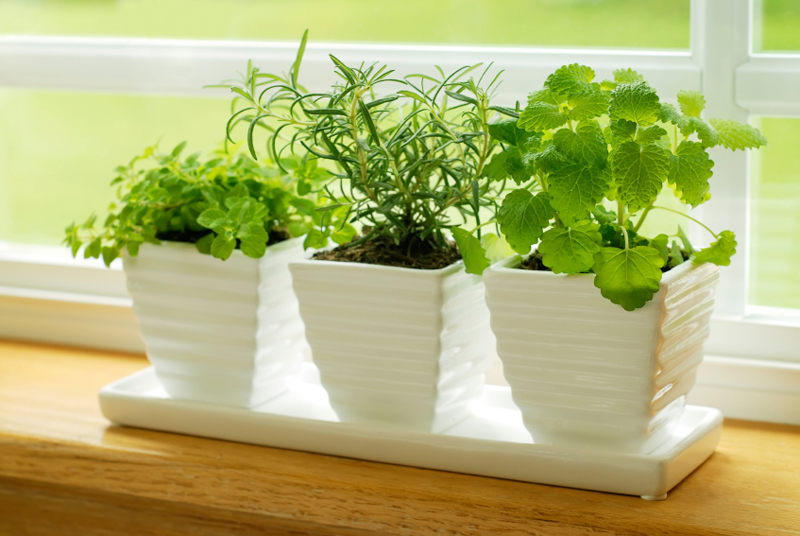
    Herbs grow well on a sunny windowsill, on a kitchen counter or in any well-lit area. You can find containers designed specifically for creating an herb garden. A collection of individual containers placed around the house or grouped together as a decorative display would be an aromatic and attractive addition to your home. If you plan to plant several herbs in one container, you’ll want to group together herbs that require similar growing conditions. Rosemary, sage, thyme and oregano need a lot of sunlight and prefer relatively dry soil. Basil, cilantro and parsley are examples of herbs that can be grouped together because of their preference for moist soil. If you want to grow mint indoors, it is best to plant it in an elongated planter. Mints need space to spread out in order to thrive.

    Growing vegetables indoors is an interesting hobby to pursue. Don’t be afraid to experiment with different vegetables and herbs. You can start with plants that are almost foolproof such as lettuce, onions, garlic, ginger and basil and expand your indoor garden as your experience and confidence level increases.

    If you want to take your garden to the next level…

    Watch this video on self replishing food production.
    It is a great resource if you are ready to start growing more of your own food.
    Garden smarter, not harder.


    If you liked this, you might also enjoy…
    Learn to Heal and Treat Illnesses Naturally…
    An Ancient Secret to Slimmer Waists…
    Learn to be a Master Carpenter at Home..

  • Getting the Kids Involved with Homesteading

    Getting the Kids Involved with Homesteading

    If you have kids in the modern world, you probably know how quickly and easily they can become attached to electronic devices and the “easy” way of doing things. Of course, you can relate, as you are reading this on the Internet. However, you know how important it is for the kids to strike that balance. They can enjoy modern life, but they also need to learn some important skills that will last them a lifetime.

    The key to getting them interested with homesteading is to make it interesting for them. You can do this in many ways. Make the chores fun. Kids tend to like animals, so have them help with the feeding chores for animals. Parents should be with the small children, even when feeding animals that are docile and safe. Chickens can get feisty and goats can take off fingers, so always stress safety.

    As the kids get older, they can have more complicated chores. These will help them to learn responsibility, and it will help them connect more to the homestead. In addition, make sure you are teaching the kids some of the other valuable skills that they aren’t going to get at school. Teach them to sew and cook for themselves. Teach them first aid and how to milk a goat. Teach them how to clean fish and how to hunt.

    You already know that many of these skills are simply dying out with the newer generations. Many young people today barely have a grasp of where their food comes from, and that’s a shame.

    When the kids are involved with homesteading, you will find that they are more involved with the family as well. Having a family that remains close is a difficult thing today. Homesteading is one of the ways to bring back the family.

    If you liked this, you might also enjoy…

    Holistic Healing Secrets From the Masters…

    The Weight-Reducing Magic of Yoga…

    The Ultimate Woodworking Course..


  • Demonstration of Proper Tomato Pruning

    Demonstration of Proper Tomato Pruning

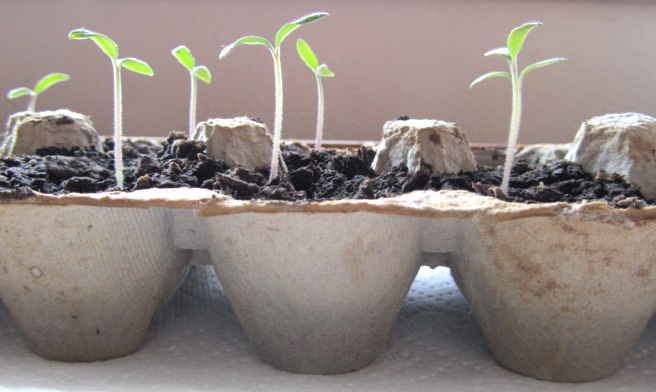
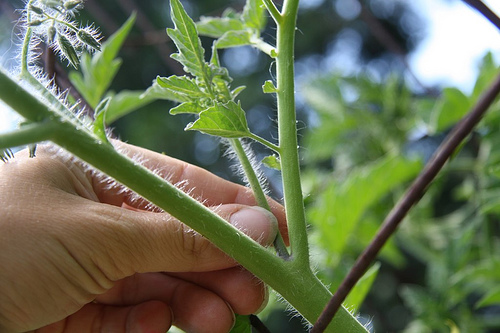
    Pruning is a great way to control the growth of your plants.  It can help you increase yield and reduce disease by focusing your plant’s growth.  One crop that pruning is a must for, but often gets neglected is tomatoes.  Tomatoes can be difficult to prune because it is not always visually obvious which portions should be targeted for pruning and which should be left alone.  This video does a great job of show, and explaining just what to remove and why, complete with close ups.


    If you liked this, you might also enjoy…

    Natural Healing Techniques Doctors Don’t Want You to Know…

    The Weight-Reducing Magic of Yoga…

    The Ultimate Woodworking Course..

  • Easy Pickled Garlic

    Easy Pickled Garlic

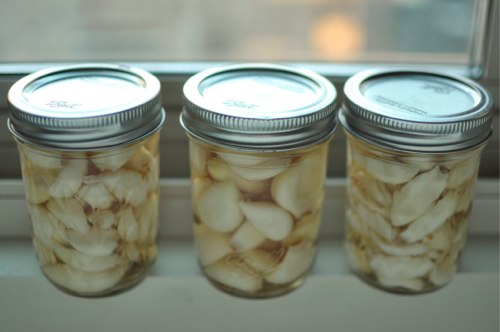
    Pickling garlic is a great way to preserve it for the winter, or if you don’t grow garlic, to ensure that you always have it on hand. You may have seen minced garlic or even whole garlic cloves in the store, but those typically have lots of preservatives in them or take on the flavor of whatever they’re preserved in. This recipe isn’t like them.

    This method will keep your garlic tasting fresh, and just like garlic. Since it is preserved in vinegar, when you’re ready to use it, you can simply rinse off the vinegar and use as you would fresh cloves of garlic.

    Before we dive into the recipe, I wanted to share this awesome video for a super quick and easy way to peel an entire head of garlic that will make this recipe go a lot faster:

    Ingredients: 

    4 head of garlic, peeled using method from video above

    2 half-pint mason jar

    1-2 cups vinegar

    *Note: these are rough estimates, since heads of garlic can vary. The idea is to have enough garlic to fill your jar of choice, and enough vinegar to fully immerse the garlic once in the jar. 

    Directions: 

    1. Once your garlic is all peeled, trim any brown spots off and put in a large bowl with a little soap to get them clean.
    2. Rinse thoroughly in a strainer
    3. Bring your vinegar to a boil on the stove
    4. Dispense your garlic out into the jars
    5. Pour the hot vinegar over the jars, and screw the lid on tight
    6. Let the jars sit out on the counter overnight, until they are room temperature
    7. Once they have fully cooled, transfer to the refrigerator for long-term storage

    This garlic will keep in the fridge for up to a year. Use as you would regular garlic, simply rinsing off the vinegar with cold water if you want to avoid the taste of vinegar in the dish you are preparing. Enjoy!

    If you liked this, you might also enjoy…

    Become a Master Healer at Home

    Anaerobic Weight Loss Fitness…

    The Ultimate Woodworking Course..


  • Wood Ash for the Garden

    Wood Ash for the Garden


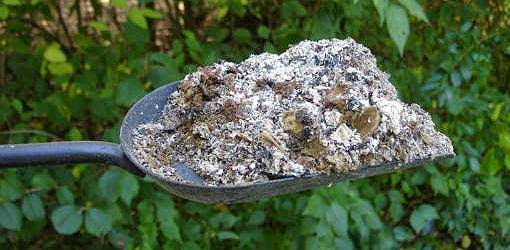
    Any way that costs can be cut while increasing productivity and health in the garden is a good thing.  One way to do just that is to use wood ash in your garden as a fertilizer.  Not only does wood ash contain calcium and potassium, along with other nutrients, but an easy-to-obtain byproduct of heating your home with a fireplace, wood stove, or a bonfire to get rid of dead branches and yard waste.  All that being said, don’t run out and smother your garden in a layer of ashes, it won’t have the desired result.

    Here are a few thing to keep in mind when using wood ash as a fertilizer:


    Keep it Dry

    Some of the nutrients that you are looking for in wood ash are in water-soluble forms.  This makes them great for adding to the top of soil since the nutrients will be brought down the root zone naturally by watering or the rain.  But, if you leave it out where it can get wet, like in an uncovered fire pit that got rained on, then likely much of what you want in your garden is already gone

    Check the pH

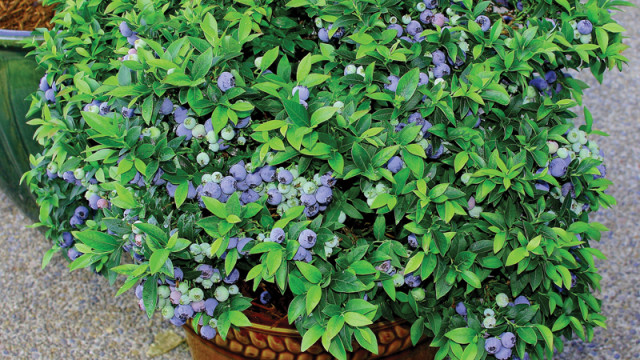
    Since wood ash is alkaline you won’t want to add it to soil that is already alkaline or on acid loving crops like blueberries.  If you chose to add it to your compost pile it should be added little by little and not in a thick layer, that being said it can counteract the acid in material like citrus peels, so if you are composting acidic material you may want to add extra wood ash.

    Dusting

    One of the best ways to use wood ash it to regularly dust your garden soil with it.  Allowing it all to go away naturally before applying more.


    Making use of the material that you already have on hand, and might otherwise through away is a great way to cut garden costs while also increasing health and productivity.

    If you liked this, you might also enjoy…

    Holistic and Natural Healing for Beginners

    The Weight-Reducing Magic of Yoga…

    The Ultimate Woodworking Course...

  • How to Make Moonshine (Humorous Infographic)

    How to Make Moonshine (Humorous Infographic)

    I saw this infographic on Pinterest recently and couldn’t resist sharing here! Moonshine is such a humorous cultural icon of the South and of “country living”. I wouldn’t actually recommend making moonshine, and you’ll see the infographic has a warning, since it’s most likely illegal to do so where you live and can be quite dangerous.

    *But purely for entertainment purposes*, as a DIY, fermenting, make-everything-at-home enthusiast, I still think it’s super cool and fascinating to see a breakdown of how moonshine is made. I feel like it’s a big part of our cultural history as a nation in a way.

    Enjoy!

    enhanced-buzz-6848-1333119719-15

    If you liked this, you might also enjoy…

    Natural Healing Techniques Doctors Don’t Want You to Know…

    The Weight-Reducing Magic of Yoga…

    The Ultimate Woodworking Course..

  • No-Poo for Pets

    No-Poo for Pets

    No-poo for pets might not be what you are thinking it is.  It won’t keep you from cleaning out a litter box or picking up after your dog in the yard.  But it can help reduce the cost of keeping your pet healthy and reduce toxins in your environment.  No-poo (short for “no shampoo”) is basically a way of cleaning off your pets without using shampoo, and in some cases without using water.  Here are the supplies you will need and how to get started.


    Ingredients

    • Baking soda
    • Diatomaceous earth
    • Neem oil
    • Witch Hazel
    • Water

    Directions

    1. The amount you make will depend upon the number of, and the size of your pets. But Mixing the dry ingredients together at a ratio of 2 parts baking soda to 1 part diatomaceous earth will give you a dry rub.
    2. Rub the dry mix into your pet’s fur all over their body. But be careful around the face, it can cause irritation if you it gets in the eyes or the nose.
    3. Brush your pet with as fine of a brush as their fur allows for to remove the dry rub. This will be enough in between baths to keep them from smelling and to reduce the chances of fleas and ticks.
    4. To give them a bath, if your pet allows for this, mix 1 part baking soda with 1 part water. Rub your pet’s coat with this mixture.
    5. Rinse this off.
    6. Mix a few drops of neem oil in enough witch hazel to work into your pet’s coat all over their body.
    7. Rub this all over your pet’s coat and brush it in. The witch hazel will help with itchy skin and the neem oil will help reduce fleas and ticks.


    Keeping a pet healthy doesn’t have to be expensive, and it doesn’t have to involve covering them in toxins that could make you sick.  It can be done cheaply and easily with ingredients that you probably already have around the home.

    If you liked this, you might also enjoy…

    Learn to Heal and Treat Illnesses Naturally…

    An Ancient Secret to Slimmer Waists…

    Learn to be a Master Carpenter at Home...