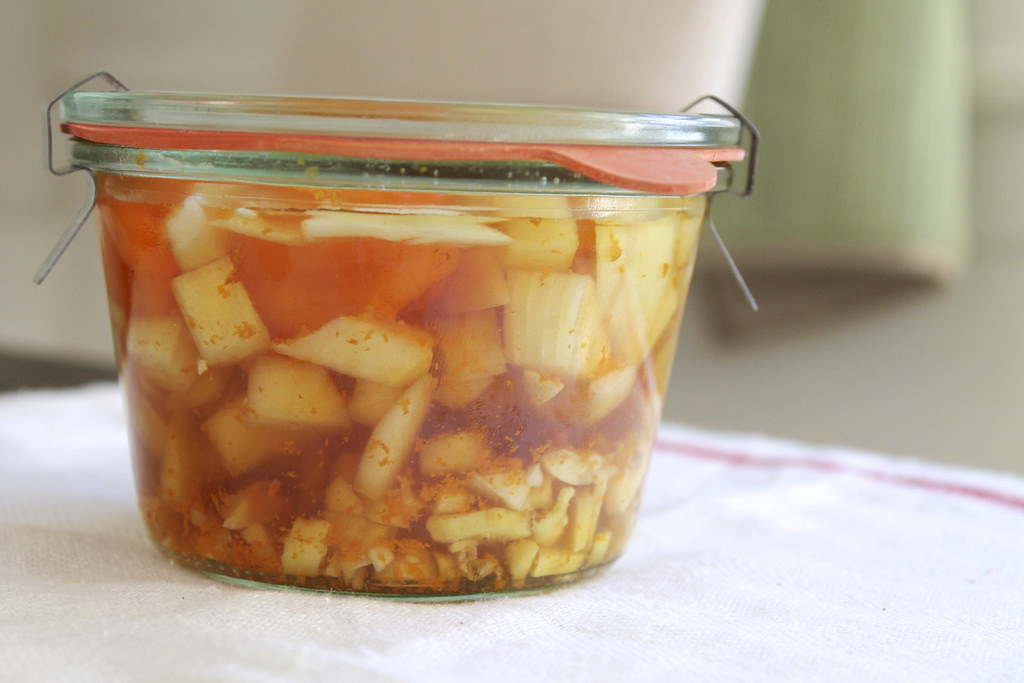
How to Make Elderberry Syrup
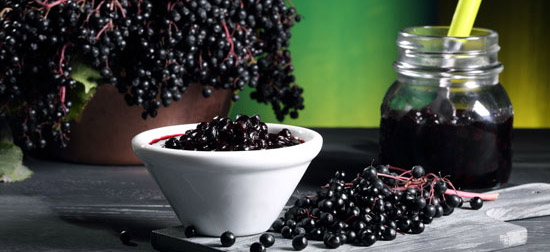
Elderberries are a favorite for natural health enthusiasts, for their healing and soothing properties for colds and flus. Elderberry syrup is a popular way to consume it, and is far healthier that over-the-counter cough syrup full of chemicals, sugar, and drugs. They contain a high amount of vitamins A, B and C, which support the … Read more