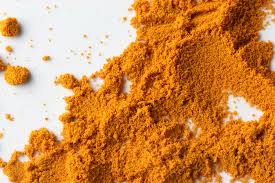
The Simplest, Safest Pesticide On Earth
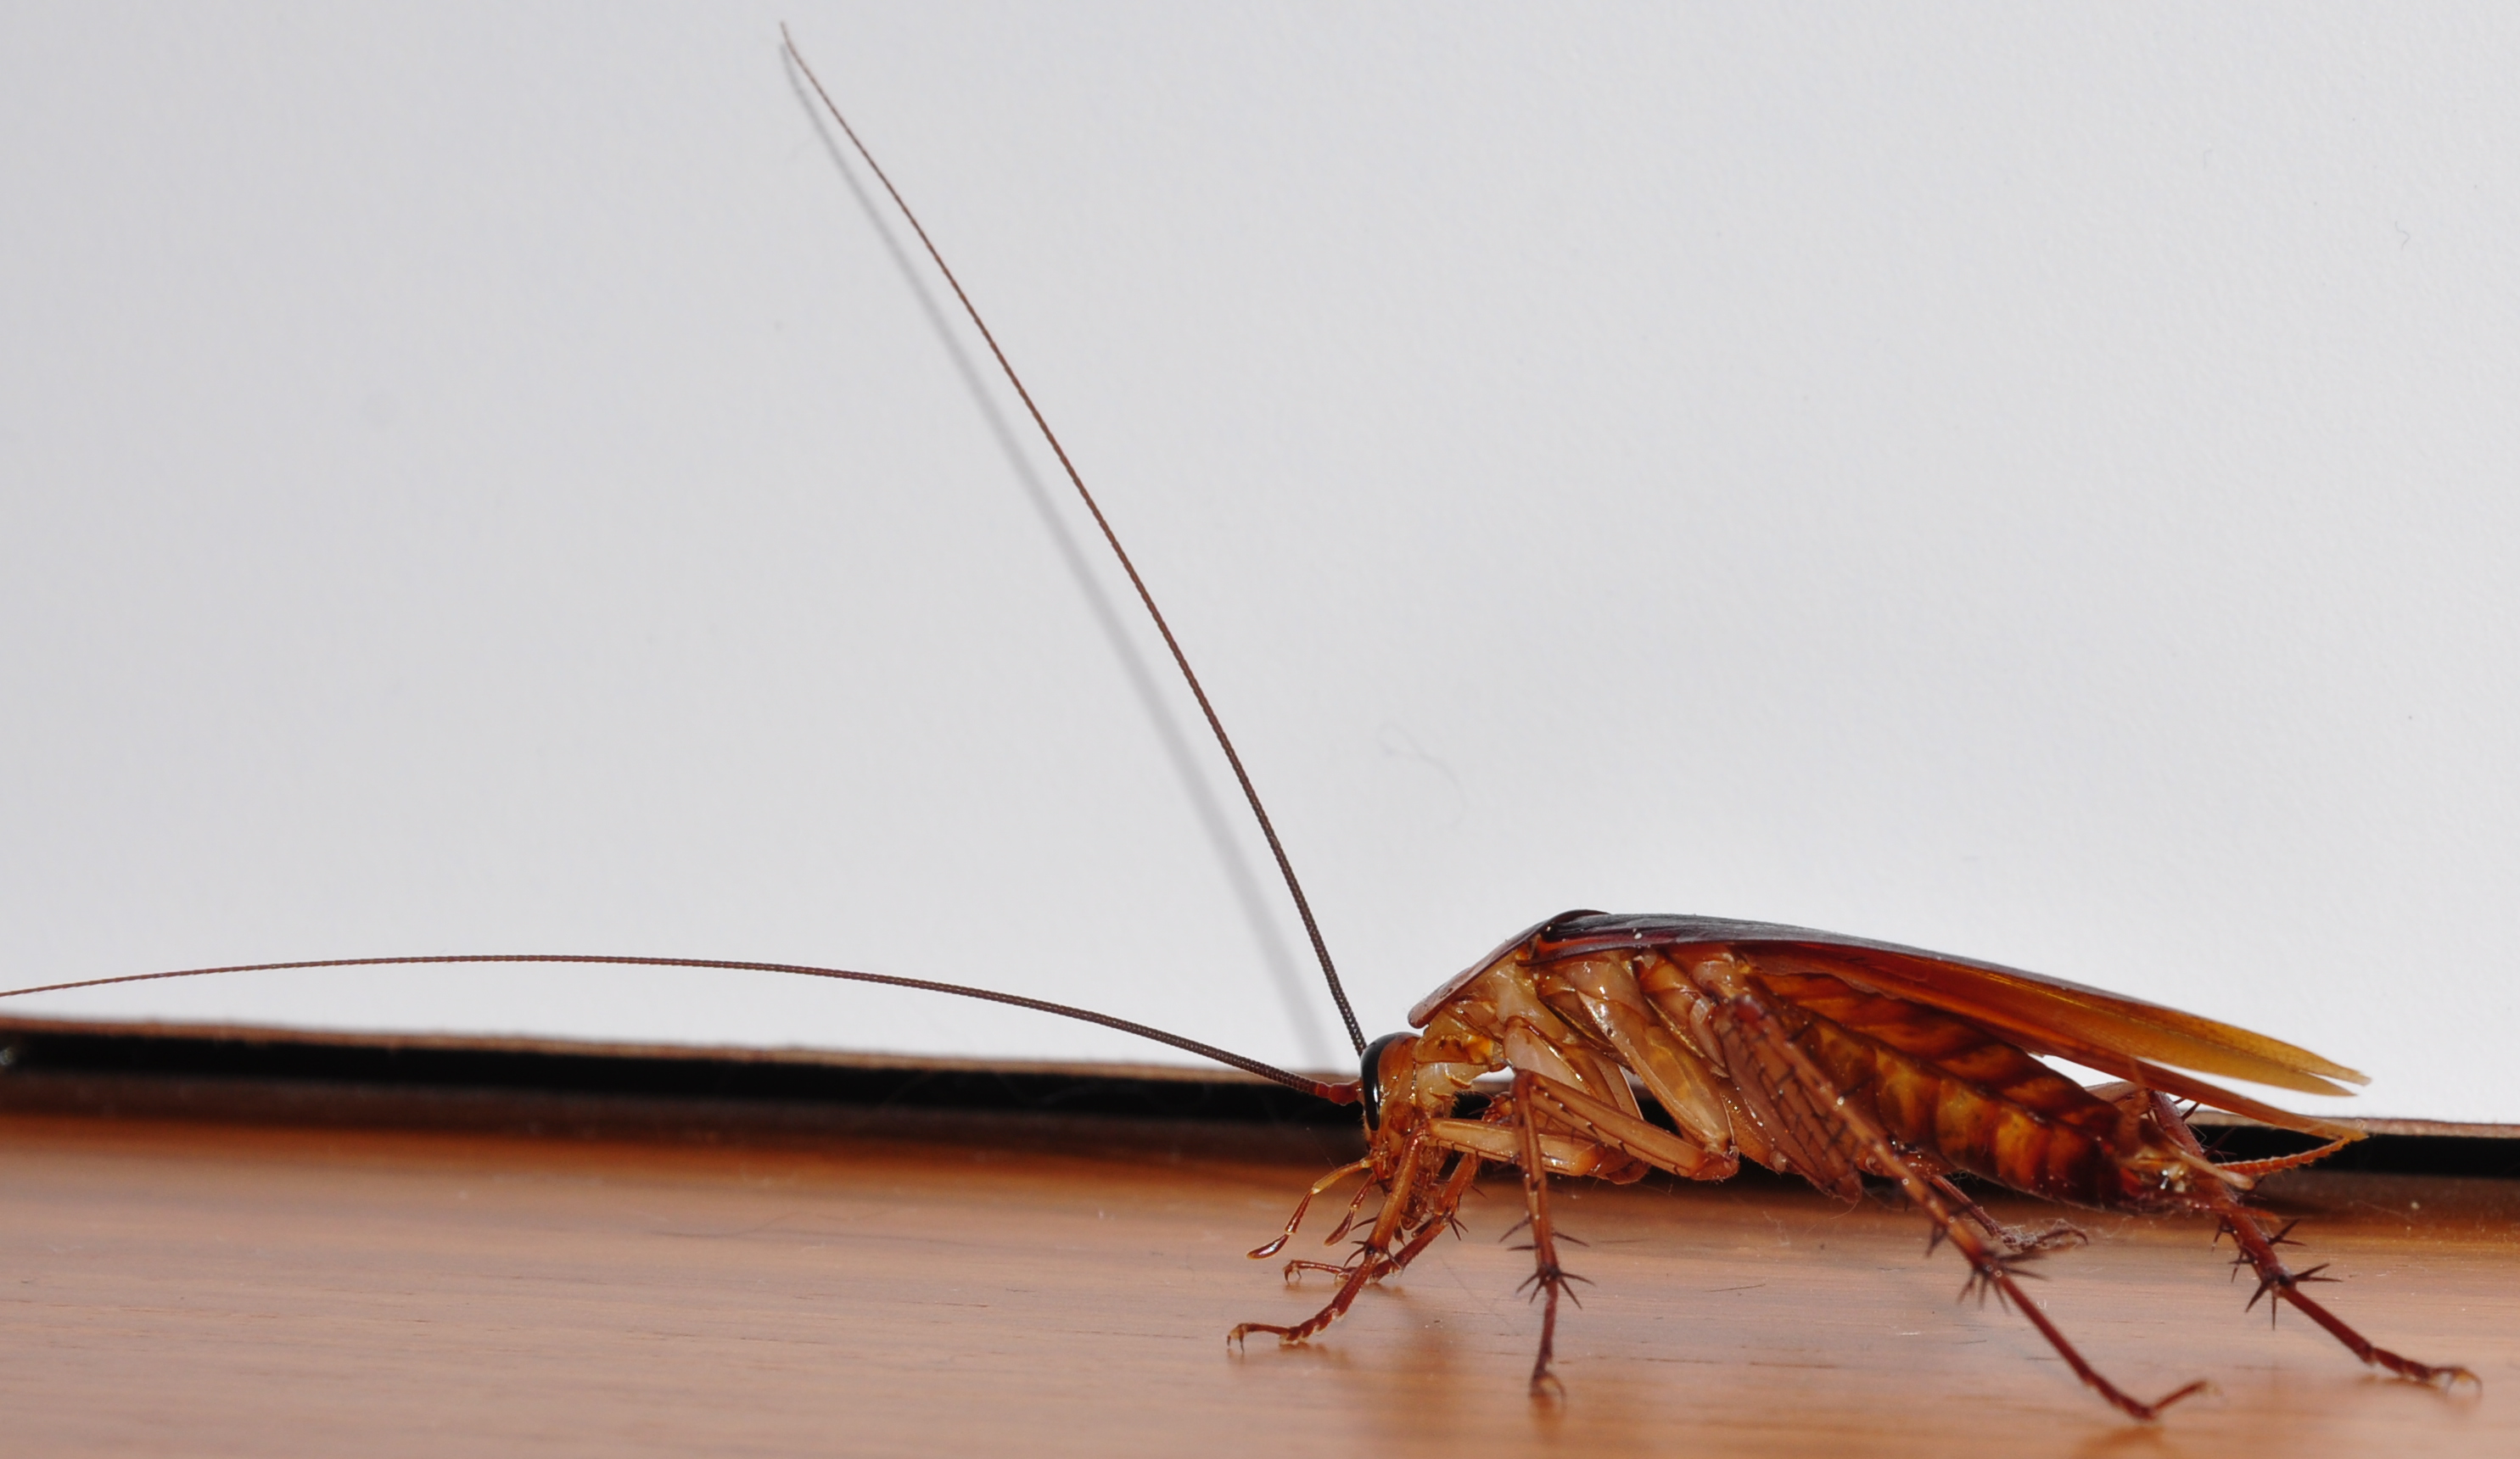
Long before war profiteering corporations began flooding the civilian market with their chemical products, people had been killing insects without blanketing their homes and gardens with carcinogenic and costly poisons. You don’t have to be a chemist to prepare the age-old insecticide either, and you most likely already have what you need in your home. … Read more