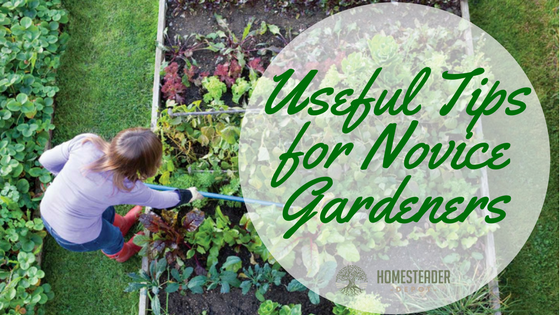
The Reality of Homesteading: What No One Tells You
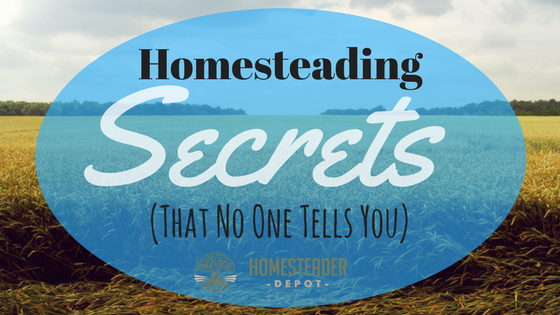
Homesteading is a noble pursuit, and we obviously strongly encourage everyone to try their hand at it! Growing your own food, raising livestock, and living off-grid are a wonderful way to enrich your life, get healthier, and truly embrace self-reliant living. But it’s not all puppies and sunshine! There are some harsh realities of homesteading … Read more