Page 3 of 16
1 2 3 4 5 16
Outdoors – Page 3 – Homesteader Depot

Category: Outdoors

  • 11 Simple Natural Allergy Remedies

    11 Simple Natural Allergy Remedies

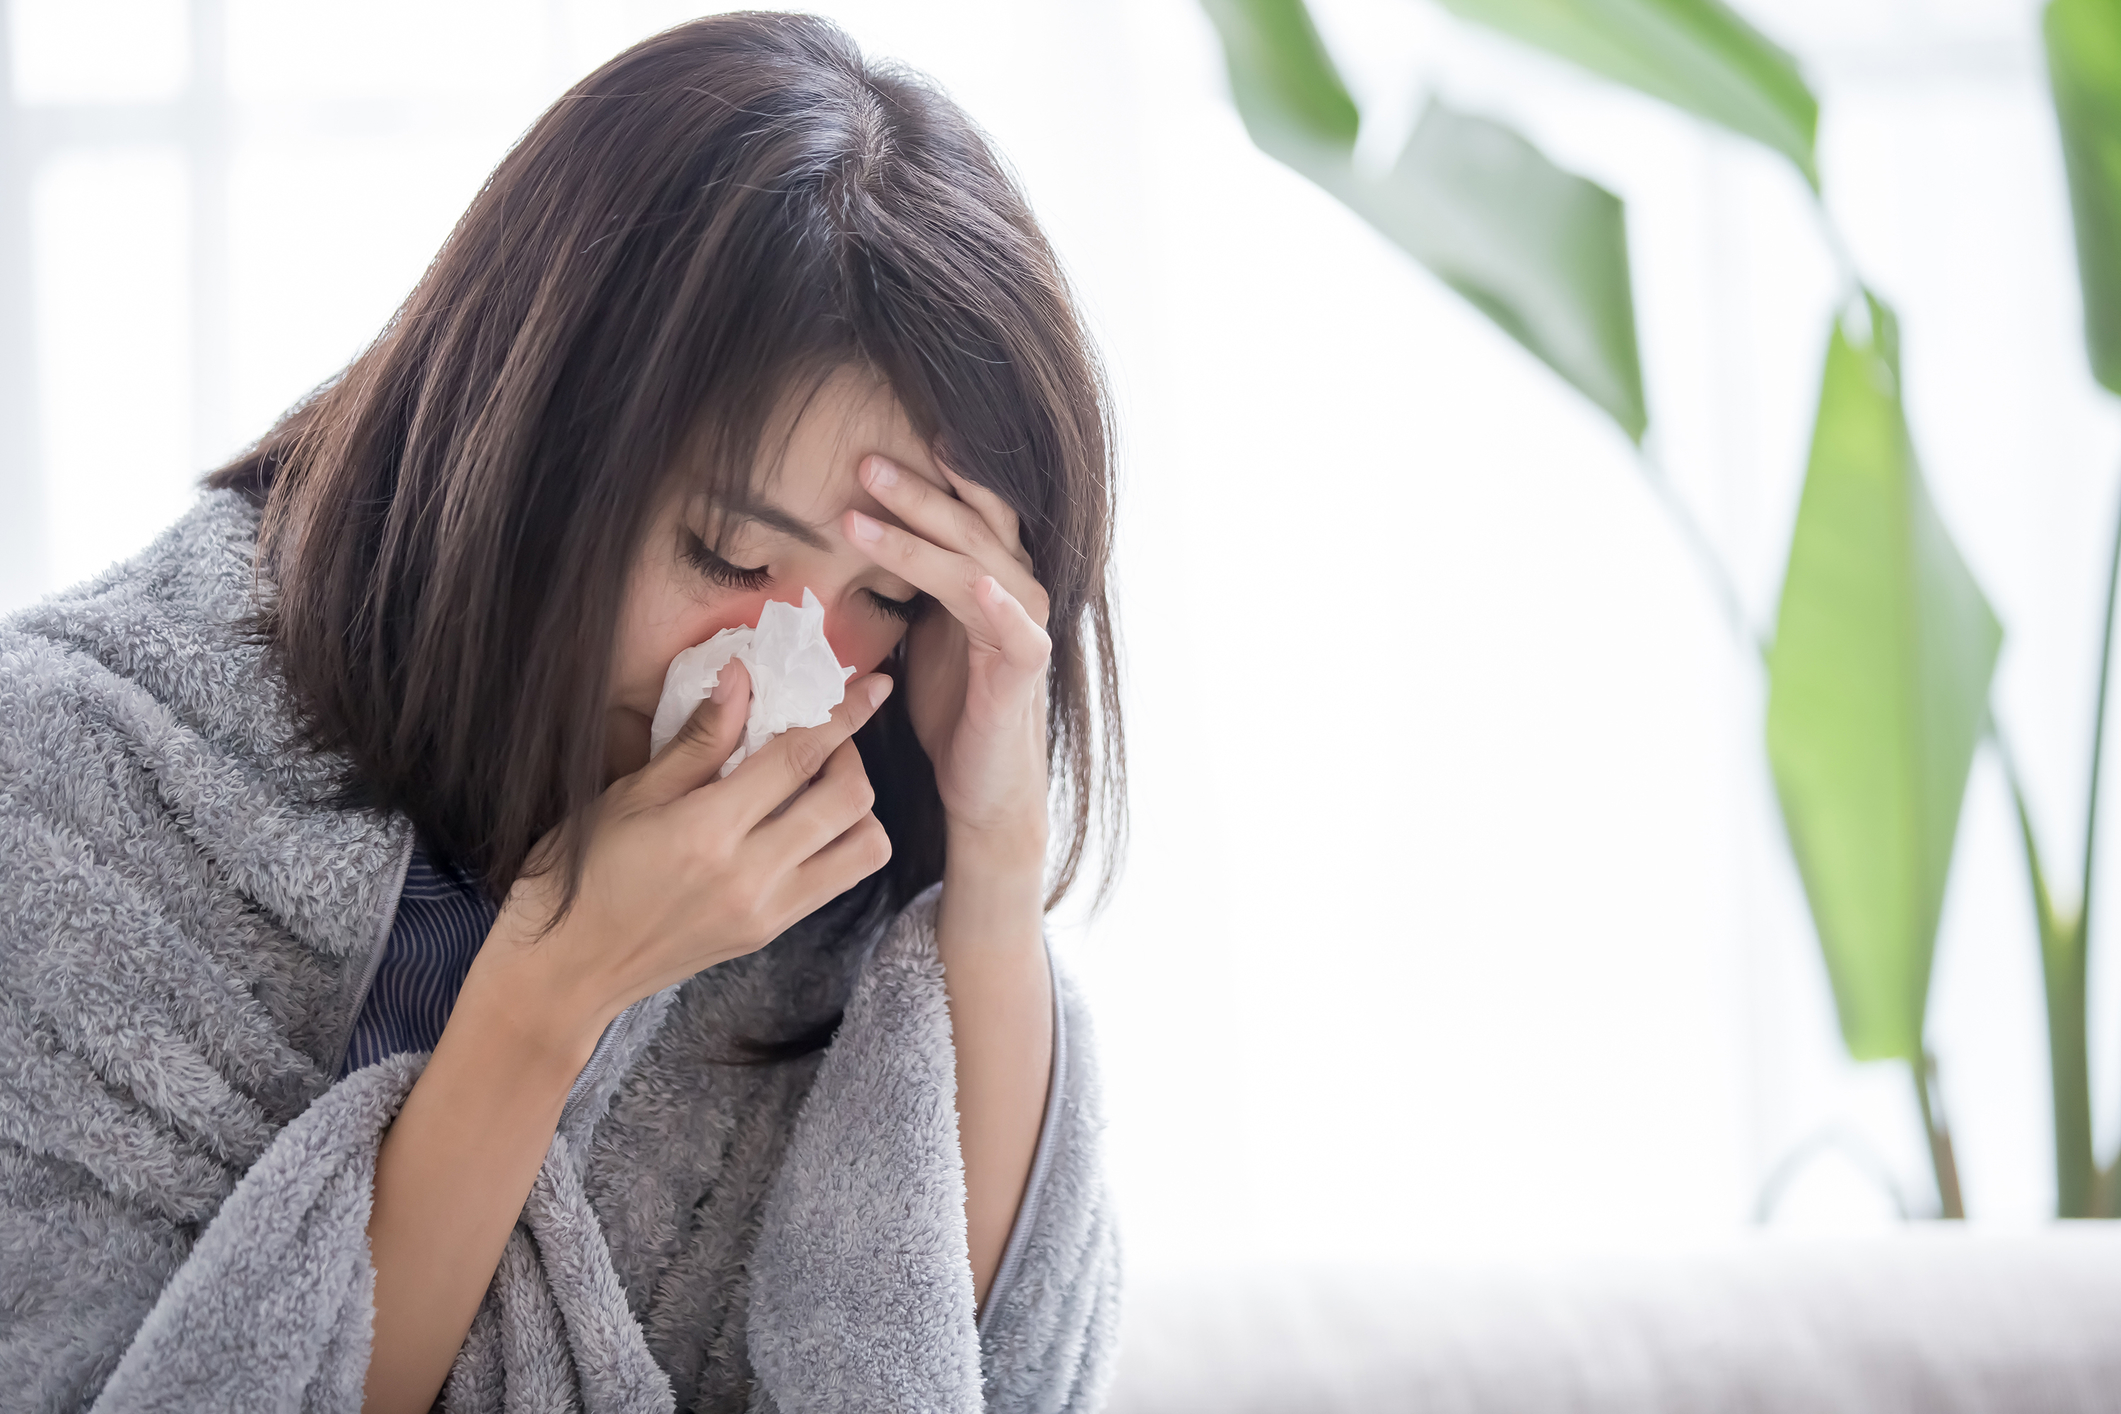
    Are you haunted by your seasonal allergies? Even if your “seasonal” allergies pop up all year ‘round, there are plenty of remedies that you can use. Some of them, like number 11, go beyond the chemical-filled pills and tablets and into the all-natural realm. Yes, you can help keep your allergies at bay without subjecting yourself to chemicals. Here’s how.

    1) Drink Tea

    There are certain types of teas that can alleviate your allergies. They include those that contain a mix of peppermint (which can clear up the sinuses), ginger (likewise), and nettle. However, if your outdoor allergies extend to include nettle, you’ll need to be careful here.

    2) Use a Neti Pot

    Neti pots can really clear out your sinuses. All that you need to do is mix bottled and filtered water (not tap water) with a salt packet. Then, follow the instructions, which usually involve placing the spout in one nostril, allowing all of the mucus to come out of the other one.

    3) Install HEPA Filters In Your Home

    HEPA filters are designed to trap allergens that are in the air system of your home. You can purchase furnace filters with this technology built into them, or use a separate air filtration system. Some vacuums even come with a HEPA filter.

    4) Take Stinging Nettle and Butterburr Supplements

    These two all-natural herbs are great allergy fighters. Stinging nettle can lower the histamine that naturally occurs in your body during an allergic reaction. However, you do need to ensure that you aren’t allergic to it first. Butterbur should only be taken in its processed form, but it does help relieve sinus symptoms.

    5) Eat Some Greek Yogurt

    You’re probably already aware of the fact that Greek yogurt contains probiotics that can help balance your digestive system. However, it also has Lactobacillus casei, which can control your overall reaction to allergens.

    6) Use Essential Oils

    Did you know that breathing in essential oils is a great way to help your allergy symptoms? Some of these essential oils, including basil, eucalyptus, and tea tree, can all stop an allergic reaction in its tracks. You’ll just need to find a way to breathe them in – don’t ingest them.

    7) Clean Your House Regularly

    We’ve already mentioned HEPA filters in your home, including in your vacuum cleaner. However, cleaning your house on a regular basis can really prevent your allergies from flaring up, since it removes any trapped pollen and dust.

    8) Eat Omega-3 Fatty Acid Rich Foods

    You’ve probably heard of omega-3 fatty acids since they are good for your heart health. The foods that contain them, such as salmon and mackerel, also have properties that reduce inflammation and help your lungs function better.

    Throw away your Fish Oil and Use this >>

    9) Eat Food Rich in Vitamin C

    Studies have shown that Vitamin C is actually a natural antihistamine. This means that if you eat fruits that contain this vitamin, you’re helping your system cope with your allergies. You’ll need to increase your intake of berries, oranges, lemons, limes, broccoli, and even kale.

    10) Exercise Indoors Whenever Possible

    It almost goes without saying that if you want to avoid allergic reactions to plants and pollen, then you need to avoid them. If you exercise outdoors, then you’re exposing yourself to everything that you’re allergic to.

    11) Get Acupuncture

    Acupuncture has been around for thousands of years for a very good reason – it helps a number of different conditions, including allergies. All that you need to do is find an acupuncturist near you who knows the right ways to insert the needles in order to relieve your seasonal allergies.

    You may also like “The Lost Book of Remedies”, take a look>>>

  • 5 Great Uses for Cheesecloth in Your Garden

    5 Great Uses for Cheesecloth in Your Garden

    Cheesecloth is a very useful material. While it has its obvious uses in the kitchen, including cheese making and filtering various products, this fabric can also be used in your garden. One of the reasons why you can use it outdoors is the fact that it’s such a natural material that it can be composted. On top of this, you can use it more than once, turning your small investment into something that will stick around for a while. Here are some additional uses for cheesecloth – and all of them take place outdoors in your garden.

    Protect Your Plans

    Your young plants need protection from the elements. This means that they need to be covered, especially when they’re still in the seedling stage. If you don’t have the space to start your seeds indoors and need to place them outside (as long as your climate allows for it, of course), then you can create a small covered “house” for your plants. Leave them in the large planter, place some stakes in the four corners, and then drape your cheesecloth over it. The cheesecloth will protect those seedlings, while still allowing plenty of air, light, and water in.

    Scare Away Pests

    Did you know that you can keep pests out of your garden with cheesecloth? This is another great use for this material. All that you need is a pair of scissors, some small stakes, and a liquid that will keep squirrels, rabbits, raccoons, and more at bay. Ammonia is a great example. You want to use something that won’t harm your plants. Just slice the cheesecloth into strips, dip them in the liquid, and then tie them to the stakes. Plant the stakes near the crops that you want to protect.  Check out: 5 Tricks for Keeping Animals Out of Your Garden

    Create Plant Food from Compost

    Cheesecloth can even help you create plant food from compost. How? All that you need is to grab a scoopful of compost from your bin. Place it in a square of cheesecloth and fold up the corners. Then, tie them closed with a piece of string. It’s like you’re making a tea bag – and that’s exactly what this is. Place your cheesecloth bag, with the compost in it, of course, into a watering can full of water. Let it steep for around half an hour, and then remove the bag. Pour the water, which is now mixed with nutrient-rich plant food, onto your plants. Voila! All-natural fertilizer.  Check out: Benefits of Compost Tea

    Tie Your Plants to Stakes

    If you have plants that waver in the wind, either because they’re too tall to support themselves or too young to stay up properly, you can use strips of cheesecloth to tie them into place. Some plants, especially those with thin, young stems, can droop over, causing damage. Thankfully, tying these plants to a support system, like a series of stakes or even a trellis, can give them the support that they need in order to remain healthy. Just make sure to not tie them to the stakes too tightly, as that can damage them as well.

    Start Your Seeds

    You can make a sprouter for beans or sprouts out of a simple canning jar and a piece of cheesecloth. Soak your bean seeds or sprouts overnight and then place them into the bottom of a canning jar. Take your canning jar and remove the metal lid, leaving behind only the band. Cut a small square of cheesecloth and fit it over the top of the jar, securing it into place with the band. Leave the jar in a sunny area, and keep removing and then adding more water every day, until you see the sprouts emerge.

    Check out this WEIRD fabric that has recently replaced paper towels in Americans kitchens>>>

  • 7 More High Tech Tools and Tricks for Modern Homesteading

    7 More High Tech Tools and Tricks for Modern Homesteading

    Modern homesteaders can take advantage of a number of different high tech tricks and tools in order to make their lives easier. Technology has changed quite a bit since the original homesteaders claimed parcels of land back in the 1800s. Just because you’re trying to recreate that lifestyle, doesn’t mean that you need to utilize their old technology, like pot-bellied coal stoves and outdoor bathrooms. Instead, use these seven tools in order to make your modern homestead run much more smoothly. You’ll be glad that you did!

    1) 3D Printers

    When something breaks, it can be hard to run out and get a part, especially if you’re located hundreds of miles from the latest town or store. For example, if a crucial part of your tractor breaks, you could be stuck without one for quite some time. This is where a 3D printer comes into play. These printers make three-dimensional objects out of sturdy plastic. While the part that they make may not hold up for years, it should do the job well enough to keep the tractor running until a proper replacement can be procured.

    2) Grafting Plants and Other Gardening Techniques

    Did you know that you can graft plants together in order to create a kind of hybrid? For example, if you graft branches of one apple tree to another, you’ll end up with a tree that produces two different types of apples. This is quite a space saver! On top of this, you can also create your own plant hybrids by using cuttings and breeding them together. This is a less expensive option than purchasing new plants and seeds every year, plus you’ll end up with a plant that will thrive on your specific plot of land.

    3) Canners and Dehydrators

    Saving every last bit of the fruits and vegetables that you grow is a crucial part of homesteading. You don’t want to waste anything. Since you’ll inevitably grow more crops than you can eat fresh, you’ll need to rely on canning and dehydrating in order to save them for later. Modern canning devices are very easy to use and heat the jar’s contents to safe levels. Dehydrators are another simple tool that can help you waste less food.

    This guy shows us clear as day how anyone can power (with ZERO cost any) light bulb in their homes.

    4) The Internet

    This one seems obvious since you’re reading this article online. However, you need to keep in mind that the internet is a huge resource for things like recipes, instructions, and more. Everything that you need in order to be a great homesteader is right at your fingertips, through your WiFi connection.

    5) Electric Bikes

    These bikes have a power source, so they move faster than a standard bicycle. They charge themselves as well when you use them to travel from one spot on your land to another. Why do you want an electric bike on your homestead? They are cheaper to maintain, store and insure than a regular vehicle, and they have a smaller environmental footprint.

    6) Drones

    Drones are more than those tools that the military uses in order to shoot at and keep an eye on enemies. You can purchase a non-military drone and use it to watch everything that takes place on your land. This will save you time and energy since you won’t have to walk your land yourself.

    7) Micro-Electric Power

    Harnessing nature to create power for your homestead is always a great idea. You can use these micro-electric generators in order to gather power from a local stream or other water sources. While they won’t be able to generate enough electricity to run your entire home, they can be good for smaller things, like the electric pumps on your well or even the lights in your livestock barn.

  • Urban Homesteading Alternatives

    Urban Homesteading Alternatives

    You don’t need to live on a farm or even in the country in order to be a homesteader. In fact, even people who reside in the suburbs or even the city can homestead in their own ways. Homesteading generally means using the land to provide for yourself and your family in one way or another. You can get a little creative with this and find ways to make it work no matter where you live, even if all that you have is a small apartment. Here are some great suggestions that you can utilize. Build off of them and find ways to make your own urban homestead.

    Set Up a Clothesline

    Yes, drying clothing outdoors is a practice that many homesteaders partake in. A clothesline is easy to set up when you have a yard of any particular size, as well as a fence, post, or even tree to anchor it on. City living makes this a bit trickier, especially if you lack a yard. Thankfully, they sell retractable clotheslines that you place on a balcony. When you’re done, just roll them up. There are also devices called “airers” that are meant to do the same thing, only they stay indoors.

    NEVER Buy Laundry Detergent Again…Try These New Power Laundry Magnets>>>

    Start a Garden

    Gardening is an essential part of homesteading. You need to grow your own food in one way or another. Again, this all comes down to the size of your yard. Even some city dwellers may have enough land for a small garden plot. They just need to use that space wisely. Alternatively, plants can be grown on a porch, a back deck, or even an apartment balcony. If you’re truly landlocked, find a community gardening program in your area and then join it. This way, you can fulfill this general homesteading practice.

    Join a Composting Program

    Composting is tricky when you’re in the city. Compost bins tend to get a bit smelly, which can annoy your neighbors. With that said, there are still programs that you can join, including city-wide ones where they’ll collect your food scraps and use them to create a large batch of compost. Of course, not all cities do this, and if yours doesn’t, why not convince them to start one? Sometimes you have to take homesteading into your own hands.

    Does CBD REALLY Live Up to the Hype? Learn More Here>>>

    Raise Some Animals

    Obviously, your animal choices are limited based on your location. Some cities allow people to keep chickens in their backyards, while others have strict laws against this practice. If you’re lucky enough to live in an urban location that allows chickens, then, by all means, build or purchase a coop and buy a few chickens to raise. You’ll get plenty of fresh eggs and will learn quite a bit from the chickens themselves, as these animals all have very interesting personalities. However, if you’re in an apartment, you obviously can’t have a chicken coop. You’re limited to cats and dogs, depending on the rules in your lease. While you can’t obtain food from them like your chickens, you still receive many of the mental benefits of raising a pet. This is a good thing.

    As you can see, there are a number of things that you can do in order to be an urban homesteader. You just need to get a little creative and find ways around the problem. For example, if you live in an apartment, you can start a container garden and have a cat or two. If your city lot is large enough for a garden, then feel free to start one. There are so many options available to you if you know where to look for them.

  • 7 High Tech Tools and Tricks for Modern Homesteading

    7 High Tech Tools and Tricks for Modern Homesteading

    Homesteading is the basic art of living off of the land. Homesteaders get their inspiration from the settlers who moved out west during the 1800s. They had to do things themselves because there were no cities, town, or even villages yet. Everything had to be transported out there by the homesteaders, from the livestock that they raised to the plant seeds that they used to grow food. Thankfully, some things have changed over the centuries, and modern homesteaders are no longer limited by the constraints of the past. There are plenty of high tech tools that they can take advantage of. Here are seven of them

    1) Rain Barrels

    Water is very important. Every homesteader needs access to plenty of uncontaminated water for a number of different purposes. Rain barrels are one great tool that can help. While the wells on a homesteader’s land can produce drinking water, what about the plants? Rather than waste drinking water on them, set up some rain barrels and collect the water as it falls from the sky. Place rain barrels around your house, near your gutters, so that the water flows into them during a storm. This is a great way to collect water for various non-consumption purposes.

    Related Article: DIY Rain Barrel System

    2) Install Solar Panels

    If you want to live off of the grid as much as possible, then you’ll need to take advantage of alternative ways to produce electricity. Solar panels are just one of the many options. These panels are placed on your house and they collect and store energy produced by the sun. The system connected to them switches the current from direct to alternating, and then it flows into your home’s electric panel where it powers everything within it.

    Related Article: Solar Energy Options for Homesteaders

    3) Wind Turbines

    Speaking of alternative ways to produce electricity, wind turbines are a great option. The only issue is that you need to live in an area that has enough wind for them to work properly. Otherwise, you’ll have spent a lot of money on wind turbines that don’t do what you want them to. The best thing to do here is to have a company come out to check to see if your homestead is a good candidate. If it is, then you’ll be able to save even more money in the long run by taking advantage of alternative energy producing methods.

    NEVER BUY NEW BATTERIES AGAIN…DO THIS>>>

    4) Cell Phones

    Your cell phone is a very useful high tech tool that can help you quite a bit on your homestead. For example, you can set up a security system and monitor it from your phone. If your livestock manages to get out, an alert will sound on your smartphone, and you’ll know right away that you need to get your cattle or pigs back into the pen.

    5) Solar Ovens

    We’ve already discussed solar panels in general, but what about solar ovens? These ovens sit outdoors and aren’t connected to your electrical system at all. Instead, they receive their power from the sun, thanks to their built-in solar panels. If you really want to cook off the grid, then this a very useful option. You’ll find that they work just as well as standard ovens.

    6) Aquatic Livestock

    This is one thing that many homesteaders don’t think about. Aquatic livestock, like fish that are essentially raised in tanks on a farm, plays a crucial role in an aquaponic system. They purify the water that standard livestock drink, and so on. The entire plan here is symbiosis.

    Suggested: DIY Aquaponics… “Break-through Organic Garden Secret”

    7) Yurts and Instant Homes

    If you truly want to create a homestead in a quick manner, then consider purchasing an “instant home.” These homes are compact and easy to set up, as they contain everything that you need, except for furniture. You can even make an instant home out of an old shipping container if you’re feeling particularly creative.

    PORTABLE SOLAR ENERGY SYSTEM (SUPER EASY SETUP)>>>

  • 7 Viable Solutions for off Grid Water Systems

    7 Viable Solutions for off Grid Water Systems

    Off-grid water systems tend to come with a few headaches. Yes, you have the option of not needing to pay for (or pay as much for, depending on your location) for city water. You also have more control over what the water contains. This last point is important to people who are concerned about added chemicals in their water. However, in order for your off-grid system to be successful, you need to find a few solutions. Seven good ones are listed here.

    1) Reclaim Your Rain

    Rain barrels are a very popular option. You just need the barrels, a good place to put them (usually around the perimeter of your house) and way to keep major contaminants out of the water. For example, what would happen if an animal were to fall in? While many of the people who collect and use rainwater give it to their livestock and other animals, you could drink it, as long as you filter it and treat it first, just to be on the safe side.

    DIY Rain Barrel System (Never Waste Water Again) Read Now >>

    2) Install a Back-up Hand Pump

    Although many wells these days have electric pumps installed, what happens when the power goes down or that pump breaks? You could be stuck without water for days. This is a very bad thing, especially if you don’t have any stored water that you can use for things like drinking, brushing your teeth, and cooking. This is where a backup hand pump comes into play. These pumps are just like the ones that you remember, although they might have a few modern touches, such as the fact that they’re easier to use. Having one installed on your well might literally save your life.

    3) Store Water in Jugs

    If you’re worried about water shortages and have access to city water, then feel free to store some. You don’t need fancy (and expensive) pre-filled water bottles when you have empty plastic jugs. Fill those jugs up with water from your tap, add in some purifying tablets (if this is something that worries you), and then find a cool, dry place to store them. In addition to this, you could always fill a bathtub with water in a pinch, as well as any bowls that you have lying around. While neither of those will last for long, they are valid options.

    4) Use Solar Power

    We already mentioned just how useful a hand pump could be, but a solar-powered pump is another great option. These pumps will definitely keep working when the grid goes down, and they’ll work just like the electrical pumps, as they supply some power to them. This is slightly more expensive than a hand pump, but sometimes you need to have a solid back up option in place.

    Solar Industry Secrets with Dan (You Need To Watch This) >>>

    5) Dig a Well

    Many of the options discussed here are for wells, so it seems necessary to mention that you can always have a well dug unless you’re in the city. If you are worried about not having enough water in case of an emergency, then hire a professional company and have them dig a second well on your property.

    6) Choose Wind Power

    If you live in a windy area and don’t want to go with solar power, then wind power is a very valid option. These setups cost around the same amount as the solar powered ones, and you’re left with a great back up should something go wrong with the power grid.

    7) Fill a Tank with Water

    Although this is not the cheapest option, since you’ll have to fill a tank with water, bury it properly, and then find a method of accessing it, it will provide you with water in a pinch.

  • Why Do You Need a Greenhouse and Things to Look for

    Why Do You Need a Greenhouse and Things to Look for

    Many avid gardeners have considered putting a greenhouse in their yards. There’s just something about having the ability to grow tropical and warm-weather loving plants year-round that really appeals to them. If you’re one of these people, then you need to read this primer about greenhouses. It contains just about everything that you need to know about them.

    What Is A Greenhouse?

    Let’s start by defining exactly what a greenhouse is. These are structures of various sizes that have clear walls and roofs. Some of the fancier greenhouses have glass walls, although you can use clear, plastic polycarbonate sheeting as well. A greenhouse is designed to provide a respite from the outdoor weather. It’s warm year-round so that plants easily grow inside of them. The clear walls let in plenty of sunlight, although the greenhouse might be built with an electrical system and some grow lights as well. This really allows the owner to control the overall temperature indoors. Some have a hydration system built-in as well, but it really is easy to use a hose, if you want a simple do-it-yourself greenhouse that your custom made on your own.

    Greenhouse Sizes

    One of the best things about greenhouses is that they come in various sizes. This means that you really can have one that fits your yard perfectly. You aren’t limited to the large commercial sized ones. Some come as small as a basic coat closet and hold seedlings. They work well if all that you want to do is plant seeds and allow them to grow slightly before the soil warms up in the spring. If you want something that can handle multiple plants and allow them to grow year-round, then you’ll want one that’s larger than that. Again, it all depends on the plants your overall vision for your greenhouse.

    Click here for some other projects you can build TODAY>>>

    Pick a Good Location

    Location matters, even with greenhouses. Yours should be located in an area of your yard that receives plenty of sunlight. Otherwise, your plants won’t grow properly – even if you have a grow light installed inside. You never want to have your greenhouse placed in a shady area of your yard. In addition to this, you need to run electric lines to it and possibly even water lines. If you can, place your greenhouse within ten to twenty feet of your own house, in order to make these things easier to install.

    What about Amenities?

    You need to think about your greenhouse as if it’s actually a house. By this, we mean that you need to consider which amenities you want it to have. Your two main options include lighting that will give your plants a boost and promote growth, even when the weather isn’t very sunny outside and a filtration system that waters the plants. Yes, you could use a portable grow light and a hose, but you also have the option of running electric lines and setting up an irrigation system. It all depends on your budget and just what you want to use the greenhouse for. There’s nothing wrong with installing a simple one that lacks these amenities.

    Building Your Greenhouse

    Just like with the amenities, you have two options to choose from here. You can either build your greenhouse yourself, which includes developing plans and literally making it from scratch or purchasing a commercial greenhouse. This latter option might involve having the greenhouse trucked to your yard and installed, or having a kit arrive in the mail that you need to build yourself. Either way, you end up with the perfect greenhouse for your needs.

    Ted is offering over 16,000, step by step, woodworking plans…check them out here>>>

  • Protecting Your Plants from Frost and Freeze

    Protecting Your Plants from Frost and Freeze

    Cold temperatures are not good for the plants in your garden. Many of them need air temperatures that are above 32 degrees Fahrenheit in order to survive unprotected. While others, such as pine trees and evergreen bushes, might be fine, you’ll have to take some steps to ensure that everything else in your garden (except for your annuals, of course) will survive the winter.

    Types of Plants

    The first step involves determining which types of plants that you have. This way, you’ll know whether you need to protect them or just let them go. For example, if you have annuals, then they won’t survive the winter. These plants will last for one growing season. Many of them will leave some seeds behind at the end of their life cycles, so they might reappear next year. It all depends on the plant. There are also tropical plants. While many of them will grow in a number of different climates as long as the weather is hot and humid, they won’t last through the first frost. The cold weather is more than they can bear, so they’ll die.

    In addition to this, there are perennials. There are two main types of them: root-hardy perennials and full hardy perennials. The first type of these plants has leaves and branches that seem to die in the winter, although their roots are still good. The roots will enter a dormant state and won’t come out of it until the temperatures improve. The other type of perennials – the full hardy ones – go dormant as well. Trees, various plants, and even some types of shrubs fall into this category. These plants will also stay dormant until the weather warms up, although they’ll spring back to life much more quickly.

    How to Stockpile for Free: By Growing Your Own Groceries>>>

    Protecting Your Plants

    Now that you understand the plants that are in your garden, the next step involves protecting them from the cold temperatures. It all starts with keeping an eye on the weather. As soon as fall hits and the mercury in your thermometer starts to slide downwards, you should move as many of your warm weather-loving and tropical plants indoors as you can. This means that plants like geraniums and petunias should be moved inside. It helps if you already have them housed in small pots in your yard. You’ll also need to dig up any bulbs that won’t survive the winter. For example, dahlia bulbs need to be kept warm and then replanted in the spring.

    Next, you need to take the necessary steps to protect the perennials that you can’t move into your home. The night before the first cold snap, give them plenty of water. You want to really soak the ground, as this gives their roots something to insulate them from the cold. Once this is done, get some old bedsheets and wrap them around the roots of the plants. Burlap works just as well. (Just make sure to never use plastic.) This will provide some additional insulation for the roots of the plants. You want to remove them as soon as the temperatures rise above freezing.

    Ideally, all of your plants will survive the freezing temperatures that are a major part of winter. However, you need to be prepared to replace some that won’t make it. Sometimes things are out of your control. In addition, if you purchase plants for your garden that are designed for your climate, then you’ll have fewer issues. These plants can either survive the frost and freezing weather, or their seeds will. Either way, you’ll have fewer headaches in the spring when you take a look at your garden.

    [Food Stockpile] Another “food system”? It’s better than a food system, it’s a complete food strategy>>>