Page 5 of 16
1 3 4 5 6 7 16
Outdoors – Page 5 – Homesteader Depot

Category: Outdoors

  • No Waste Chicken Feeder

    No Waste Chicken Feeder

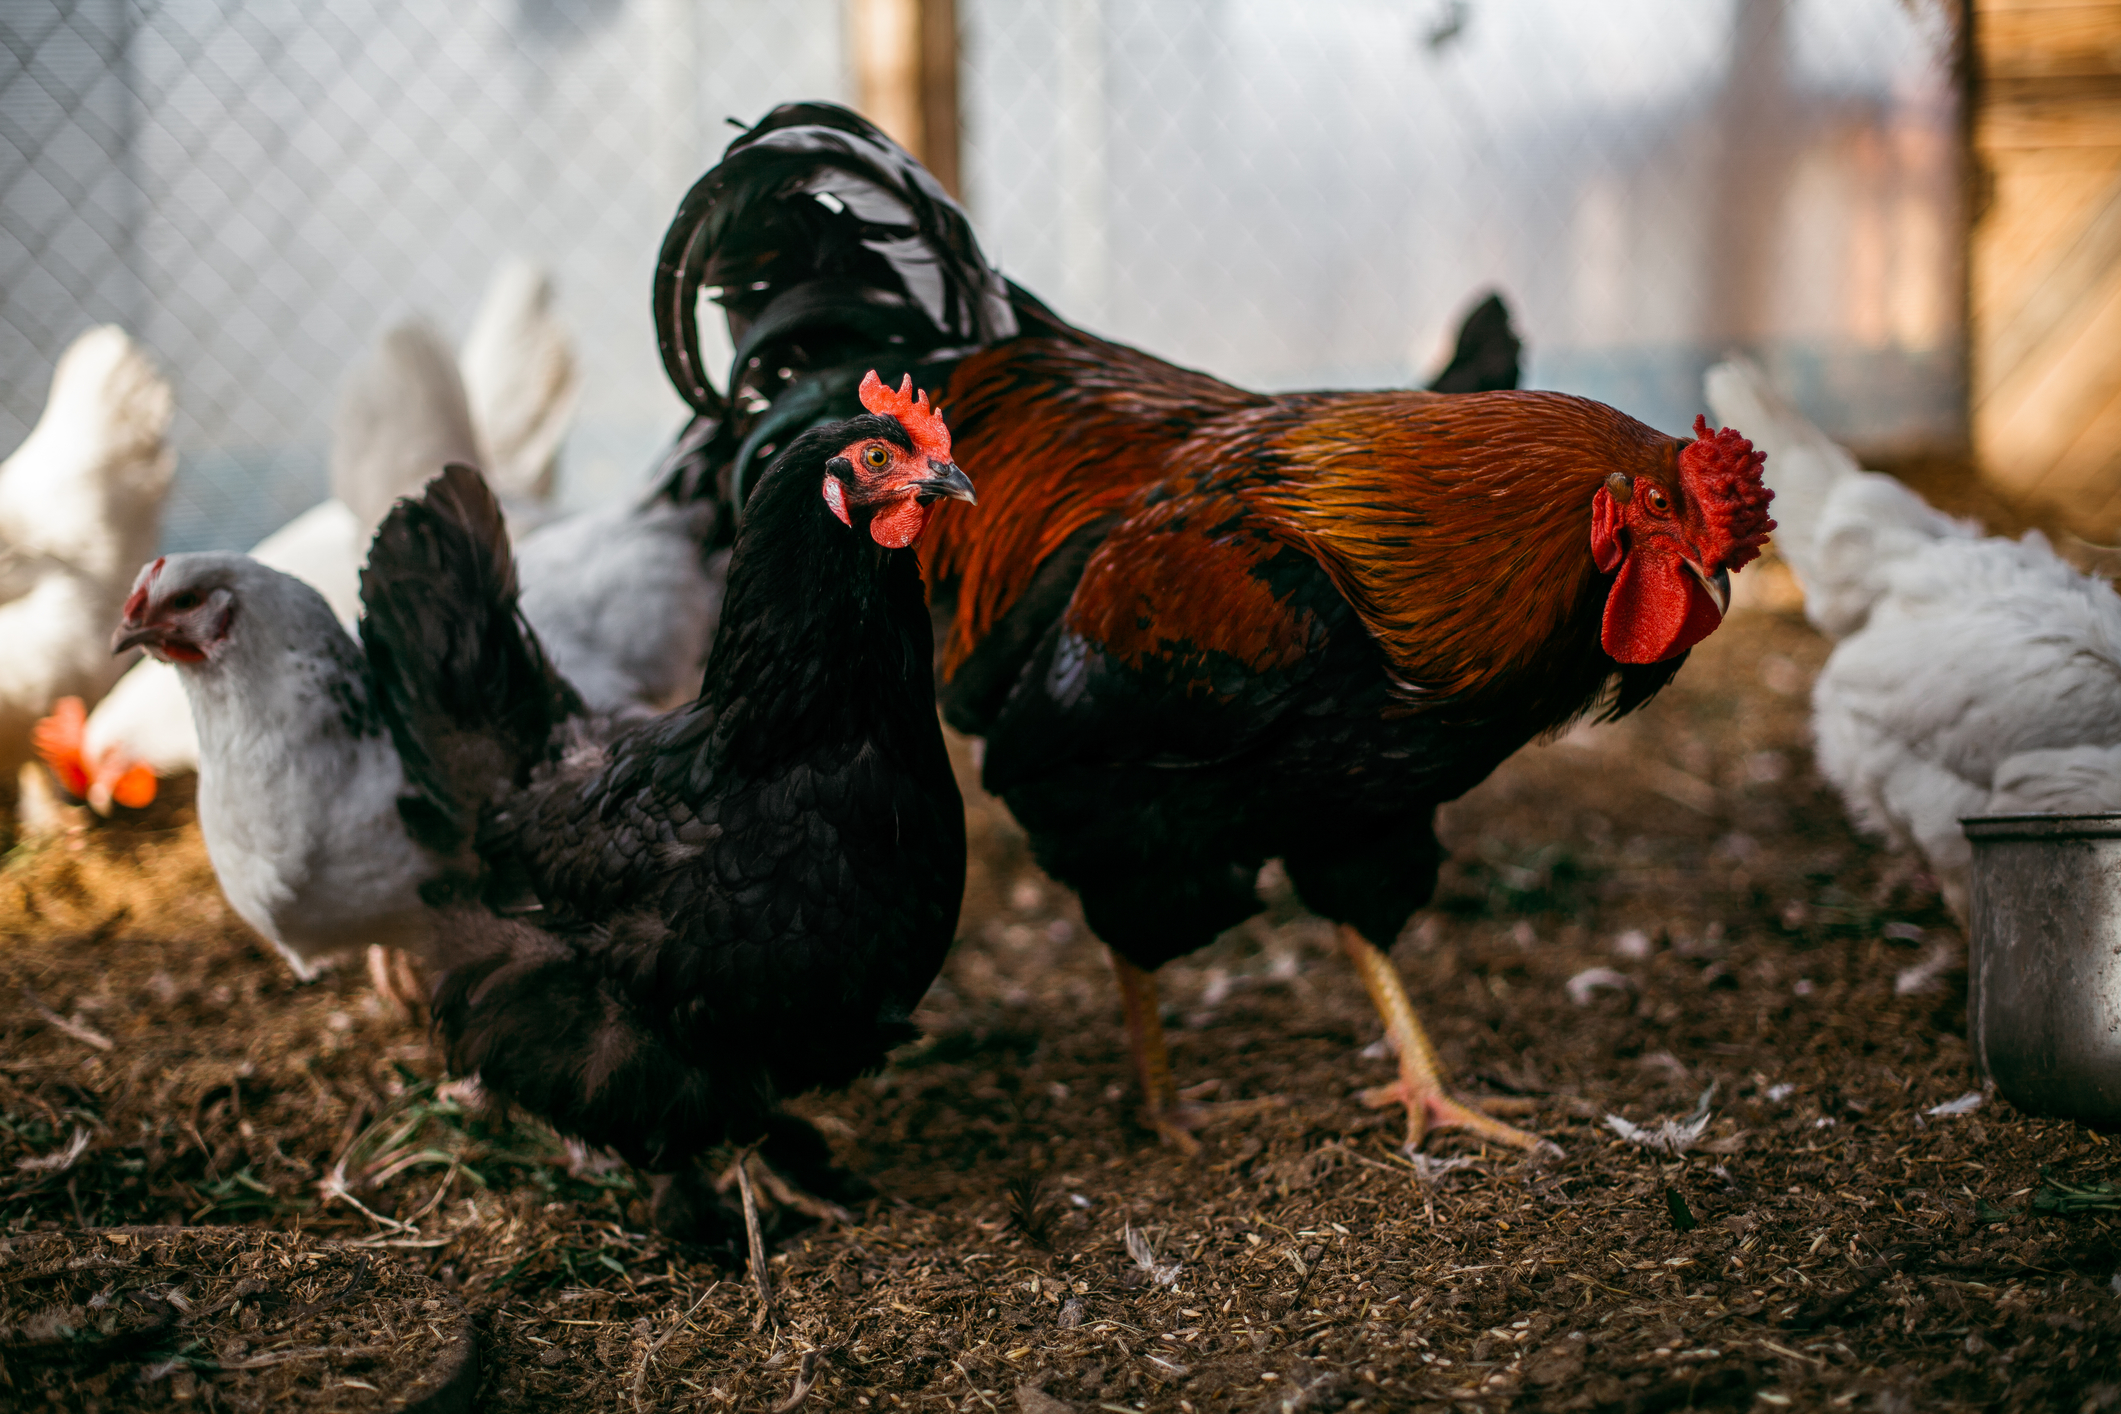
    Chickens can be messy and needy. They throw their food all over the place and then squawk at you until you give them more. This is no reason not to place a chicken coop in your backyard though. They do give you plenty of eggs and some meat. And chickens can make interesting companions, even though they aren’t quite as cuddly as cats and dogs – as long as you keep them happy, that is. The best way to do this is with a no-waste chicken feeder.

    Why Do You Need A No Waste Chicken Feeder?

    We’ve already mentioned the fact that chickens are messy. No matter how hard you try to keep their food contained, they toss it all over the yard. Even if you place a metal pan under their trough, they’ll still find a way to make a mess. It’s just how they are – until you give them a no waste feeder. This feeder is designed to keep the chicken feed in one place, right where it belongs. You won’t be woken up by hungry chickens in the morning, as they’ll always have enough to eat right under their beaks.

    The Supplies That You Need

    Gathering your supplies is the first step to making one of these feeders. You’ll need some PVC piping, both straight sections (which should be the same length) and an elbow piece, as well as two caps. You’ll also need a Mason jar lid and seal. Since the pipes will fit together, you don’t really need to adhere to them, but you could if you wanted to. It’s all up to you. It should hold together just fine by itself. You’ll also need a small saw in order to cut a hole in the bottom pipe so that the chickens can get to their feed. Otherwise, you’ll just have some random pipes stuck together with chicken feed in them.

    Putting the Feeder Together

    Building the feeder is easy. Start by slicing into the piece of pipe that’s going to be on the bottom. This is the trough. You’ll need to make it big enough for the chickens to get into, but not so big that they can make a huge mess all over again. A horizontal piece that’s roughly two inches wide by around 10 inches long will work nicely. However, this is up to you.

    Once you have the feeding hole cut into the pipe, place one of the caps at the end. This will be the piece of the feeder that sits parallel to the ground. Connect the elbow piece of pipe to the other end. Put the Mason jar lid and seal inside of the pipe at the place where the elbow meets the bottom pipe. The lid and seal will keep the feed from flowing down uncontrollably, making a mess.

    Next, attach the other long, straight piece of pipe to the other end of the elbow joint. It will stick straight up vertically. This is the end that you’ll be pouring the feed into. Place the other cap on the end of this piece of pipe in order to prevent water and other things from getting into the feed. You can remove it when you need to add more.

    Feeding the Chickens

    Prop the no waste chicken feeder up against the side of the chicken coop or the fenced-in area. If you want to tie it in place, feel free to do so. Pour some feed into the top pipe and then remove the Mason jar lid so that it flows into the other part of the feeder. Your chickens will always have plenty of food this way.

    See an example from our buddy at Green Power Farm.

    https://youtu.be/IapmzdzGFaw

  • 7 Tips to Grow the Perfect Tomatoes

    7 Tips to Grow the Perfect Tomatoes


    Tomatoes are tricky fruits to grow. Some years you end up with the perfect amount of ripe, round, bright red tomatoes without having to tend to your plants. It’s as if they grew by magic. Other seasons you end up with finicky plants that need a lot of TLC, and you still end up with one or two fruits – not the dozens of seasons past. It’s easy to blame this on the environment or weather, or even on the efficacy of the plants themselves. After all, you just didn’t have good plants this year, right? It’s even easier to follow these useful tomato plant tips. They’ll ensure that you have a good harvest every year, no matter what.


    Water the Plants Deeply

    Tomato plants need to have their roots watered. This means that it’s not enough to just sprinkle some water on the whole plant and hope for the best. You need to avoid getting those leaves and stems wet and aim straight for the roots. If you can, get a soaker hose and use it. The deeper you can get the water, the better your plants will grow.


    Plant Them Deeply As Well

    With most plants, it’s enough that the root ball ends up getting covered in soil. For tomatoes, that’s just not enough. Place them deep into the ground to the point of covering the lower half of the stem and the first row of leaves. These sections of the plant will sprout roots, making the entire plant much stronger.


    Make Sure They Get Plenty of Sun

    Tomato plants love sunlight. They’ll soak up as much of it as they can. Unlike other plants that can tolerate shade or partial sun, tomatoes need full sun. Find a very bright space in your garden and plant them there. They’ll thank you by producing more fruit.

    Add Some Calcium to Your Soil

    Did you know that you can change the chemical composition of your soil by adding eggshells? Crushed up eggshells are great for adding calcium to the soil in your garden. This can prevent one of the more common tomato plant diseases – blossom end rot. You don’t need to add a lot of eggshells, just the remnants of a few eggs, but the results will be worth it. Dig a small hole near the plants and place the eggshells in it, then cover it up. (Feel free to add some compost in there at the same time.)


    Support Them As They Grow

    We’re referring to literal supports here. Your tomato plants will need to grow onto something, such as a tomato cage or trellis. You can also use livestock panels, make your own cage out of old piping, or come up with any other creative method. All that matters is that the plants are left to droop over.


    Prune Your Plants

    As your tomato plants grow, they’ll produce suckers. These suckers will (literally) suck the life out of your plant. Take the time to clip them off as they pop up. Your plant will grow stronger and healthier without them. You’ll also end up with more tomatoes.


    Place Mulch around Your Plants

    Mulch is pretty much a miracle substance. No matter which type you choose, this all-natural covering will keep your soil moist while preventing weeds from taking root. All of your plants will be much healthier. Mulch can even keep your ground temperature regulated. Certain types will soak up sunlight before the ground is heated or act as insulation should the temperatures cool off. It really does help everything in your garden grow.

    Discover How This “Magical” Towel Cleans With Only Water, Replaces Expensive Paper Towels and Toxic Cleaners, and Can Help You Save Hundreds Of Dollars Per Year While Saving Our Environment>>>

  • Plastic Sheeting Gardening Hack

    Plastic Sheeting Gardening Hack


    Many gardeners count down the days until the winter ends because they’re just dying (not literally, of course) to get their crops in the ground. Rather than wait until the earth warms up and the last frost is far from over, start your season early by using plastic sheeting in to create a greenhouse-like effect. Plus, if you leave the sheeting up once the weather than changed for the better, you’ll have fewer weeds to deal with. Your garden will be magnificent thanks to this quick and easy garden hack.


    It All Starts in the Autumn

    Once you harvest your crops in the fall, you can start getting things in place for your plastic sheet garden. Clear out your garden, removing the remnants of your crops. Only the soil should be left. Turn it over very well in order to remove any lingering roots or bits of plants. Get out your tiller if you need to. Then, set up your soil for next spring. This involves making seedbeds, also known as soil ridges. These ridges should be one foot wide by around six inches high. They need to run to the east and west in your yard, parallel to each other. You can arrange them so that they’re as close together or as far apart as necessary. This is up to you.


    After The Last Frost (Ideally)

    Depending on where you live in the country, these next steps should be completed after the last frost or after what you perceive to be the last frost. (Sometimes the weather can be weird.) Purchase a roll of transparent plastic sheeting. Find one that’s 4-mil, and large enough to cover your desired area. You need it to be able to cover your entire planting area. Lay it directly on top of those soil ridges that you made in the fall. Don’t forget to anchor it down on the edges with wooden boards, stakes, or bricks. You don’t want it to fly away in a windstorm.


    Wait Until the Soil Is Warm

    Rather than waiting for the soil to warm up naturally (that is, without plastic sheeting) to plant your crops, you just have to wait until the plastic has done its job. It shouldn’t take more than a few days for the earth to warm up under the plastic. Once it has, you can start planting your crops in between the ridges. Peel back the sheet and place your seeds in the ground, following the usual planting instructions as far as how deep and how far apart to plant them. Then, place the plastic back on top of them. At this point, you may want to use wooden stakes instead of boards and bricks, as they’ll allow the plastic to move slightly as the plants grow.


    Why the Ridges Are Important

    The soil ridges are designed to hold up the plastic, giving the plants some space to grow. They also control the moisture content of the soil and trap sunlight, making the area under the plastic quite warm. It creates a greenhouse effect. This is why you can start planting much earlier than usual.


    The Rest of the Process

    As your plants begin to grow, you’ll need to check on the moisture content of the soil. If it seems like things are too damp under there, peel back the plastic for a while and let everything dry out a little. Replace the plastic once the moisture levels have gone down. Once the traditional spring-like weather has officially returned to your area, or the plants have grown too big to remain contained under the plastic, roll up the sheet and let mother nature do the rest.

    How and Why would you bury a shipping container in your backyard?  Find out the secret here>>>

  • 5 Critical Tips for Proper Pet Care

    5 Critical Tips for Proper Pet Care


    Pets are awesome. There’s no other way to say it. As long as you care for them properly, they’ll show you nothing but love. This doesn’t mean that you need to spoil your pets, showering them with food, treats, and toys. Yes, you can do that, but your pets will appreciate you much more if you care for them in these five ways.


    1) Spend Some Time Exercising With Your Pets

    Your pets want to spend as much time with you as possible. This involves playing and exercising with them. Depending on the type of pet that you have, for example, a dog, you can take yours to the park and play fetch or even go jogging. Your dogs will appreciate going for walks, playing fetch, and burning off any extra energy. You’ll feel healthier as well since you get to exercise along with them. If your pets are of the indoor variety, then use toys that they enjoy. Your cats will get a kick out chasing a laser light on the floor or batting at some yarn. This is good for your pet’s mental and physical health.


    2) Feed Your Pets Properly

    You probably already know that your pet needs to be fed daily. The real question is: are you feeding him or her the right foods and in the correct amounts? If you aren’t sure which types of pet food are the best, ask your veterinarian or the employees at your local pet store for recommendations. Depending on the breed of your animal, one type of food may be much better than another. You also need to take your pet’s weight, age, and activity levels into consideration when determining how much and how often to feed him or her. You can look at the back of the pet food bag for guidelines or ask your vet.


    What Is The All-Natural Enzymatic Stain & Odour Eliminator?

    Instead of masking odors with chemical fragrances, the enzyme cleaner eliminates the source by consuming the organic matter that caused the odor.  Check it out here>>>


    3) Take Your Pets to the Vet

    Even the healthiest animals need to go in for regular checkups. Yours are no exception to this. Many conditions can be caught early thanks to standard vet appointments. This will help you save money in the long run since these early treatments will cost less than more extensive ones. On top of this, regular vet appointments can help your pet live a longer, healthier life. The more time you have with your pet, the better, right? We all know that pets don’t live as long as humans, but that doesn’t mean that you shouldn’t do everything you can to make your pet enjoy every moment of his lifespan.


    4) Grooming Is Important

    While not every pet needs to see a professional groomer, many will benefit from home grooming treatments. For example, if you have a cat, then you can brush him regularly. This will prevent dandruff and hairballs. It’s also a great way for you to bond with your cat. Dogs require a bit more maintenance. You’ll have to bathe them and clip their claws. Some types even need professional grooming in the form of haircuts. Your dog will look better and be much happier.


    5) Set up A Schedule and Stick with It

    Pets need schedules just as much as humans do. They need to know when they’ll be fed, as well as when it’s time to go outside (if you own a dog.) Every pet, no matter the type, will adjust to a schedule well and will begin to anticipate when things will happen. Feeding your pet at the same time every day, going for walks at a certain hour, and so on will only stabilize your pet’s life in a good way.

    [Side Note] My cat has been acting really funny lately — not sure why but she has decided to pee everywhere BUT the litterbox.  I found a simple solution created by Veterinarian Technician Sarah Richards called Cat Spray No More — Learn how it works here>>>

  • 5 Tricks for Keeping Animals out of Your Garden

    5 Tricks for Keeping Animals out of Your Garden

    There’s nothing worse than dealing with a pesky animal that got into your garden. Your fresh fruits and vegetables get chewed on. Entire rows of carrots go missing. The leaves on your trees and shrubbery have tooth marks on them. Yes, these animals can cause quite a bit of damage, both to your edible crops and your ornamental ones. Thankfully, we have some solutions for you.

    Fencing

    In most cases, a fence will keep these critters at bay. It will prevent many large types of wildlife from even getting near your garden. With that said, some, like raccoons, can scale metal chain link fencing, and others, such as moles and groundhogs, will tunnel under it. Fencing isn’t a perfect solution, but if you’re dealing with deer and their kinfolk, it works quite nicely.

    Related Article: Protecting the Garden From Animals

    Keep Outdoor Cats Away

    While outdoor cats are usually friendly and will come up to you for some head scratches, they’ll also use your garden as a litter box. This isn’t the type of fertilizer that you need. You can keep cats at bay with citrus scented items like sprays and fruit peels. They may still come up to you, but won’t leave deposits in your garden anymore. Other cat repellents include pipe tobacco, coffee grounds, mustard oil, citronella oil, lemongrass oil, and even lavender oil.

    New Powerful Laundry Magnets — NEVER Buy Laundry Detergent Again>>>

    Hot Sauce Will Repel Deer and Raccoons

    There’s one thing that both deer and raccoons have in common – they hate the taste of hot sauce. (Oh, and they’ll go after the same plants, for the most part. That’s two points of commonality.) In order to repel these critters, you’ll have to make a concoction of water and hot sauce. Fill a spray bottle with water and drop in some hot sauce, powdered cayenne pepper, and even flakes of red pepper. Basically, every spicy substance that you find in your kitchen – dissolve them in the water. Then, spray your homemade pepper spray on your plants. The raccoons and deer won’t nibble on them anymore. If you use the spray on your edibles, just wash them well before eating them. You’ll also need to reapply your pepper spray after a rainstorm.

    Deter Moles with Mothballs

    Moles aren’t necessarily the type of pests who’ll end up eating all of your vegetables. You might find them nibbling on some greens, but for the most part, their damage takes place under the ground. They can destabilize your garden’s soil fairly quickly. Since moles tunnel, they can destroy entire root systems or leave your garden without enough depth. You’ll begin to see these sections collapse in on themselves as you begin to wonder why your plants aren’t thriving. Mothballs and some patience is the best solutions here. Why patience? Because you’ll need to figure out where the moles are coming from. You may have to hunt around your yard looking for the end of one of their tunnels. Once you find that entry point (or exit point, who knows with a mole), pour some mothballs into it. The moles will steer clear of that particular tunnel.

    Use the Aluminum Pie Plate Method

    The aluminum pie plate method is inexpensive and very effective. There’s a reason why gardeners have been practicing it for years. It involves punching holes at the tops of the pie plates and stringing twine through them. Use the twine to tie them to your fence. The wildlife will be deterred by their shininess and the light they reflect. The pie plates will also make some noise on windy days, which will help keep those critters away.

  • Animal Trapping for Dummies

    Animal Trapping for Dummies

    There are two main ways to get rid of those unwanted critters that are terrorizing your garden. You can either use a number of methods to repel them, or you can trap them. There are plenty of humane traps out there that will do the job nicely without harming the animal. These traps are a good solution if you have one or two animals that have been bothering you. Before you get started, check out this short guide to animal trapping. Everything will go much more smoothly once you understand the basics.

    Some Basic Rules to Follow

    When it comes to trapping live animals, there are some basic rules that you need to follow. Putting these in place will prevent injuries, both to you and the animal. Are you ready? Here they are:

    • Always call the experts once you’ve trapped a wild animal. Your local wildlife official or someone at a pest removal company will know the best way to deal with it.
    • Make sure that you hide any signs to humans. This means handling the traps as little as you possibly can to the point of wearing gloves when you carry it. If the trap smells like human, animals won’t go near it.
    • Ensure that the trap is the right size and shape for the animal that you’re attempting to capture.
    • Anchor the trap to the ground. Otherwise, the animal might be able to roll the entire thing over and pop the door open.
    • When baiting the trap, arrange a trail of tasty treats leading up to it. Place the last of these treats inside of the trap.
    • After you use the trap, clean it well with bleach. Wear gloves while doing this. Animal saliva can contain rabies, so even if you aren’t bitten, you still might get infected.
    • Check your traps every single day. The less time an animal suffers within one, the better off everything will be.
    • If you’re using live traps, put a piece of plywood under it. Otherwise, the animal might try to claw their way free, tearing up your grass in the process.

    Baiting the Trap

    Now that you know how to set up your trap, it’s time to learn the best types of bait to use. These depend on the animal that you’re trying to catch. Here’s a comprehensive break down:

    If you’re trying to catch squirrels and chipmunks, then go with something that they love: nuts and seeds. You can use whole nuts, rolled oats, piles of birdseed, and even spoonfuls of peanut butter. Also, only use metal traps when trying to catch these critters. They’ll chew right through wooden ones.

    Raccoons and opossums like cat food.  They’ll also eat marshmallows, corn, and sardines. Those tasty treats will draw them in. You really need to anchor your traps well when you’re trying to catch them since they’ll roll them over and try to escape.

    Speaking of sardines, skunks like them quite a bit. They like anything fishy, really, so use seafood flavored pet foods, bits of fish scraps, and even canned tuna as bait. You’ll need to cover the trap with a tarp, as skunks like dark places.

    Another common pest animal is the woodchuck. These creatures love things commonly found in gardens: apples, lettuce, beans, and carrots are some of their favorites. If you can find the entrance to their burrows, place the trap right near it. Otherwise, putting the trap near your garden will work well. You should only trap woodchucks in the summertime. They reproduce in the spring and hibernate in the fall.

    Not sure where to buy one of these affordable traps?  Check them out here>>>

    New Powerful Laundry Magnets — NEVER Buy Laundry Detergent Again>>>

  • 5 Tips for Using Manures in Your Garden

    5 Tips for Using Manures in Your Garden


    Manure is one the best, all-natural fertilizers around. Yes, it does smell, since it consists of animal feces. However, its many benefits far outweigh the stench. You’ll be glad that you put up with it when your plants are growing strong and tall. Before you begin spreading manure around your garden willy-nilly, take the time to review these five useful tips.


    1) Don’t Place Manure around Your Edible Vegetables

    You might be tempted to use manure to fertilize every single plant in your garden, after all, it’s good for all of them, right? Wrong. You never want to use it around any edible vegetable or fruit plants, or even on your herbs. It can dehydrate and burn your plants, as it’s very strong. On top of this, manure is full of bacteria. This means that you might end up transferring salmonella and E. coli to your edible crops. All of the washing in the world may not be enough to keep them contaminant free.  Note: this is based on fresh manure directly applied to your soil.  There are steps you can take to apply composted manure as fertilizer.


    2) Research Your Manure before Using It

    Yes, manure is usually all-natural, as in it comes from animals. This doesn’t mean that your batch won’t contain trace amounts of various medications, antibiotics, and pesticides. These things can leach into your soil where they’ll negatively affect your plants. The chemicals in them can also kill off the beneficial microbes that make manure such a useful fertilizer. You need to be careful when using random batches of it. Always ask the provider (as in the farmer or store employee, not the animals) before buying your next supply.  Note: if you are supplying the manure from your own livestock, you will know what they have been fed and ingesting in their bodies.


    3) Age Your Manure

    Aged manure is what’s best for your garden. The fresh stuff can stink and even burn your plants.  Aged manure doesn’t smell as bad (although you might find that it has some lingering odors) and contains all of the proper nutrients. The aging process entails drying the manure at around 160 degrees Fahrenheit for several hours or days. Then, it’s left to sit for several months, ideally six months to a year. The end results are powdery and less moist. Many of the harmful pathogens will have been killed off as well.

    4) Place Some in Your Compost Pile

    If you already have a compost pile and need something to do with your fresh manure, then we have a solution for you. Place the manure in that pile and let it cure. Over the course of the next two to four months, your manure will break down along with the rest of the “ingredients” in your compost pile. With that said, this only works well if you add a small amount of manure to an already well-blended compost pile. You need an outdoor pile, as well, not one of those tumbler bins. They won’t work well, and the manure won’t break down properly. Since composting is quite different from aging your manure, you can test out both methods, provided that you have space, to see which one you like the best.

    Related Article: The Best All Natural Fertilizers For Your Garden


    5) Make Manure Tea

    This sounds completely unpalatable to the human ear. And yes, you don’t want to drink the manure tea yourself. Your plants will love it though. This liquid mixture of manure dissolved in water is just what your plants need. Your rosebushes, in particular, will love it. Once you have your “manure tea” ready, just pour it around the roots of your non-edible plants. They’ll soak up the liquid as if it were just water. The only difference is that this is a more powerful form of water, one with plenty of vitamins and nutrients.


    Conclusion

    While there are many steps and precautions to take when implementing manure, it is one of the most beneficial, natural fertilizers you can use.  Your plants will thank you!

    [Bonus] This strange method will make your food last for 2 years without refrigeration Learn More>>>


  • How To Build An Earth Oven

    How To Build An Earth Oven


    An earthen oven is exactly what it sounds like – an oven made of a combination of dried earth and clay. These ovens tend to cook things better than standard outdoor brick ovens, and are fairly easy to build, as long as you know how.


    History of Earth Ovens

    A type earth oven, known as a pit hearth, has been used for centuries. Examples of them have been found in Europe that date back to the Bronze Age. In the United States, they were commonly used by Native American tribes to cook large meals. Use of these ovens hasn’t died out. Many cultures, such as the Maori and the people of Papua New Guinea use them today. Since they aren’t difficult to build, you can even make one in your own backyard.


    The First Steps

    Before you start building your earth oven, you first need to gather your materials and make a space for it. A cleared section in a backyard that has some natural cover makes a great place for such an oven. Even out the land where you intend to build this small structure.

    You’ll need a number of things to build your earth oven. These include:

    1. firebricks (the first layer on the ground)
    2. building sand
    3. water
    4. newspaper
    5. clay
    6. either straw, hay, or dried grasses.

    Each of these components is essential to the process.

    The Building Process

    Next, you’ll need to begin construction. Since you already have a cleared space for the oven, you can start by laying down the fire bricks. They’ll become the base for the oven. How many bricks you use depends on how large you want your oven to be. An 18-inch inside is a good basic measurement for this oven, so set yours up accordingly. Once the bricks are laid down, you’ll need to trace out the shape of your oven.

    Now it’s time to mix your clay together and start the rest of the building process. Lay a tarp down on the ground and place your clay and sand on it. Mix them together, then add water. This is going to become the inner layer of the oven. Once they’re ready, lay the mixture down on the bricks in the shape of your oven. Remember to build up the middle and leave one of the ends low. The best ratio is about 60% tunnel to the middle dome. After you have the desired shape that you want, place some newspaper on top of it.

    After this, begin mixing together the final layers of clay. The first of these top layers need to be about three inches thick when laid on top of the inner oven. This clay mixture shouldn’t contain any of the grass, straw, or hay. The next layer also needs to be three inches thick and needs to have these dry materials mixed into it. This is the absolute final layer of your earth oven.


    Let It Dry

    Some patience is required before you can use your oven. The entire structure needs to dry out. This can take anywhere from two to six weeks, depending on your local weather and overall environment. You can’t cover your oven with anything while it dries, as that can harm its final composition and even slow the process.

    Finally, once your oven is completely dry, the next steps involve digging out that inner layer of sand and clay. The newspapers that you used to cover this layer will burn up when you use your oven, so there’s no need to worry about them.

    So, as you can see, an earth oven is a very simple structure that can be used as an alternative to your home oven and other cooking methods you may be using.  This is a neat, primitive way to cook and enjoy some food.

    [NEW DISCOVERY]  Easily produce all of the FREE, RENEWABLE, and GREEN ENERGY you need…Find out how>>>

    Below, David shows us a much more advanced earth oven and goes into detail about the composition of his particular, AMAZING earthing oven.