Fascinating Ways to Reuse Old Sweaters
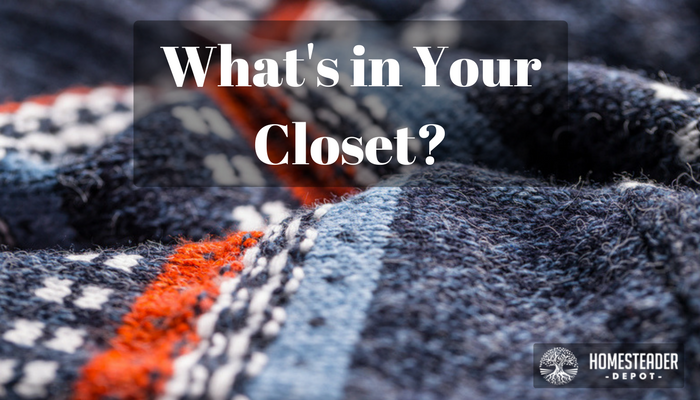
If you are into crafting with felt pieces, it’s actually possible to create your own felt material just by cleaning out your closet. Then, for the low cost of a few washer/dryer cycles and detergent, you can have some large pieces to use that will let you “think big” for your next project. Felt itself … Read more