6 Crops You Can Plant Outside in Early Spring
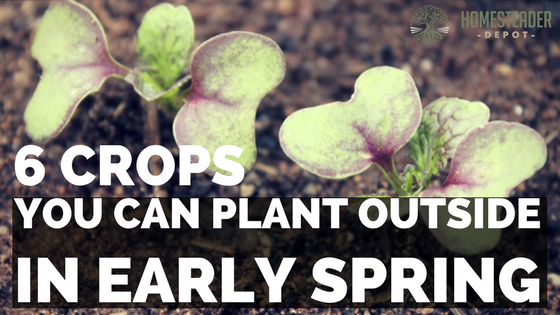
I keep saying “spring is right around the corner” so forgive me, I’m just excited to get gardening again! As I prepare my own spring garden by starting seeds indoors, I have also been planning to start a few crops outdoors. I really prefer direct sowing for many reasons, while starting seeds indoors will give you … Read more