More Ways to Profit Off Your Land
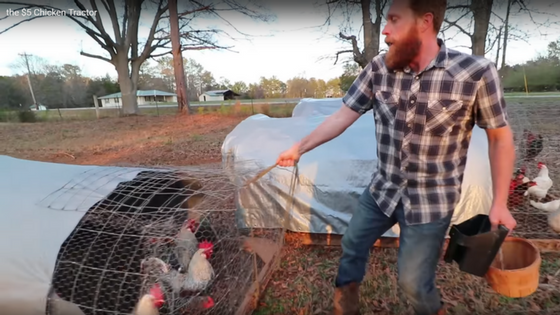
A few weeks ago, we wrote an article on ways to profit off your land as a homesteader, and we promised there’d be more, so here it is! This week’s post on how to profit off your land is all about livestock, dairy, and meat. Being able to raise, consume, and sell your own animal … Read more