Blog

  • DIY Udder Balm for Goats or Cows

    DIY Udder Balm for Goats or Cows

    When you have a milk-producing goat or cow, their udders might get a lot of work. They can get sore or irritated, so it’s handy to be able to have a balm to soothe them on hand in case this happens.

    However, unfortunately, most storebought balms are petroleum-based and expensive, and, if you live in the country, might be far away!

    Today, we’ve got a very simple DIY udder balm recipe that can be used making the same ingredients we recommend for a lot of our homemade remedies.

    What you need: 

    • 1/2 ounce beeswax
    • 1 ounce shea butter
    • 1 ounce coconut oil
    • 3 ounces calendula infused oil (optional, see directions below)
    • 2 drops lavender essential oil (optional)
    • 2 drops tea tree essential oil (optional)

    Calendula infused oil

    If you do not have any on hand or would like to make your own, this is a great item to have for any skin-soothing remedy, and can be used straight on sore muscles and general aches and pains.

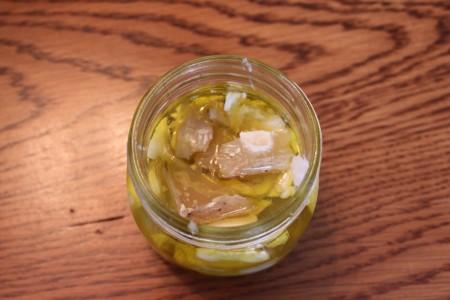
    To make it, you will need dried calendula flowers. Fill a small jar with almond or olive oil, and leave in the sun for a week or so, shaking daily. Alternately, you can heat up in a very low oven (around 200 degrees) for about 20 minutes, in a glass, oven-proof bowl or jar.

    How to Make Udder Balm

    1. Combine your beeswax, shea butter, coconut oil, and calendula oil in a jar and place in a small saucepan filled with water.
    2. Place the pan on the stove over very low heat.
    3. As the water in the pan warms up, everything will melt and blend together.
    4. Once fully melted, remove from heat, stir with a popsicle stick, and allow to cool for a few minutes.
    5. Add your essential oils, if using, and cover the jar.
    6. Store inside (keeping outside will make it too cold to use)

    You can use this by taking with you when you go to milk your goat or cow, and applying after each milking as needed.

    If you enjoyed this, you might also like….

    Home Defense in the End Times…

    Natural Healing Secrets You Need to Know…

    Eat Like Your Ancestors…

  • 5 Ways for Your Chickens to Earn Their Keep

    5 Ways for Your Chickens to Earn Their Keep

    Chickens are more than just egg producers, if you utilize them correctly, they can be a vital part of a smoothly running homestead! They are excellent additions to any gardening effort, and can even be useful with raising larger poultry as well!

    Here are some ideas for how to get the most out of your chickens, and as all these ideas utilize what chickens are born to do, your hens are guaranteed to be more happy as well! And happy hens means more eggs. It’s a win-win for everyone!

    1. Prep garden beds

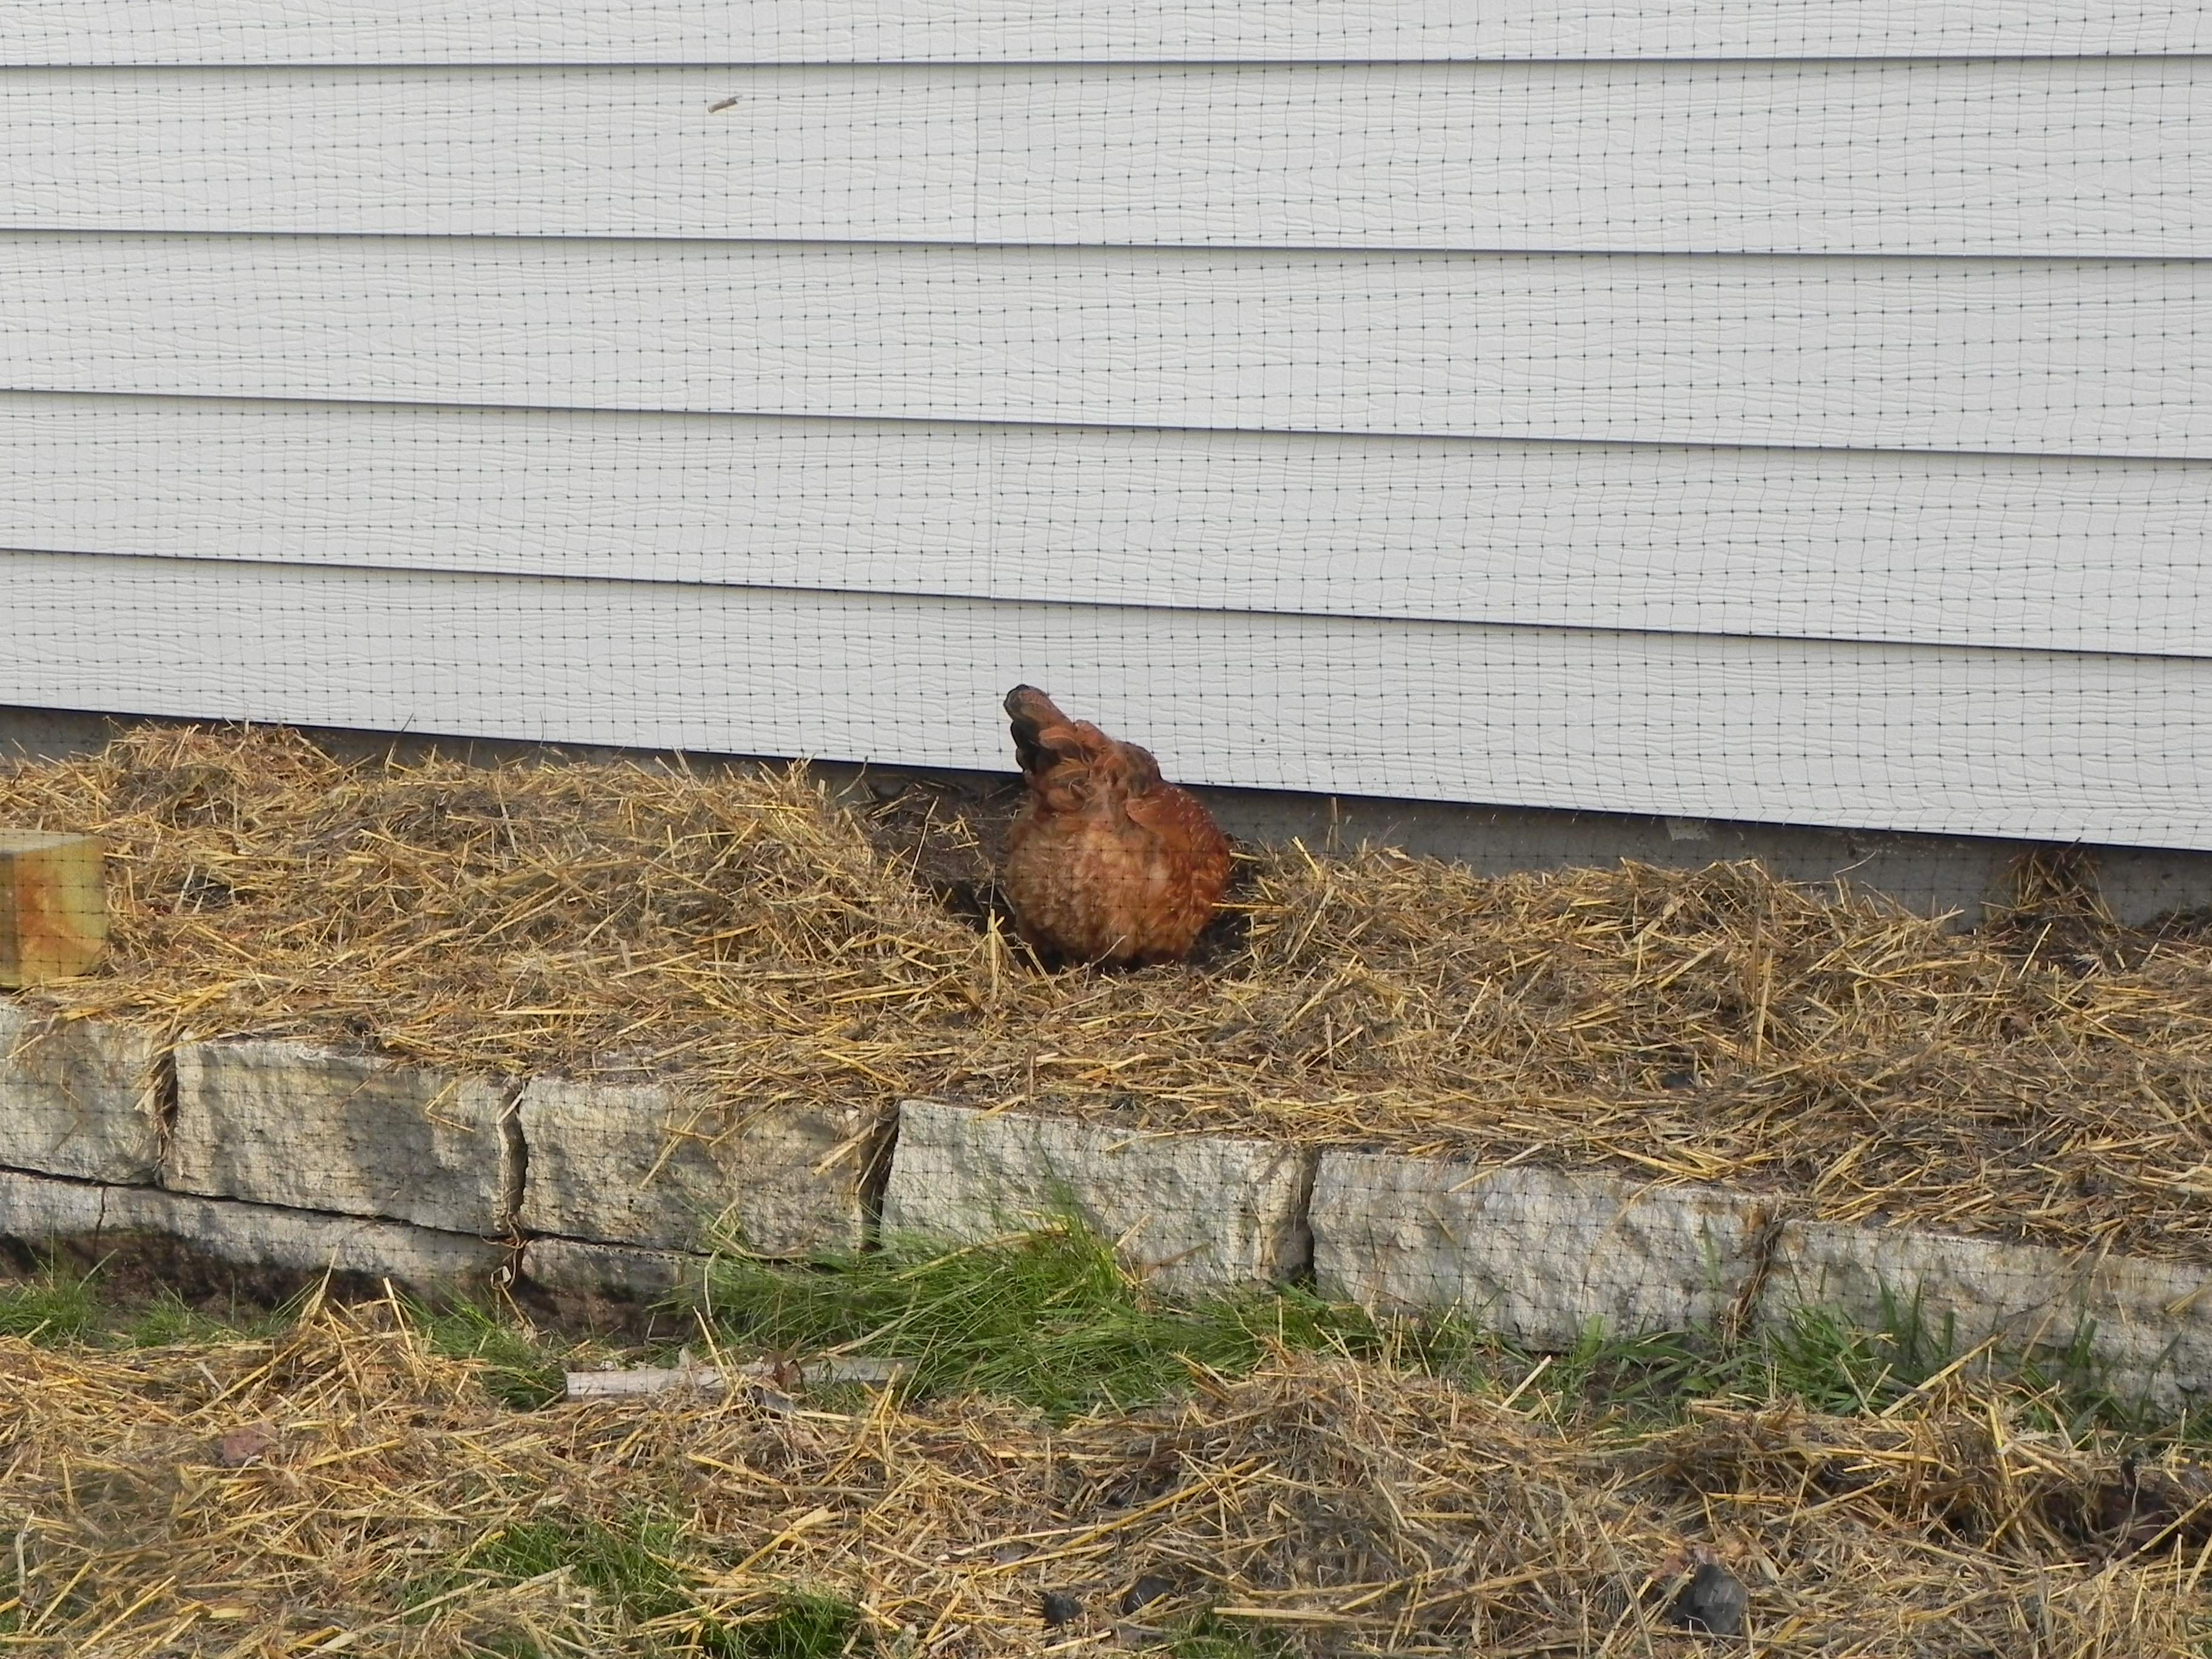
    You will probably want to keep your chickens away from your vegetable garden most of the time, but when you’re preparing a new bed or digging up an old one, they’ll love to help you out! As they scratch and peck, they will turn the soil and also contribute some valuable manure. The bugs and scraps of roots and leaves they’re sure to find are also wonderfully nutritious for them, which makes for delicious and healthy eggs!

    2. Turning your compost

    So they’re not exactly going to help turning over your whole compost pile, but they’ll definitely still help in the same way they will your garden bed. Let them hang out when you’re turning your compost pile, and they’ll help break it down faster by gobbling up the creepy crawlers and many scraps of organic waste that are still intact.

    3. Fertilizer

    For both 1 and 2, chickens will contribute to your garden and compost pile by producing manure in the process of pecking and scratching through that will add valuable nitrogen to your soil or compost. But you can also collect it right in their pen to add to your compost pile or garden for regular fertilizing or making a quick compost tea.

    4. Grass and weed control 

    Chickens can’t exactly mow lawns, but they can help with seriously fast growing weeds or grass. If you have tough-to-reach parts of your lawn that require more than simple mowing, let your girls at it!

    5. Waste disposal 

    Finally, and probably my personal favorite, is how quickly your chickens can turn kitchen scraps into nutritious eggs and valuable fertilizer for your garden. Fruit and veggie scraps and any leftover grain products are absolutely delightful treats for any self-respecting chicken. Just keep a container with a lid on your counter and bring to your chickens with their evening meals.


    Chickens are awesome in so many ways, and with these simple tips, you can really get the most out of your girls (and your rooster too, he’ll love to help!)

    If you liked this, you might also enjoy…

    The Sinister Future of the US…

    Pure, Natural Healing…

    Donald Trump’s Words of Warning…


  • DIY Mason Jar Beehive

    DIY Mason Jar Beehive

    Just when you think you’ve seen it all! I am slightly freaking out right now because this is just about the coolest thing I have seen in a VERY long time. You can, in fact, make a beehive using mason jars as the hives, and the bees will produce honey right in your jars! How cool is that?

    Here’s what the finished product looks like, to give you an idea:

    Want to give it a try yourself? Here’s what you need:

    Supplies:

    • 2 pieces of 2″ x 12″ x 6′ wood
    • 2 pieces of 1″ x 1″ x 6′ wood
    • 1 piece of thick plywood, cut to 16″ X 20″
    • 1 bottom beehive kit (you can find a DIY for this as well, or buy your own from a beekeeping supplier)
    • 12 big mouth quart sized mason jars
    • 1 box of wood screws, size 1″
    • wood stain or paint of choice
    • Bees

    Directions: 

    1. Cut two pieces out of your 1 of your 2″ x 12″ x 6′ pieces to 22″
    2. Cut two pieces out of the other 2′ X 12′ X 6′ to 18″
    3. Drill 12 holes in your plywood piece for the mason jars, by tracing the mouths of the mason jars. This will work best with a hole saw. Troubleshoot as you go, making sure your jars will fit snugly inside. If you want to make them a bit wide, you can glue the lids to the plywood around the holes to screw the jars neatly in place.
    4. With your wood screws, screw your two 22″ and two 18″ pieces to the plywood to make a box.
    5. Place the box over the bottom beehive kit, and let your bees get to work!

    You can put some starter combs in your mason jars and the bees will fill them with honey. We’ll have to do a follow-up on getting a hive started for this one, so stay tuned!

    If you liked this, you might also enjoy…

    What Are the Signs of the End Times?

    Learn Natural Healing Secrets From the Masters

    Preparing for the Bubble to Burst 

  • Back to Nature Garden (Video)

    Back to Nature Garden (Video)

    This is a super cool concept that I’ve often wanted to try myself. The folks at Deep South Homestead, one of my favorite YouTube channels, have tried the “Back to Eden” gardening method, without much success. Back to Eden is the gardening method that was shown in the film by the same name, that involves layering wood chips and manure that sit for a season. The idea is to mimic the natural formation of soil in the forest.

    Danny from Deep South Homestead explains in this video that because of termites infesting their wood chips, that Back to Eden did not work for them, so they tried their hand at their own method, that they call “Back to Nature”. They decided to mimic what was happening to the soil in the forest on their homestead, by layering oak leaves and rabbit manure, turning it with a tractor and leaving it for a season, to plant their tomatoes in in the spring. You can see how he set his up and hear more about his plans for it in the video below. Enjoy!

    If you liked this, you might also enjoy…

    Holistic Medicine Basics

    Ever Considered Taking Yoga? Read this

    The Ultimate Woodworking Course..

  • What Is Urban Homesteading?

    What Is Urban Homesteading?

    When most people think of homesteading, they consider a farm on vast tracts of land in a very rural setting. Most people believe that homesteading will require a couple of acres, but that’s not the case. Many who live in rural areas and homestead, can do it on relatively little land, so long as they are smart with their space. In fact, many people who live in cities have even started homesteading. Whether they live in the suburbs or the concrete jungle, there are things they can do that will help them to become more self-sufficient.

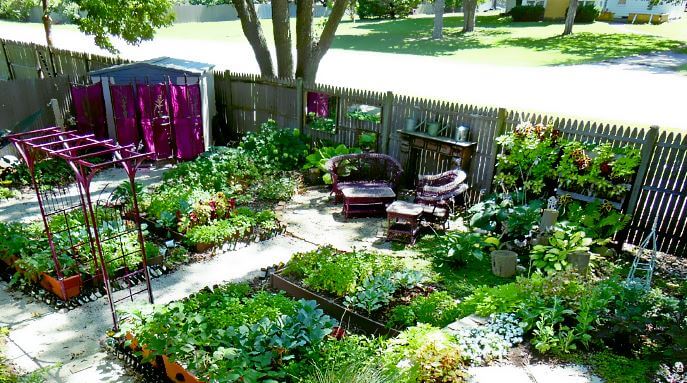
    You will find that you can grow quite a few things in the city, even with just a small garden or an indoor garden. You could grow tomatoes and herbs in the house, grow other vegetables in potted plants on the balcony, and even talk with some other like-minded people in your area about starting up a community garden.

    Depending on the amount of space you have, and the rules in your city, you might even be able to raise some livestock on your property. Some of the simplest options include chickens for eggs and perhaps a goat or two, which you can raise for milk.

    One of the nice thing about being an urban homesteader is the fact that you will still have some of the conveniences of living in the city and close to some of the nightlife you might want to enjoy. Still, you will know that you have what it takes to provide for yourself if you need. In addition, you will find that following some homesteading principles can help you to save money.

    If there is a will, there is a way. Just because you live in the city does not mean you can’t become a homesteader.

    If you enjoyed this, you might also like….

    Can You Defend Your Family When SHTF?

    Natural Healing Secrets You Need to Know…

    Effective Primal Diet Hacks…


  • The Easiest Gardening Method You’ll Ever Try

    The Easiest Gardening Method You’ll Ever Try

    A thriving garden is the beating heart of the homestead.  For many people, though, keeping a garden can be a challenge. Traditional methods require heavy machinery for soil preparation, questionable chemical fertilizers, all adding up to a prohibitive upfront cost. A great and easy method of gardening that has a very low financial demand is the “lasagna garden”.

    It was given that name because the method involves developing arable soil by composting an existing plot with layers of organic matter. You create the layers in the fall, to be ready for planting in the spring. Here’s a quick guide to get you started:

    • Select your plot: With this method, you don’t need to prepare the soil at all. That’s right, no double-digging, no weeding! Just pick an area where your garden will get the sunshine it needs that isn’t too far from your water source.
    • The first layer: The base layer of your garden will be a single layer of corrugated cardboard that smothers out even the toughest weeds. You can source this from almost anywhere, just be sure to remove packing tape if you’re recycling boxes. To prevent weeds from growing through, be sure to cover up any gaps in the cardboard with more cardboard. If your plot doesn’t have any persistent or tenacious weeds, a minimum of three layers of newspaper will work fine instead. Just before applying the next layer, thoroughly saturate your base layer with water.

      Effective Primal Diet Hacks…

    • The compost layer: This layer will be the powerhouse of your garden. Your garden is literally a compost sheet (rather than a pile or heap). Put anything in this layer you’d put in the compost, including “browns” like fall leaves, shredded paper, pine needles, and “greens” like veggie scraps, grass clippings, garden trimmings, etc. Once you’ve piled on the compostable matter, finish this layer off with three to four inches of finished compost or topsoil to be ready to plant. 
    • The mulch layer: Your lasagna garden will be topped off with the application of a couple of inches of mulch to retain the ideal moisture and temperature for your compost to break down. The best mulch materials are the ones you can source with minimal effort from neighbors, local businesses, or even your town’s Department of Works. Tried and true materials for this layer include wood chips (aged chips are best), straw, grass clippings, leaves, even tree bark! If it’s more convenient for you to purchase mulch, opt for undyed wood chips.

    Once you have your layers prepared, let them sit for a season. It’s common to start in the fall to be ready to plant in the spring, but you could do this in the spring for early fall planting, for example.

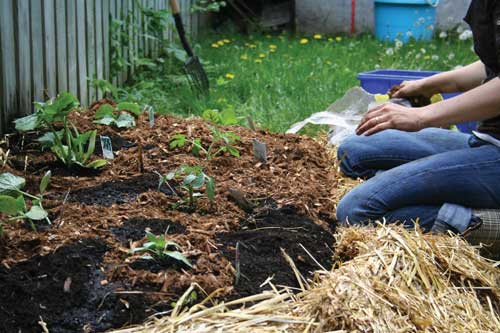
    To plant, brush back the mulch layer a bit and plot out the spots you’d like to plant your seeds. Cut holes in the cardboard for the roots to grow once the seeds begin to sprout, plant your seeds in the compost layer, and cover lightly with the mulch (as you would were you using potting soil).

    That’s it! The layers will retain moisture, so only water if the bottom layer is dry. Happy planting!

    Natural Healing Secrets You Need to Know…

  • Homeschool on the Homestead

    Homeschool on the Homestead

    If you’re an avid homesteader, you already know the value of a self-sustaining lifestyle. However, you may be one of thousands of families who just isn’t sure if you’re up to the task of in-sourcing your children’s education in addition to everything else you do in your homestead. Let me challenge you on that. If you’re already bold enough to get your food from your farm or garden and not the supermarket, you’re bold enough to educate your children. If you’re intelligent enough to learn the basics of permaculture or architecture and apply them to your property, you’re intelligent enough to follow and customize a curriculum. As a homesteader, you’re uniquely and exceptionally qualified to be self-reliant in your children’s education.

    Maybe in your case, time is more the issue than confidence. After all, maintaining livestock, crops, and the home is a full-time job. But, if you have the desire to educate from home and on your terms, you are slave to nobody’s timeframe. You no longer have to arrange your life around a school’s breaks and vacations or the bus schedule. You have the liberty to fit school into your day where you wish and devote as much or as little time to it as needed. When you tailor your approach to your children’s education to that child’s needs, the job gets done more time-efficiently and you achieve the same academic goals without spending six or more hours a day at it.

    Let’s not forget the ‘S-word’ that tops every would-be homeschooler’s list of concerns: socialization. Sure, your children will miss out on the type of socialization that a public school offers: being stuck in a room with 20+ other children of the same age. But is that really the best approach to guiding children in the areas of character development? As a homeschooler, you can get quite creative with social opportunities for your children without overloading your calendar. The main thing to remember is that children can socialize with any type of person, not just someone their age. Anecdotes and studies actually suggest that children become more well-rounded when they are immersed in a mixed population to learn from adults rather than mimicking their peers in a school setting. Cooperation and networking within your local community is key to a thriving homestead. Let your children in on this and let them explore local events, groups, and community resources to satiate the socialization need. And, of course, you’re always free to have your child invite a gaggle of friends over to run around the homestead and learn how it works!

    When you adopt the homesteader lifestyle, you categorically become something of a misfit in contemporary society. Your values as a homesteader may be contradicted or ignored in a public education. You don’t need to shelter your children by any means. You just approach their education the same way you approach your homestead: do it yourself!

    If you liked this, you might also enjoy…

    What Are the Signs of the End Times?

    Learn Natural Healing Secrets From the Masters

    Preparing for the Bubble to Burst 

  • Choosing Vegetables For Your Winter Garden

    Choosing Vegetables For Your Winter Garden


    Stop digging up your garden after fall harvest and start planning your winter crop! If you’re blessed enough to live in a climate where the winter months don’t come with a thick blanket of snow and sub-zero temps, you can have a successful winter gardening season. Seasonal favorites include most root vegetables such as beets, onions, turnips, and parsnips.

    Hardy leafy greens such as kale, spinach, and baby beet greens keep salad on the menu (try them in soups, too!) Spice up your winter selection with exotic veggies like gai lan or kohlrabi. Check out your favorite heirloom seed shops to see what’s available, and consider constructing a simple coldframe in case there’s a frost in the forecast. With the best varieties of veggies to suit your tastes and your region’s weather, you can stay out of the supermarket and keep fresh produce on the table year-round.

    If you enjoyed this, you might also like….

    Can You Defend Your Family When SHTF?

    Natural Healing Secrets You Need to Know…

    Effective Primal Diet Hacks…