

Time is always scarce on a homestead so spending days on end catching 1 fish at a time is not the best use of your limited time. How can you catch crazy amounts of fish in a short amount of time so you can get back to doing other necessary things on your homestead?
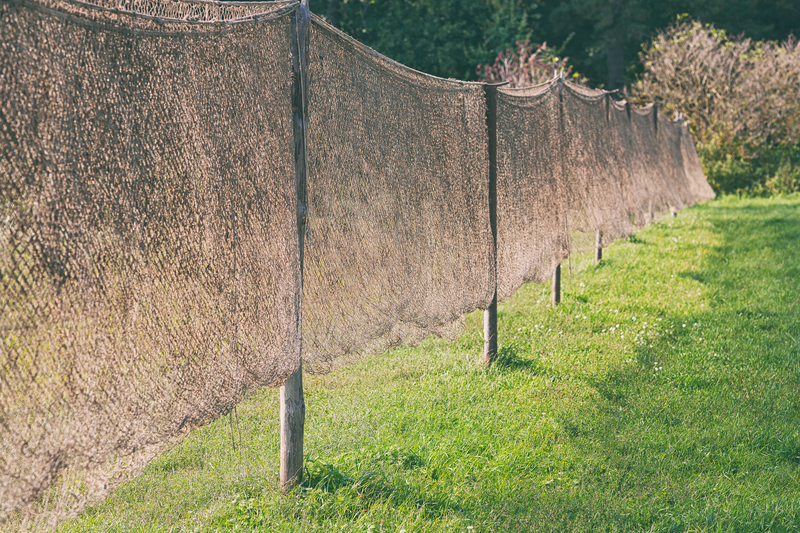
If you use fishing and fish as a regular food source, a net is basically a mandatory piece of equipment. If you find you need a larger net than you want to spend your hard-earned cash on, you can DIY it for a fraction of the cost using some twine and nails.
What you will need:
- Nails
- Hammer
- Netting or other sturdy Twine
- Scissors
- Area large enough to work
To start, decide how wide you want your net to be. Then place two nails into a wall or beam high enough to accommodate the length of the net you want to end up with.
Stretch a piece of your twine between the 2 nails and secure it so that the length is tightly strung with no dipping.
Cut additional pieces of twine, each one double the length you want the final net to be.
For example. If you want an approximately 6’ x 6’ net, your nails will be 6’ apart and the cross piece of twine will stretch across that length. Each subsequent piece will be cut to 12’ lengths.
Next, attach the double lengths at even spaces across your cross string. To do this, fold the length in half, hold the center loop behind the cross string and feed the ends of the length around the cross string and through the loop, then tighten, creating 2 vertical strings hanging down the length of the net.
Do this for each double length, spacing them evenly as you go and adjust as needed.
The space between each tied length will determine how big the holes of the net will be. If you want a tighter net to hold smaller fish, place them closer together. This will also be what determines how many double lengths you need to make.
As stated above, each double length creates 2 vertically hanging strings, or one set, when tied to the cross string. We are going to refer to each of the hanging sets as 1, 2, 3, 4 etc. and each set has a left string and a right string, so there will be 1 left, 1 right, 2 left, 2 right, etc.
Start by taking string 1 right and 2 left and holding them together. Make a loop around your finger with the two pieces being held together as one and feed the end through to create a knot, joining the 2 pieces below the cross piece. Adjust as needed to balance the knot evenly between the vertical lengths to create an upside-down triangle between the knotted pieces and the cross piece.
Continue this process with 2 left and 3 right, then 3 left and 4 right, making a line of knots across the width of your workspace until you have your first row completed. At this point, strings 1 left and your last set’s right string will be hanging free on either end of the area and all the set will be joined to their neighbor by a knot.
Start the second row by taking 1 left and 1 right and knotting them, then 2 left and 2 right, 3 left and 3 right, and so on.
Continue this pattern until you get to the bottom of your twine, tie off the ends and presto! Your very own fishing net.
This technique can be used for any size net you may need.
Alternatively, if you tie your double lengths to a pre-existing circular frame, you can use the same process to create a dip net, just make sure to keep alternating knot rows and tie off the bottom when you reach the depth you want.
Happy Fishing!
More interested in sport fishing? Get the insider, professional fly-fishing tricks, tips, and techniques HERE.
