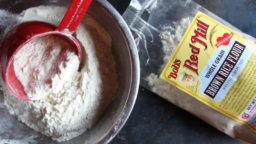
There are many reasons people are flocking to alternative flours today. Gluten intolerance is becoming very common, but there are also many diets that eliminate wheat or grains, such as the whole 30, primal or paleo diets. There are a few reasons gluten-free and grain-free diets can be beneficial for your health, but that’s another post for another today. Today we’d just like to discuss a few of the basic non-wheat flours. This is useful to know for homesteaders, in case you’re interested in growing and milling some of your own flours.
A note: all grain-free flours are also gluten-free, but the distinction here is that the “gluten-free” flours are not grain-free.
Grain-Free Flours
Coconut flour: coconut flour is one of the more popular alternative flours on the market right now, and is highly nutritious (as is almost every coconut product). It is rich in fibers and vitamins. It’s texture is gritty and because it is grain-free, is most commonly used in grain-free diets. It can be rather expensive, but most recipes that call for it don’t require very much.
Almond flour: definitely the simplest of these flours to make at home, you can just soak, grind up, dehydrate and re-grind almonds. Like coconut flour, this is expensive at the store, but you also won’t use very much per recipe. With a lovely flavor, this has all the nutrients of almonds: iron, protein and omega fatty-acids.
Arrowroot powder: A very light flour, it has a consistency like corn starch and can be used in just the same way. Like coconut and almond flour, this is another grain-free option for paleo recipes, and when combined with egg and milk, imitates gluten very well.
Tapioca flour: Very similar in consistency and usage to arrowroot powder, the two are virtually interchangeable. Another grain-free flour, this is a great item to have on hand for grain-free baking.
Garbanzo flour: Almost always found in any pre-mixed all-purpose gluten-free flour, it is very effective in gluten-free recipes as far as imitating the binding effect of wheat. The one set-back is the distinct taste, so it’s best used in savory recipes.
Gluten-Free Flours
Corn flour: Distinct from corn starch and corn meal, all three have different textures from each other but are all great options for gluten-free baking. Corn flour is the most similar in texture to wheat flour and is typically used in dishes like masa harina or tamales.
Rice flour: Known for its gritty flavor, rice flour definitely needs to be used with other flours, but will add a wonderful nutritious value and flavor to whatever it is used in.
Sorghum: Sorghum imitates the consistency of wheat flour very nicely, so it is a great addition to any gluten-free flour blend. It has a lovely texture and flavor.
Other flours worth mentioning: quinoa, fava bean, potato starch and potato flour, amaranth (grain-free), teff, millet, buckwheat, oat, millet (gluten-free)
If you like this, you might also like:

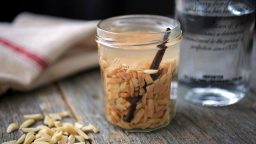
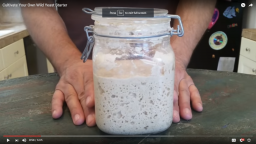
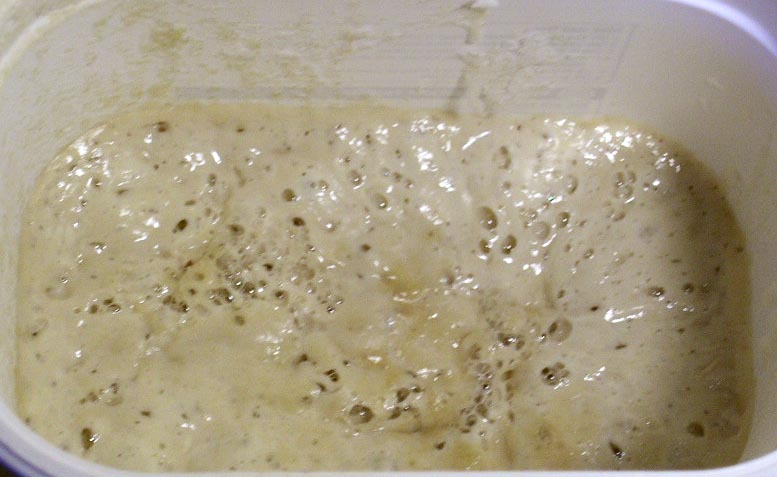 very distinct sour smell that is signature to sourdough. It is active when it is light with many big bubbles, like