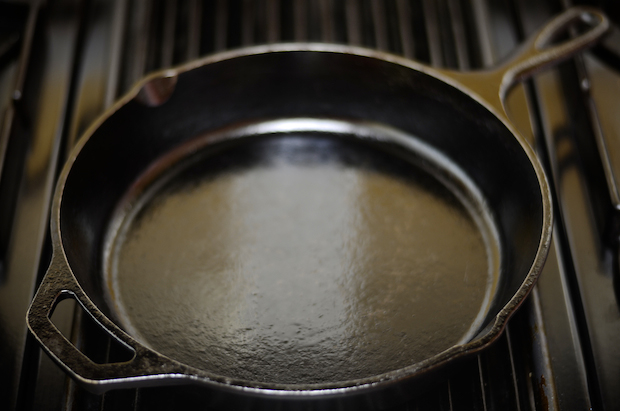
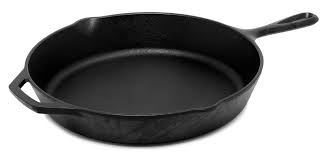
Five Must-Have Cast Iron Pieces
When first making the switch from toxic nonstick cookware to cast iron, you may have a few reservations about the care or cost, especially if you run your homestead on a tight budget. The good news is that cast iron cookware outlasts its nonstick and other counterparts by decades, even centuries; you won’t be replacing … Read more